CHP. 8 RECORDING, EXTRACTING, AND BURNING
115
11.
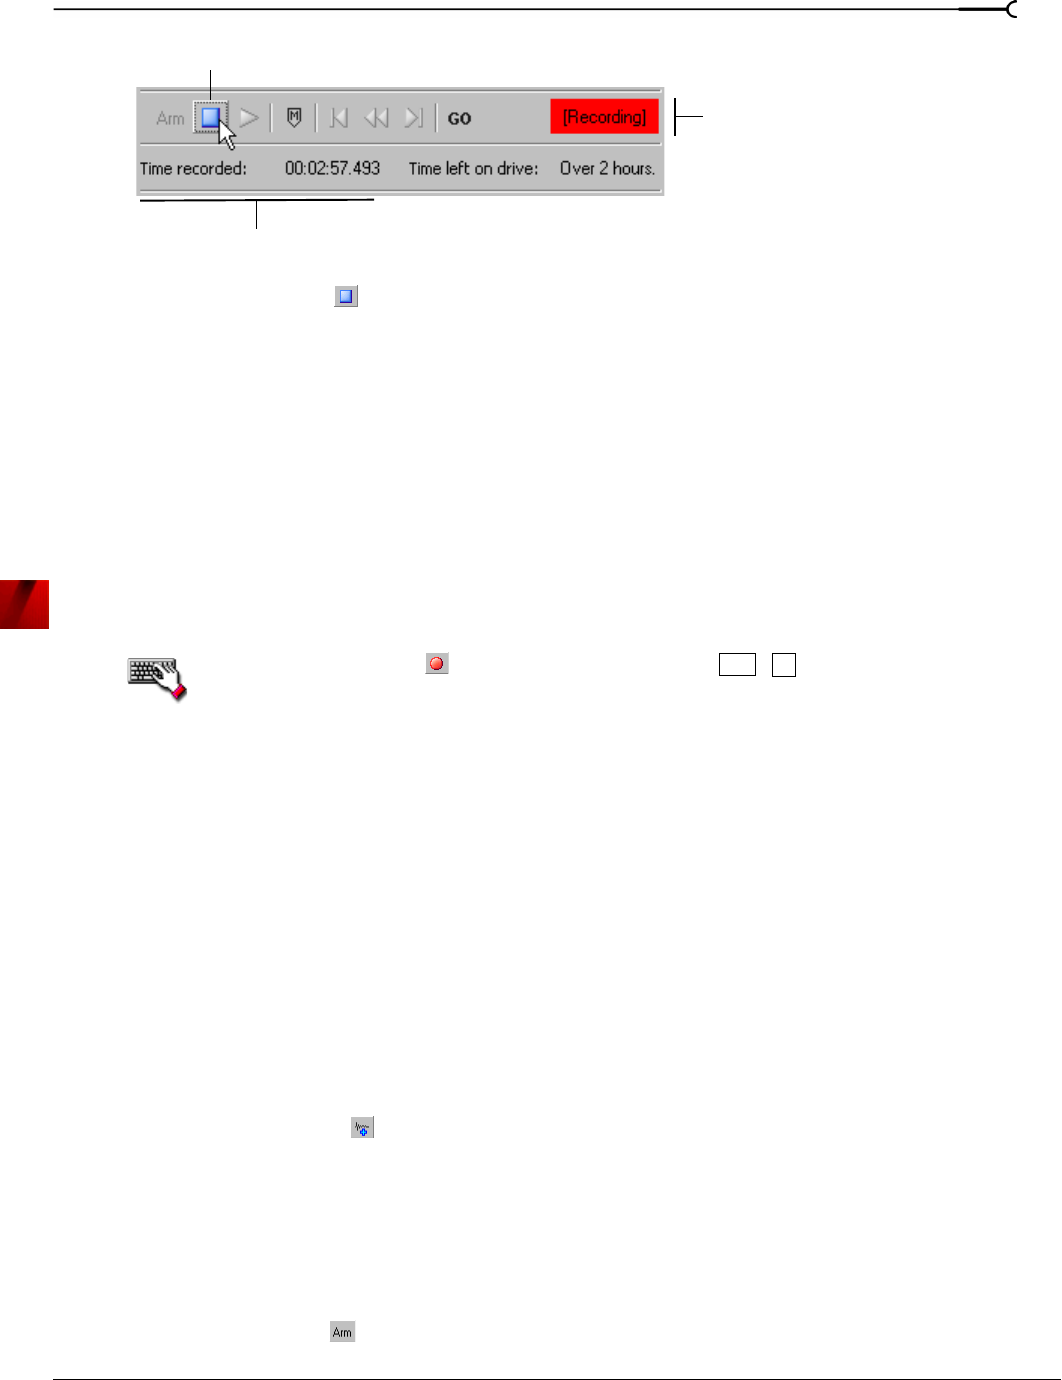
Click the Stop button ( ) to stop recording.
12.
Click the Close button to close the Record dialog.
Recording automatically
In addition to the normal recording method, Sound Forge also has three automatic recording methods:
Time, Threshold, and MIDI Timecode. These recording methods enable you to trigger recording to begin
from Sound Forge automatically, using a specified device, with no intervention necessary. You can set up
multiple automatic recording sessions to take place at different times, and set a session’s recurrence level for
one time, daily, or weekly. For your recording sessions to take place, the Sound Forge application must be
started and armed for recording.
Triggering by time
1.
From the Special menu, choose Transport, and then choose Record from the submenu.
Click the
Record button ( ) on the transport bar or press + .
2.
From the Method drop-down list, choose Automatic: Time.
3.
Choose the destination data window for your recording. By default, Sound Forge records into the active
data window. If this is not where you want to record, use one of the following methods to prepare for
recording:
• To record into a different data window, click the
Window button and choose a data window from the
Record destination window drop-down list. Click OK to return to the Record dialog.
-or-
• To record into a new window, click the
New button in the Record dialog and specify the attributes
(sample rate, bit depth, and channels) for the new file. Click
OK to return to the Record dialog.
4.
From the Device drop-down list, choose the device to use for recording.
5.
From the Mode drop-down list, choose a recording mode. For more information, see Choosing a recording
mode on page 119.
6.
Set the timer:
a.
Click the Add button ( ) to create a timer setting. The Record Timer Event dialog is displayed.
b.
Type a name in the Name field to create a name to identify the preset.
c.
Choose a setting from the Recurrence drop-down list to indicate whether you want to record one time
only or repeat the selected recording day and time at a regular interval.
d.
Use the Start date, Start time, and Duration boxes to indicate when you want to start and stop recording.
e.
Click OK to close the dialog and return to the Record dialog.
7.
Click the Arm button ( ). Sound Forge is armed for recording to begin when your timed events occur.
Recording message
Time Recorded value increases
Stop button displays
Ctrl
R
