SETTING INSTRUMENT CONFIGURATION
3-3
Tab Down Tab Up Enter Back Read On/Off
Auto Reference
• Press Tab Up or Tab Down to move the highlight to Auto Ref and press Enter to
toggle between Off and On.
Averaging
1. Press Tab Up or Tab Down to move the highlight to Averaging and press Enter to
active the averaging # editor (up/down arrows appear to the left).
2. Press Tab Down to page backward through the averaging numbers, or press Tab Up
to page forward through the numbers.
3. Press Enter to select the displayed averaging number.
NOTE: Use the Back button to revert back to the original setting.
Read Switches
1. Press Tab Up or Tab Down to move the highlight to Read Action and press Enter
to open the read action editor.
2. Press Tab Up or Tab Down to move the highlight to Foot switches only, Read Key
only, or Switch & Key req. and press Enter to save selection and exit.
Exiting Measure Option
• After you have completed all the measure option editing, press Back to return to the
Configuration menu.
Set Clock
The Set Clock configuration is used to adjust the internal clock of the instrument.
1. Press Tab Up or Tab Down to move the highlight to Set Clock.
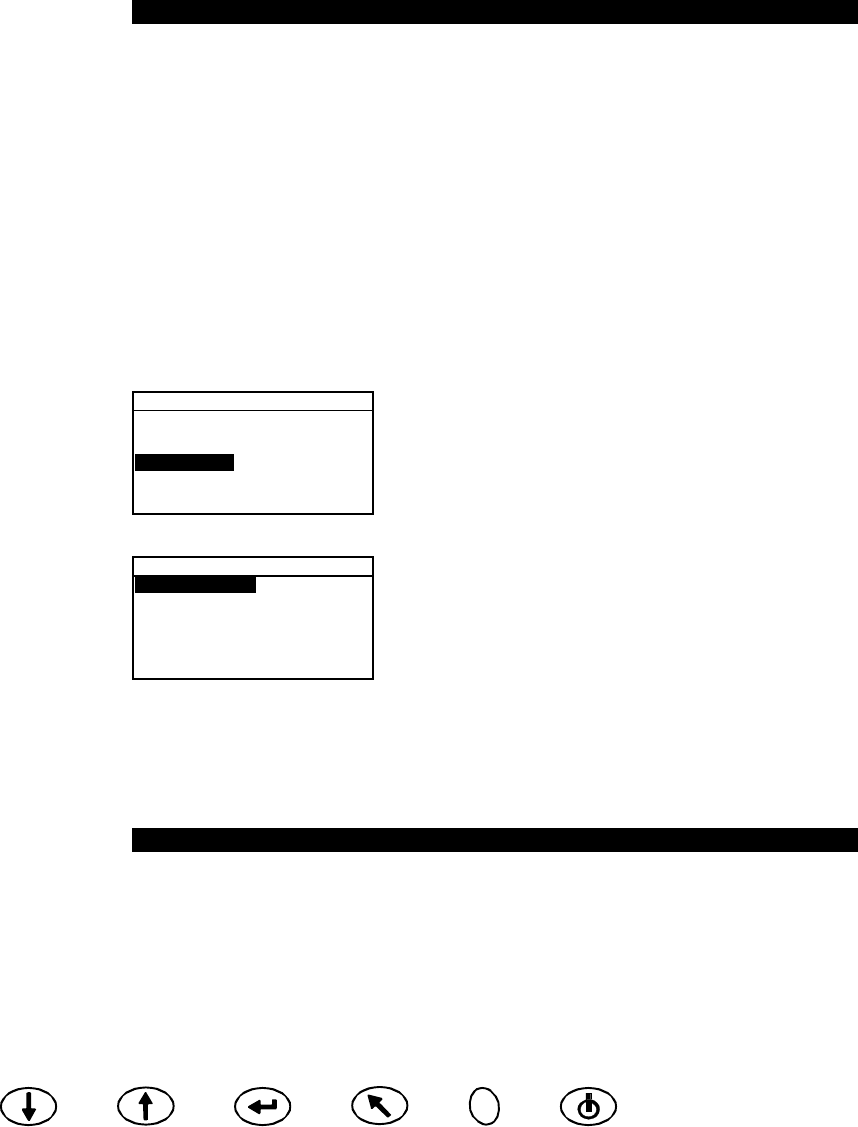
CONFIGURATION
Display Options
Measure Options
Set Clock
Communications
Language
2. Press Enter to access the Set Clock editor.
Set Clock
Day : 09
Month : 01
Year : 03
Hour : 10
Minute : 25
3. Press Tab Up or Tab Down to move the highlight to Day, Month, Year, Hour or Minute
and press Enter to activate the editor (up/down arrows appear to the left).
4. Press Tab Down to page backward through the digits, or press Tab Up to page forward
through the digits.
5. Press Enter to select the displayed digit.
NOTE: Use the Back button to revert back to the original setting.
6. Continue with additional date/time edits as required.
Exiting Clock Set Option
• After you have completed all the clock editing, press Back to return to the Configuration
menu.


