SECTION FOUR
4-4
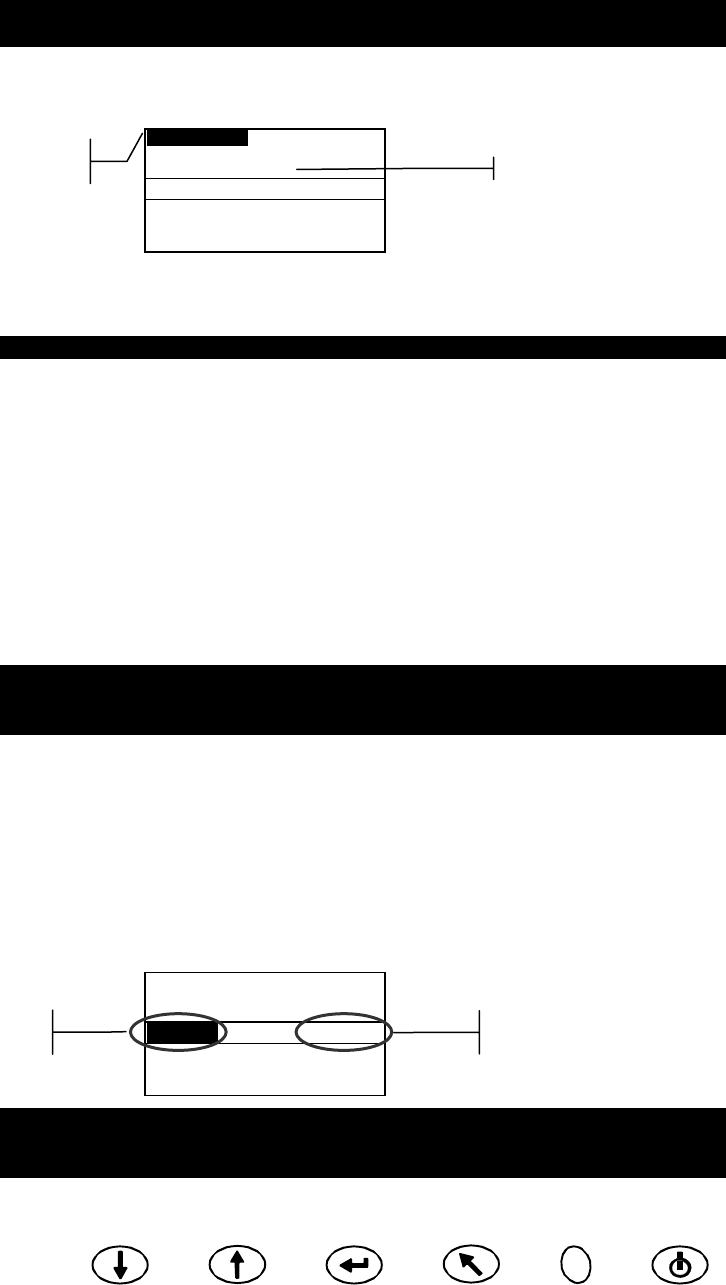
Tab Down Tab Up Enter Back Read On/Off
Selecting a Group/Reference and Measurement
Groups and references are selected in the same manner. If Auto Reference is activated in
configuration, there is no need to select a reference before taking a measurement. The
instrument automatically selects the closest match to the measured sample.
NOTE: A reference cannot be edited from within the Store mode. You must
access the reference from the main menu screen.
1. Use Tab Up or Tab Down to highlight Group: ##.
2. Press Enter to activate the editor. Up/down arrows appear at the left.
Group: 1
Stored: 5
Reference: 1
∆L
*
a
*
b
*
D65/10
+.10 –.04 +.04
+.13 –.02 –.07
+.29 –.06 –.08
3. Press Tab Down to page forward through the group numbers, or press Tab Up to page
backward through the list. Twenty groups are available.
4. Press Enter to select the displayed group number.
NOTE: Use Back to revert back to the original group.
• If Auto Reference is not activated in Configuration, select the reference in the same
manner as the group number.
• If tags are to be stored with the sample, you can scan them in at this point using the optional
BCR. Refer to Tagging Samples at the end of this section for information on tag options.
5. Position the instrument over the sample and take the measurement. You may have to
press Read to complete the measurement if the instrument is configured to do so. The
selected angles appear momentarily during the measurement and the stored sample
number increments by one.
Measurement data is displayed as absolute or difference, or pass/fail indication if
tolerancing is utilized. The instrument measures and stores five angles but only displays
the three angles in Store mode. All five angles are output when data is transmitted.
NOTE: If the averaging option is activated in the Configuration mode, you must
make additional measurements on the sample. Refer to section 1: Measurement
Averaging for additional information.
Changing Color Space and Illuminant/Observer
Measurement angle data can be viewed under different color space and
illuminant/observer conditions.
1. Use Tab Up or Tab Down to highlight Color Space (e.g. ∆L*a*b* or Illum/Obs (e.g.
D65/10).
2. Press Enter to page through the available color space or illuminate/observer options.
Data is automatically updated to the selected option.
Group: 1
Stored: 5
Reference: 1
∆L
*
a
*
b
*
D65/10
+.10 –.04 +.04
+.13 –.02 –.07
+.29 –.06 –.08
NOTE: Certain illuminant/observer combinations may not appear as you page
through the list. Certain combinations may be deactivated in the configuration
options. D65
10
, A
10
and F2
10
are the factory default combinations.
Selected reference
Indicates the edito
control is active
Illuminant/Observer
selection
Color space
selection


