4-6 CHAPTER 4: ACCESSING MANAGEMENT FEATURES
Logging On
1 Connect your terminal to the Console port on the
rear panel of the Switch 2000 TR using a cross-over
cable for a serial line connection. Refer to the Switch
2000 TR User Guide for more information.
The Console port automatically detects the line-speed
(baud rate), and uses the following default settings:
■ auto-baud
■ 8 character size (data bits)
■ 1 stop bit
■ no parity
Character size, stop bit, flow control, and parity
values cannot be changed.
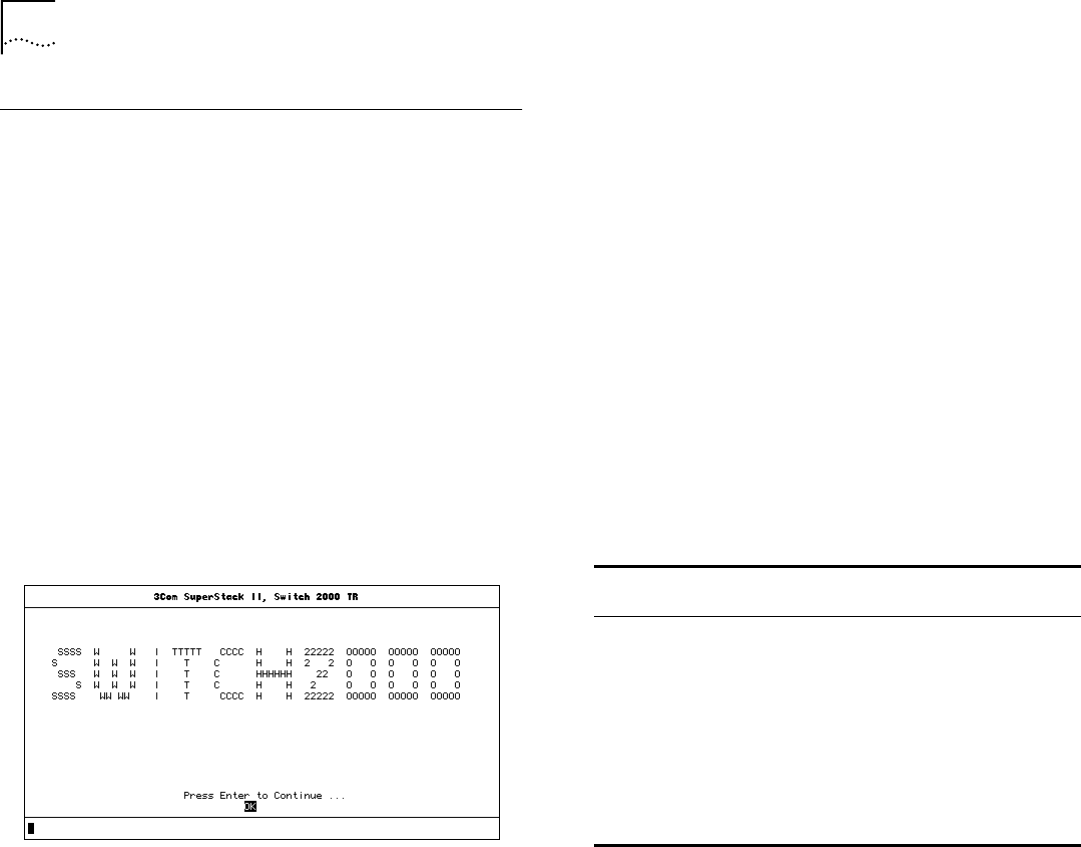
2 Press [Return] two or more times until the Switch
2000 Main Banner appears (shown in Figure 4-3).
Figure 4-3 Main Banner
If your terminal is already set up with these values,
the Main Banner appears as soon as power-up is
complete.
3 Press [Return] to display the Logon screen at the Main
Banner.
4 Type in your user name and password. Note that they
are both case-sensitive:
■ If you are logging on for the first time (after instal-
lation or initialization), use a default user name
and password to match your access requirements.
We recommend that you use the default user
“securityÓ so that you can access all functions.
The defaults are shown in Table 4-3.
■ If you have been assigned a user name, access
level and password, type in these details.
Table 4-3 Default Users
User Name Default
Password
Access Level
monitor monitor monitor - this user can view, but
not change all manageable
parameters
manager manager manager - this user can access
and change the operational
parameters but not special/secu-
rity features
security security
security - this user can access
and change all manageable
parameters


