


32 Chapter 5: Understanding and Using the BIOS Options
c If neither Next server IP address nor TFTP Server Name (Option 66) is
configured for the DHCP server, the OAP module considers that the
DHCP server can also serve as the TFTP server, and takes the IP address
of the DHCP server as the IP address of the TFTP server.
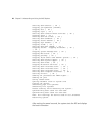
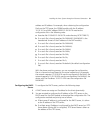
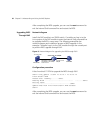
3 The following example shows the DHCP server’s configuration file’s
content. Configure the DHCP server on the Linux system, and the content
of the configuration file on the DHCP server as follows:
ddns-update-style interim;
ignore client-updates;
subnet 10.10.10.0 netmask 255.255.255.0 {
range dynamic-bootp 10.10.10.20 10.10.10.100;
default-lease-time 21600;
max-lease-time 43200;
filename "pxelinux.0";
#option tftp-server-name "10.10.10.1";
next-server 10.10.10.1;
}
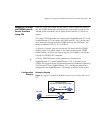
Ethernet Installation
Procedures
c
CAUTION: During the Linux system Ethernet installation, the OSN|M hard
disk is formatted and partitioned, and therefore the original data on the
hard disk is lost. Make sure to use the Ethernet installation function with
caution.
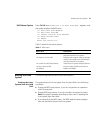
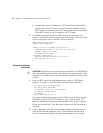
1 Enter the BIOS menu (for detailed procedures, refer to “BIOS Menu
Options” on page 27), and select 3 to select Ethernet installation.
<1> Boot Linux From HardDisk
<2> Boot Linux From USB
<3> Install Linux OS With Ethernet
<4> Enter Internal Shell
<5> Reboot
Enter your choice(1-5):3
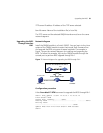
The system automatically connects to the DHCP server to obtain its own
IP address as well as the TFTP IP address. It then connects to the TFTP
server to download configuration and installation files. It then loads the
kernel and ramdisk files. The / # prompt indicates that the file loading is
complete.
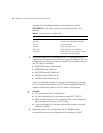
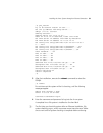
2 When / # appears, type the command
pxe_install and press Enter to
execute the Ethernet installation script. The installation process takes
about 20 minutes and displays the following messages as it proceeds.