


8
C
HAPTER
1: I
NSTALLING
THE
NJ220 I
NTELLIJACK
Installing the Adapter
Plate and Pass-Through
Ports
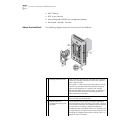
Install the blank adapter plate, or if you want to use pass-through ports for
connecting an analog or PBX digital telephone or for setting up a connection to a
separate network segment, purchase supported connectors and install them on
the appropriate IntelliJack adapter plate (included with the single pack; available
for purchase separately with the 20-pack).
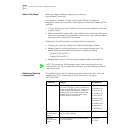
For a list of connectors that are supported with the IntelliJack adapter plates, as
well as any corresponding installation instructions, go to the IntelliJack section on
www.3com.com.
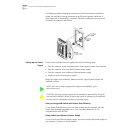
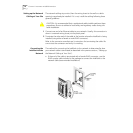
1 Pull the network cable(s) from the wiring closet to the location of the IntelliJack.
2 Thread the network cable(s) through the empty slot on the IntelliJack.
3 Terminate the end of the network cable(s) with the connector(s) you purchased
separately.
Refer to the connector manufacturer’s instructions for terminating the cable. Be
sure to test end-to-end system functionality and verify that it is working.
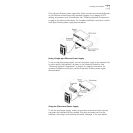
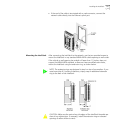
4 Snap the connector(s) into the appropriate adapter plate.
Each adapter plate is labeled with the name of a connector’s manufacturer. Be
sure to use the adapter plate that matches the manufacturer of your connector(s).
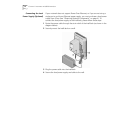
5 Mount the plate to the IntelliJack using the two adapter plate screws provided.
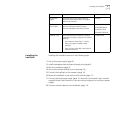
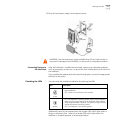
NOTE: If you are not planning on installing the adapter plate and pass-through
ports, skip this section. Go to “Planning the Installation” on page 9 to begin the
installation.