


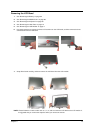

Chapter 3 81
2. See “Removing the Middle Cover” on page 68
3. See “Removing the Keyboard” on page 69
4. See “Removing the Heat Plate” on page 70
5. See “Removing the Audio Board” on page 85
6. See “Removing the CPU Heat Sink” on page 80
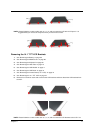
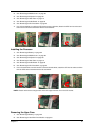
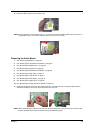
7. Use a flat screwdriver to unlock the CPU socket counter clockwise, detach the CPU from its socket and
then lock the CPU socket clockwise with the flat screwdriver.
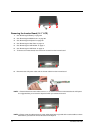
Installing the Processor
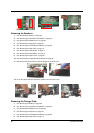
1. See “Removing the Battery” on page 62
2. See “Removing the Middle Cover” on page 68
3. See “Removing the Keyboard” on page 69
4. See “Removing the Heat Plate” on page 70
5. See “Removing the Audio Board” on page 85
6. See “Removing the CPU Heat Sink” on page 80
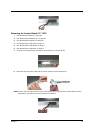
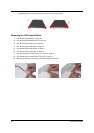
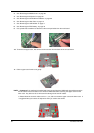
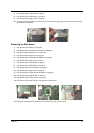
7. Use a flat screwdriver to unlock the CPU socket counterclockwise, attach the CPU into its socket and then
lock the CPU socket clockwise with the flat screwdriver
NOTE: Please make sure the triangle mark on the CPU aligns with the one on the CPU socket.
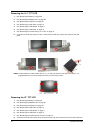
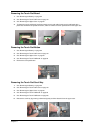
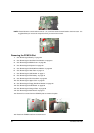
Removing the Upper Case
1. See “Removing the Battery” on page 62
2. See “Removing the Hard Disk Drive Module” on page 63