LTPH-UM-1109-01, Issue 1 Installation
H2TU-C-231 List 2 January 9, 2002 7
INSTALLATION
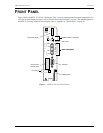
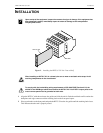
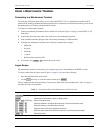
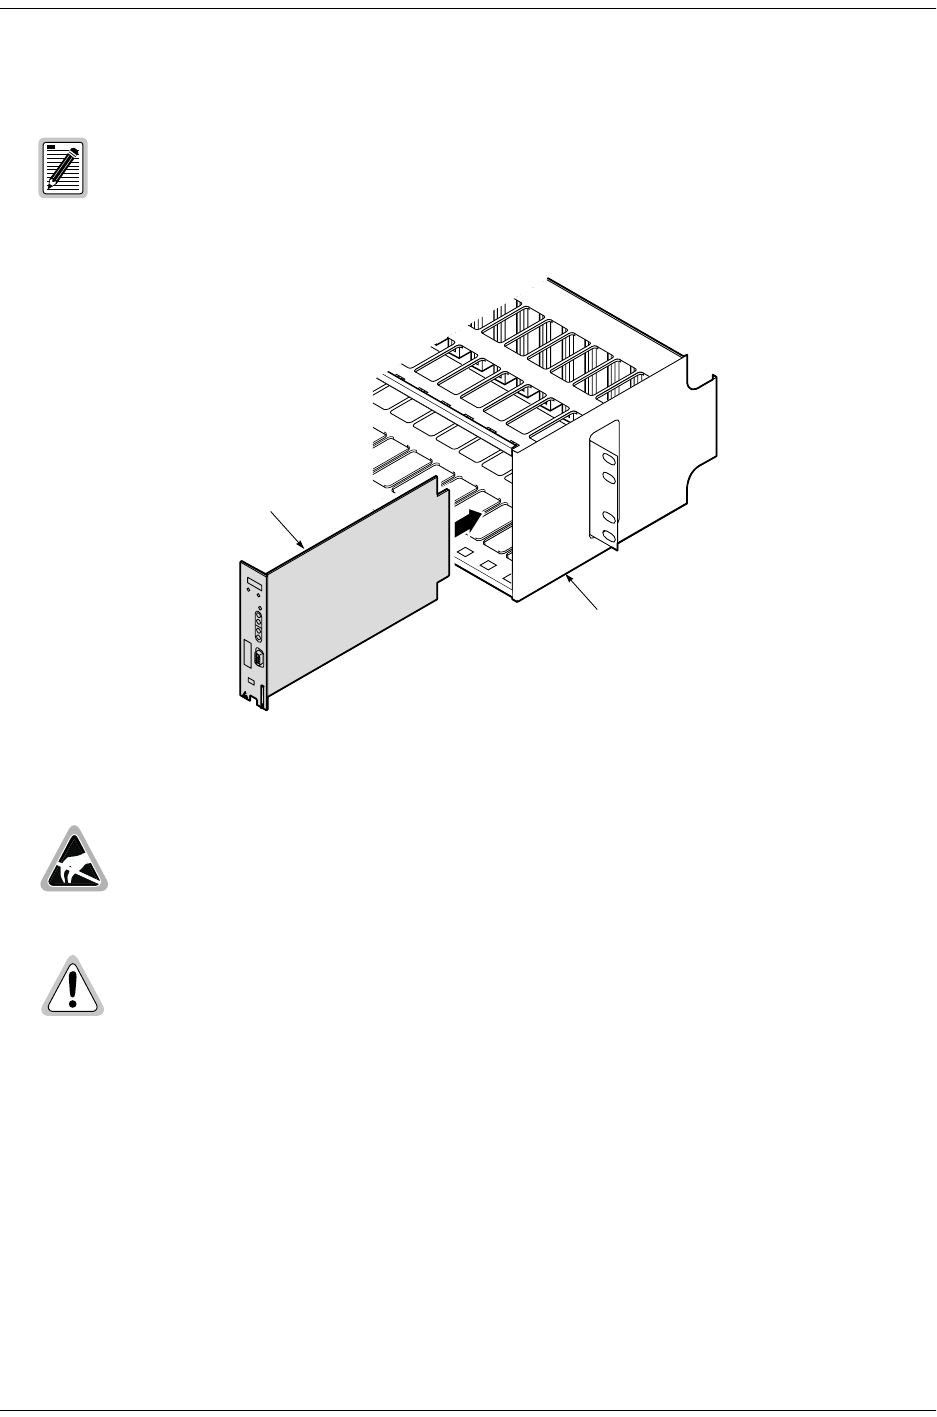
Figure 2. Installing the H2TU-C-231 List 2 into a Shelf
1 Align the H2TU-C with the enclosure slot guides and slide the unit in. Push the unit back until it touches the
backplane card-edge connector and the retaining latch on the front panel opens.
2 Place your thumbs on the front panel and push the H2TU-C into the slot guides until the retaining latch closes.
This indicates that the card is properly seated.
Upon receipt of the equipment, inspect the contents for signs of damage. If the equipment has
been damaged in transit, immediately report the extent of damage to the transportation
company and to ADC.
When installing an H2TU-C 231 in a chassis, be sure to wear an antistatic wrist strap. Avoid
touching components on the circuit board.
To comply with the intrabuilding wiring requirements of GR-1089 CORE, Section 4.5.9, the
shields of the ABAM-type cables that connect the H2TU-C-231 List 2 DSX-1 output ports to the
cross-connect panel must be grounded at both ends.
CO Shelf
PairGain
HLU-431
HiGain LINE UNIT
H2TU-C-231


