


8
Installing Synchrony
This section covers the connections, switch setting and software installation
procedures required to use the Synchrony application with the Adder TS4 unit.
Connections for Synchrony
When using the Synchrony software utility to provide automatic system
switching (according to mouse movements) it is necessary to link the Adder TS4
to the designated ‘primary’ system that will run the software utility.
Note: The remote control cannot be used in conjunction with the Adder TS4
when a Synchrony auto switching link is being used because they both use the
same switching socket.
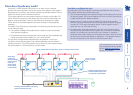
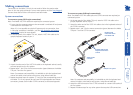
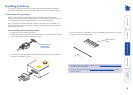
To connect the Synchrony serial link cable
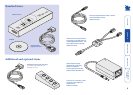
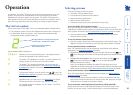
1 Locate the Synchrony serial link cable.
2 Attach the smaller of the two cable connectors to a vacant serial port socket
on the designated ‘primary’ computer system.
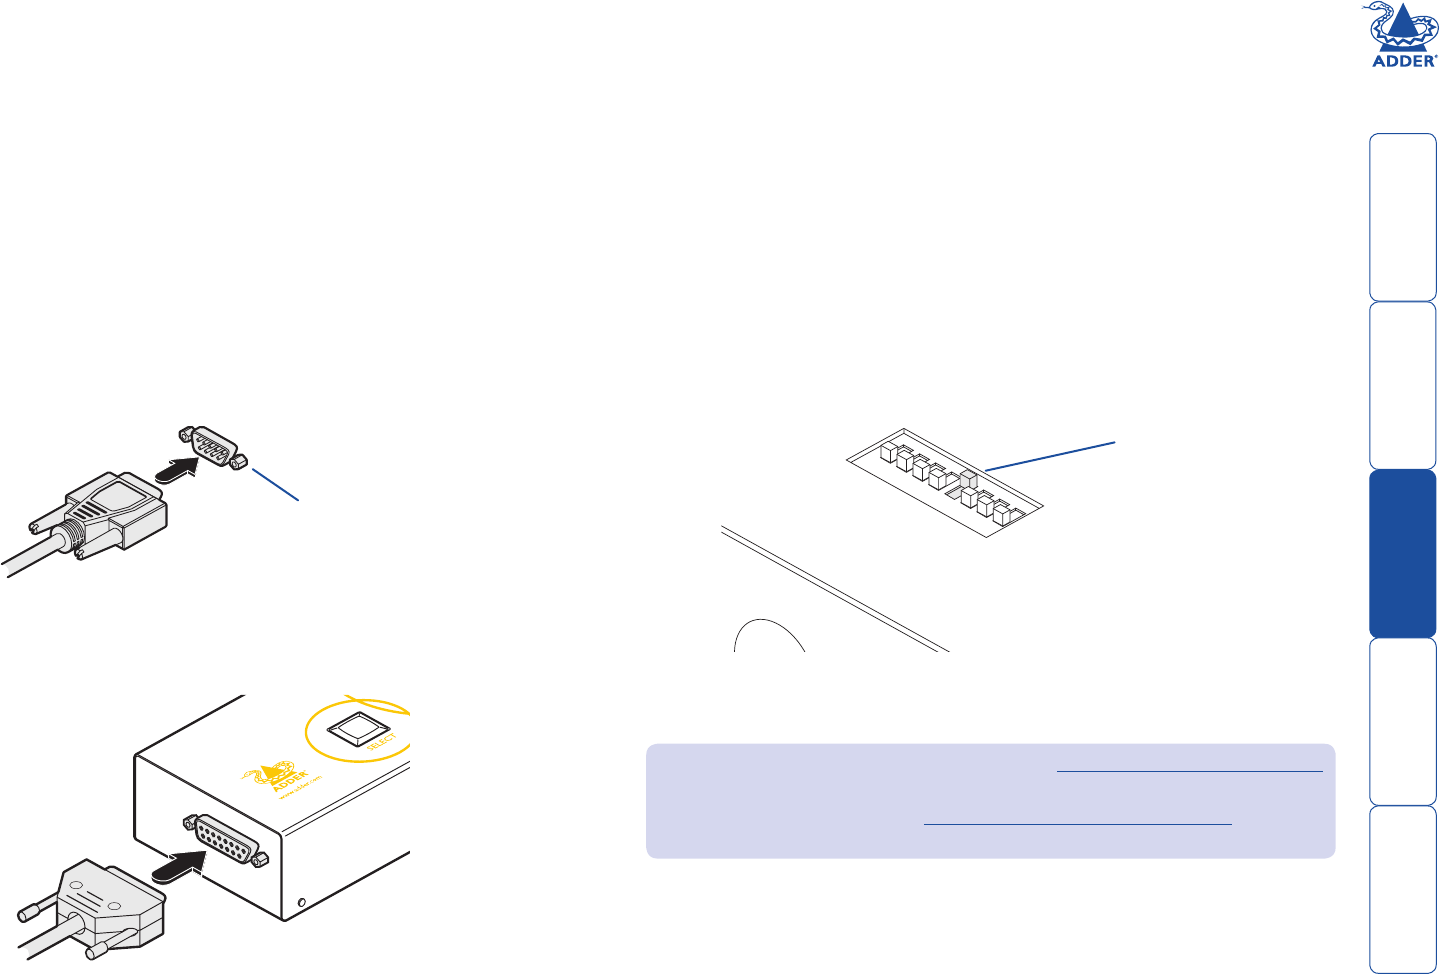
3 At the other end of the cable, attach the larger connector to the socket on
the end of the Adder TS4 unit.
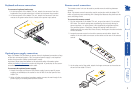
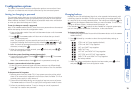
4 On the underside of the Adder TS4 unit, remember to set switch 5 to ON to
enable the auto switching mode.
1
2
3
4
5
6
7
8
ON
Vacant serial port
on designated
primary system
Change switch 5
to ON
• For application setup details, please refer to Configuration for Synchrony
starting on the next page.
• For more information about how the Synchrony system works, please
refer to page 3.