Getting Started 37
Voltage Test
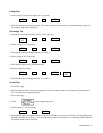
1. Set the voltage of the selected output to 10 V by pressing:
VSET 1 0 ENTER
2. Check that the display reads approximately 10 V and 0 A and the CV annunciator is on indicating that the supply is in
the constant voltage mode of operation.
Overvoltage Test
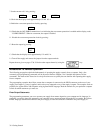
1. Program the overvoltage protection (OVP) to 19 V by pressing:
OV 1 9 ENTER
SET
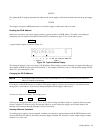
2. Set the voltage to 16 V by pressing:
VSET 1 6 ENTER
3. Check that the display reads approximately 16 V and 0 A.
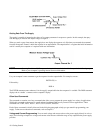
4. Set the voltage to 20 V by pressing:
VSET 2 0 ENTER
5. Check that the display reads "OVERVOLTAGE".
6. Reset the supply by pressing:
VSET 1 6 ENTER OV
RST
7. Check that the display reads approximately 16 V and 0 A.
Current Test
1. Turn off the supply.
2. Remove the barrier block cover from the output to be tested and connect a short circuit (jumper wire) between the +V
and -V terminals of the output being tested.
3. Turn on the supply.
4. Use the to select output being tested.
5. Set the voltage to 5 volts by pressing:
VSET 5 ENTER
6. Check that the display reads approximately 0 volts and the minimum current limit value (0.05 to 0.13A depending upon
the model and output, see Table 5-4). Also, check that the front panel CC annunciator is on indicating that the output is in
the constant current mode of operation.


