


16
Setting up the Projector
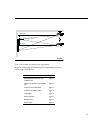
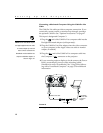
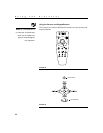
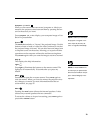
Connecting the Remote Control Cable
If the projector cannot receive the remote’s signal, as may be the
case if you’re using rear projection, connect the remote directly to
the projector with the remote cable.
NOTE: For more information on
using the remote, see page 21.
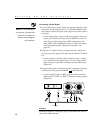
1
Plug the remote cable into the connector on the projector.
2
Plug the other end into the connector on the remote.
FIGURE 14
Connecting the remote control cable
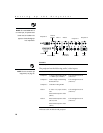
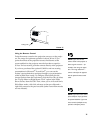
Connecting a Computer with an RS-232 Cable
You can control the projector from an LCD control panel by con-
necting an RS-232 cable to the projector (see Figure 8 on page 10).
See “RS232 Terminal Specifications” on page 57 for details.
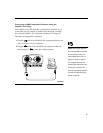
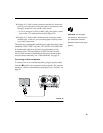
Powering up the Projector and Adjusting the Image
NOTE: Always use the power cord
that shipped with the projector.
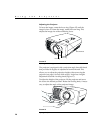
1
Remove the lens cap.
2
Plug the power cord into the side of the projector, then plug it
into your electrical outlet. A surge-protected power strip is
recommended if power surges are common in your area.
3
Turn on the projector by pressing the power button on the
remote or keypad.
•
The startup screen displays.