2-8 Chapter 2: BIOS setup
Do not turn off or reset the system during the ashing process!
9. The utility displays a
Flashing Complete
message indicating that
you have successfully
ashed the BIOS le.
Remove the oppy disk
then press <F1> to restart
the system.
AwardBIOS Flash Utility for ASUS V1.17
(C) Phoenix Technologies Ltd. All Rights Reserved
F1
Reset
For 690G-SB600-P5N73-AM_H-00 DATE: 12/12/2006
Flash Type - Winbond W39V080A (8Mb)
File Name to Program: P5N73-AM.bin
Flashing Complete
Press <F1> to Continue
Write OK No Update Write Fail
7. Press <N> when the utility prompts you to save the current BIOS le. The
following screen appears.
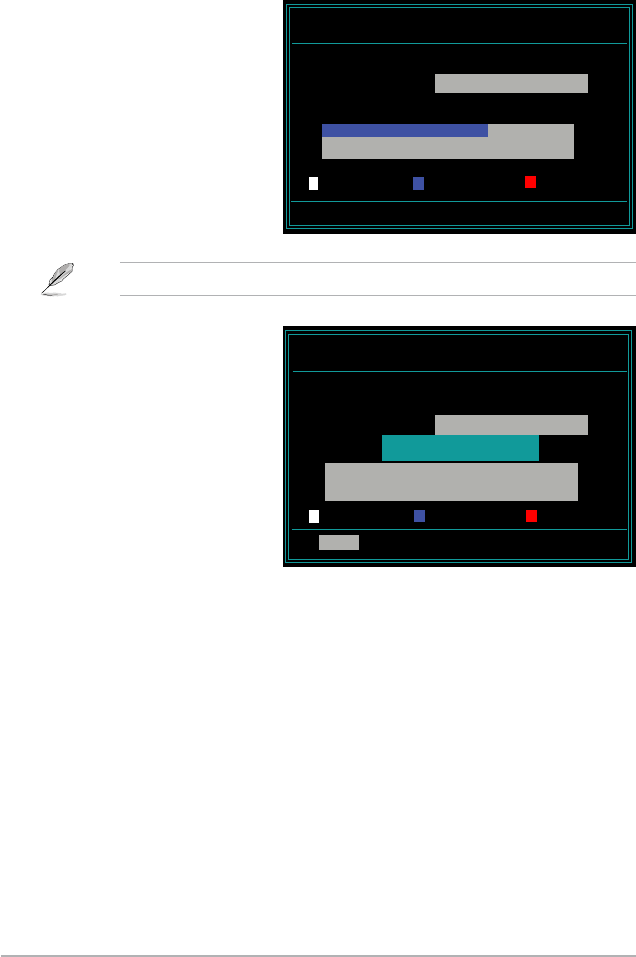
8. The utility veries the BIOS
le in the oppy disk, CD
ROM or a USB ash disk
and starts ashing the
BIOS le.
AwardBIOS Flash Utility for ASUS V1.17
(C) Phoenix Technologies Ltd. All Rights Reserved
Warning: Don’t Turn Off Power Or Reset System!
For 690G-SB600-P5N73-AM_H-00 DATE: 12/12/2006
Flash Type - Winbond W39V080A (8Mb)
File Name to Program: P5N73-AM.bin
Programming Flash Memory - OFE00 OK
Write OK No Update Write Fail


