


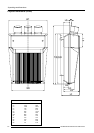


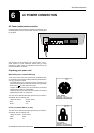


Projector set-up
5-2 5975638 BARCOGRAPHICS 1209s 010797
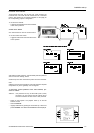
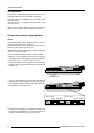
0
9
Addressable with RCU
Addressable with PC, MAC
or workstation
255
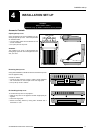
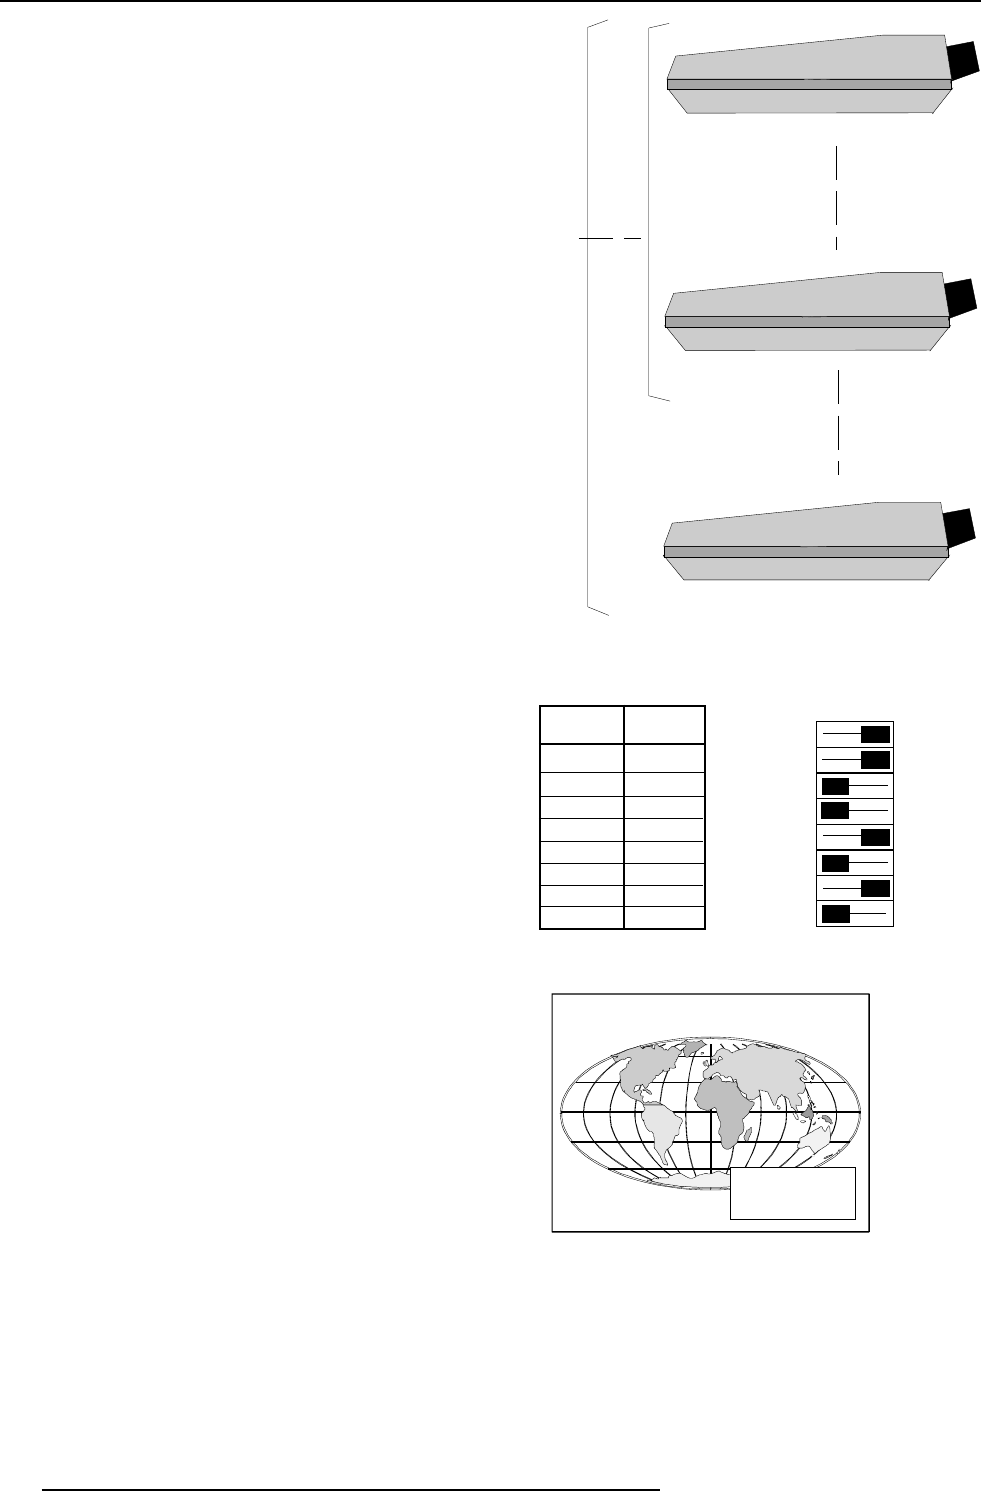
Setting the projector address
The projector's address may be set to any value between 0 and 255.
When the address is set, the projector can be controlled now by :
ρ the RCU for addresses between 0 and 9.
ρ a IBM PC (or compatible) or Apple MAC for addresses between 0
and 255.
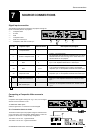
1 128
2 64
3 32
4 16
5 8
6 4
7 2
8 1
Setting the address is a hardware SET-UP of your projector which
must be done during installation. Use the 8 DIP switches provided on
the controller board labelled 'Projector Address'.
Each DIP switch has its own decimal value. The sum of the values
associated to those DIP switches gives the address. As shown in
the table, if Switch No. 1 is set to ON, it represents a decimal value
of 128, Switch No.2 for 64, Switch No.3 for 32, and so forth.
In the given example, the projector address is set to 202 :
DIP switch No. : 1 2 3 4 5 6 7 8
Position ON/OFF : 1 1 0 0 1 0 1 0
Sum : 1x128 + 1x64 + 0x32 + 0x16 + 1x8 + 0x4 + 1x2 + 0x1 = 202
Factory preset address = 0
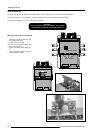
Note :
When the address button on the RCU is pressed, the projector will
display its own address on the screen. Once the address button is
pressed, to continue using your RCU, it is necessary to enter an
address, even when the displayed address is correct. Use the
numeric keys to enter the address.
For more information, please refer to the Owner's Manual of this
projector.
1
2
3
4
5
6
7
8
0
1
OFF ON
Switch No Value
PROJECTOR
ADDRESS
001