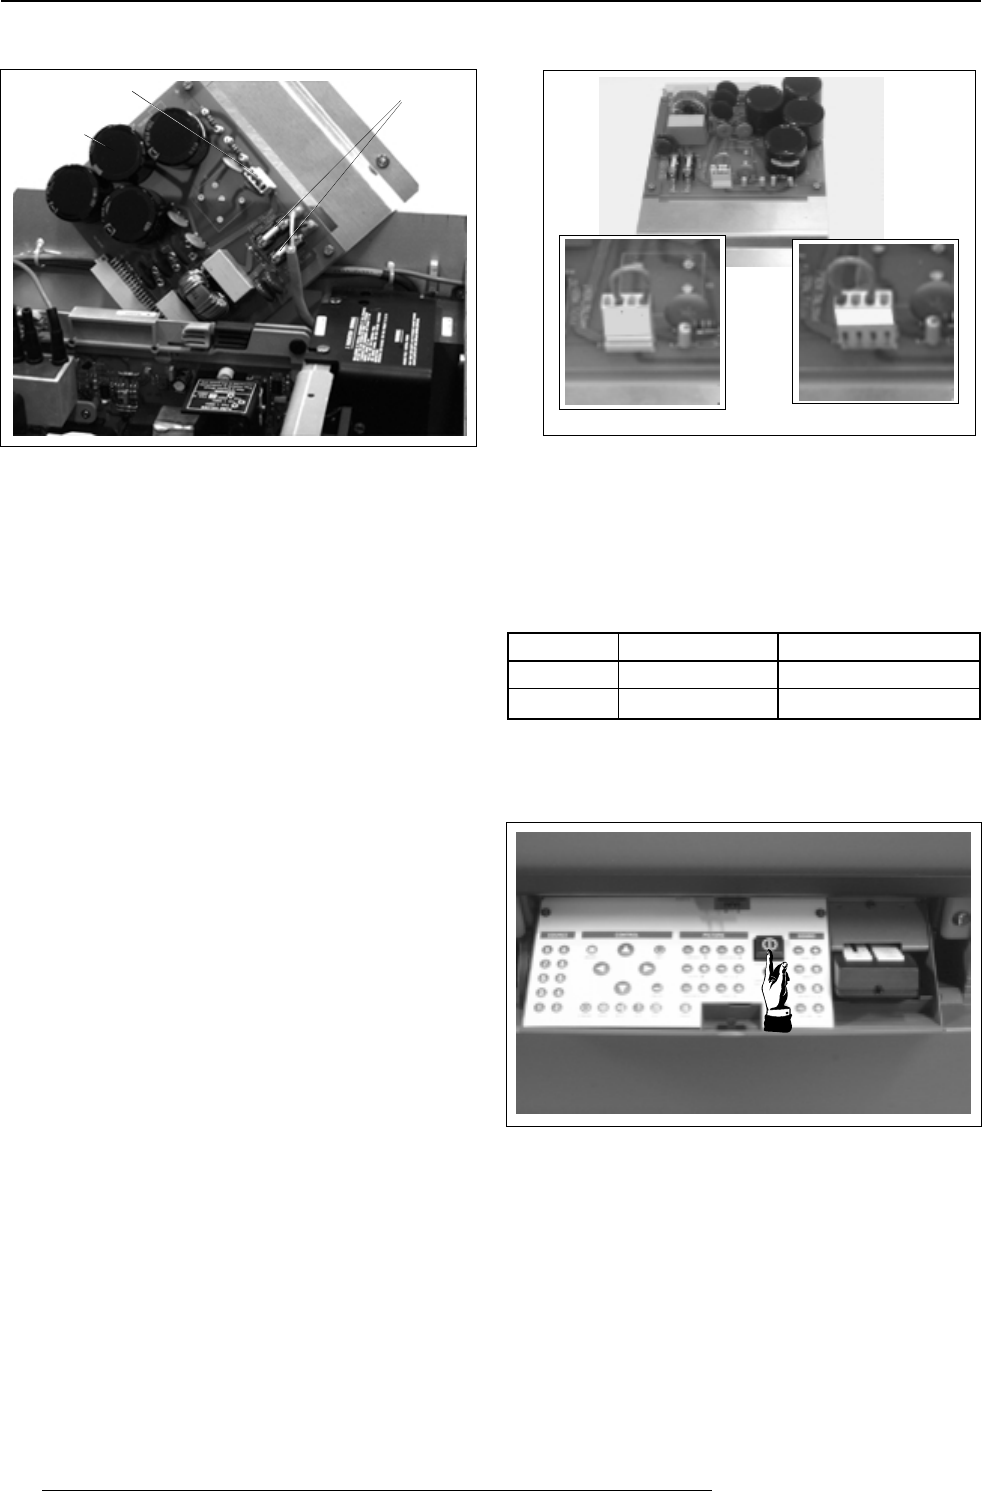
AC power connection
5-4 5975198 RETRODATA 808s 210397
* Pull out the 'power selector plug' and re-insert it as illustrated in the
drawing, depending on the wall outlet in the room.
Power selector on 230V
Power selector on 120V
230V
120V
2
* Pull out the fuses and place the correct fuses in their sockets. See
the table below for the correct type of fuses.
* Re-insert the power input board and secure it with the retaining
screws.
Fuses
Warning !
For continued protection against fire hazard :
❒ Replace with the same type of fuse.
❒ Refer replacement to qualified service personnel.
AC power Fuses Order Number
230 Vac T6.3A/250V (2x) R314145
120 Vac T10A/250V (2x) R314154
Switching on the projector
Push the power (mains) switch on the local keyboard to switch the
projector ON and OFF :
❒ if the switch is pressed : ON
❒ if the switch is Not pressed : OFF
The projector can be started up in the 'operational mode' (image
displayed) or in the 'stand-by mode', depending on the position of the
'power-up' DIP switch on the controller unit (see p.5-2). This DIP
switch is set during installation by a qualified technician. If you want
to change this start up mode, call a qualified technician.
Power indication lamp :
OFF : no power
Green : projector in operational mode
Red : projector in stand-by mode
When switching on the projector, with the power switch or via the
stand-by key, the projector can start up in two ways if the "CRT run
in cycle" option is switched OFF :
❒ a full white image (projector warm up) or
❒ immediately image display.
The way of starting up can be set in the service mode.
AC Power
input board
Fuses
Power selector plug
1


