


Positioning your projector 11
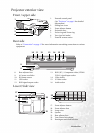
Positioning your projector
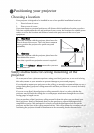
Choosing a location
Your projector is designed to be installed in one of two possible installation locations:
1. Floor in front of screen
2. Floor at rear of screen
Your room layout or personal preference will dictate which installation location you select.
Take into consideration the size and position of your screen, the location of a suitable power
outlet, as well as the location and distance between the projector and the rest of your
equipment.
Safety instructions for ceiling mounting of the
projector
We want you to have a pleasant experience using your BenQ projector, so we need to bring
this safety matter to your attention to prevent damage to person and property.
If you intend to mount your projector on the ceiling, we strongly recommend that you use a
proper fitting BenQ projector ceiling mount kit and that you ensure it is securely and safely
installed.
If you use a non-BenQ brand projector ceiling mount kit, there is a safety risk that the
projector may fall from the ceiling due to an improper attachment through the use of the
wrong gauge or length screws.
You can purchase a BenQ projector ceiling mount kit from the place you purchased your
BenQ projector. BenQ recommends that you also purchase a separate Kensington lock
compatible security cable and attach it securely to both the Kensington lock slot on the
projector and the base of the ceiling mount bracket. This will perform the secondary role of
restraining the projector should its attachment to the mounting bracket become loose.
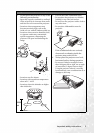
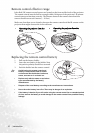
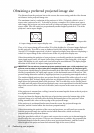
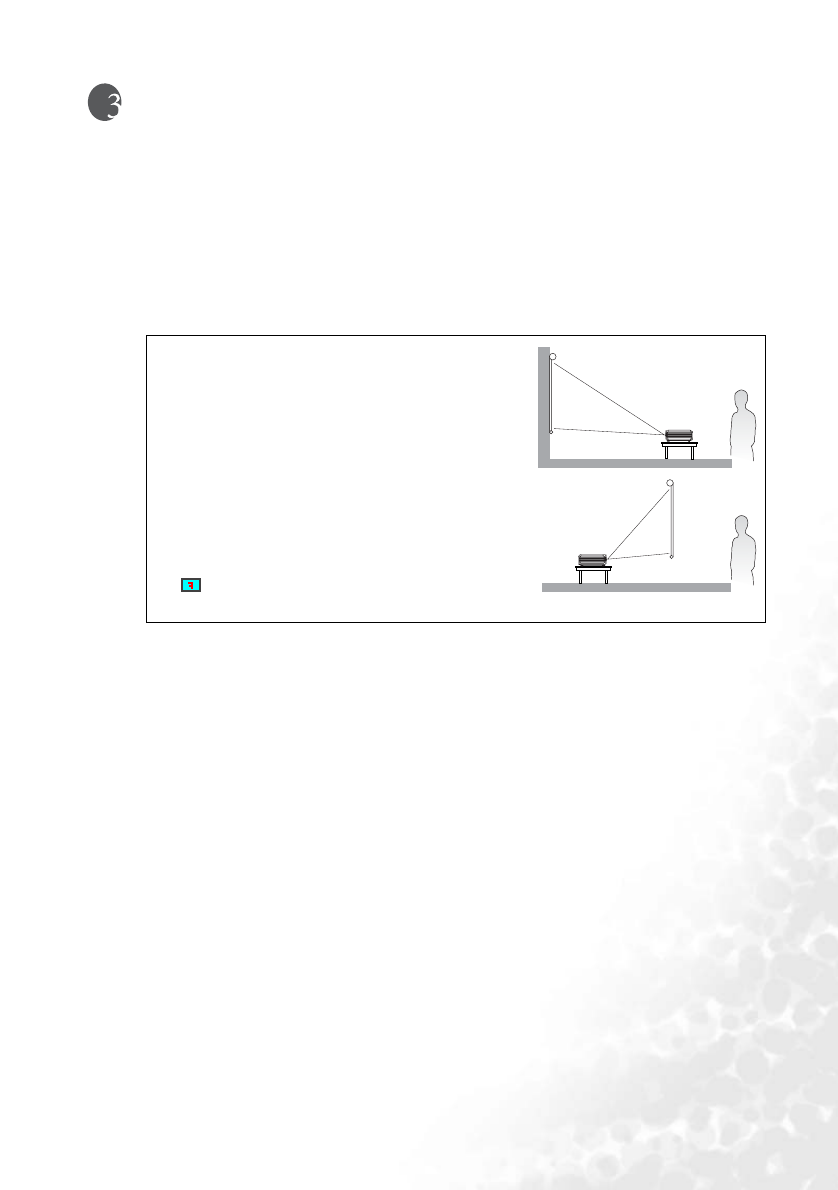
1. Floor front
Select this location with the projector placed near the
floor in front of the screen. This is the most common
way to position the projector for quick setup and
portability.
2. Floor rear
Select this location with the projector placed near the
floor behind the screen.
Note that a special rear projection screen is required.
Set in the Advance > Mirror menu after you turn
the projector on.