


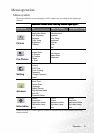
Operation 25
Optimizing the image
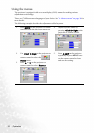
To optimize the image, use the buttons on the projector or remote control, the on-screen
menus. For the operation of on-screen menus, refer to "Using the menus" on page 32.
The following instructions are optional. You do not following every step. It depends on the
image quality you desire.
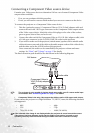
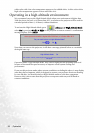
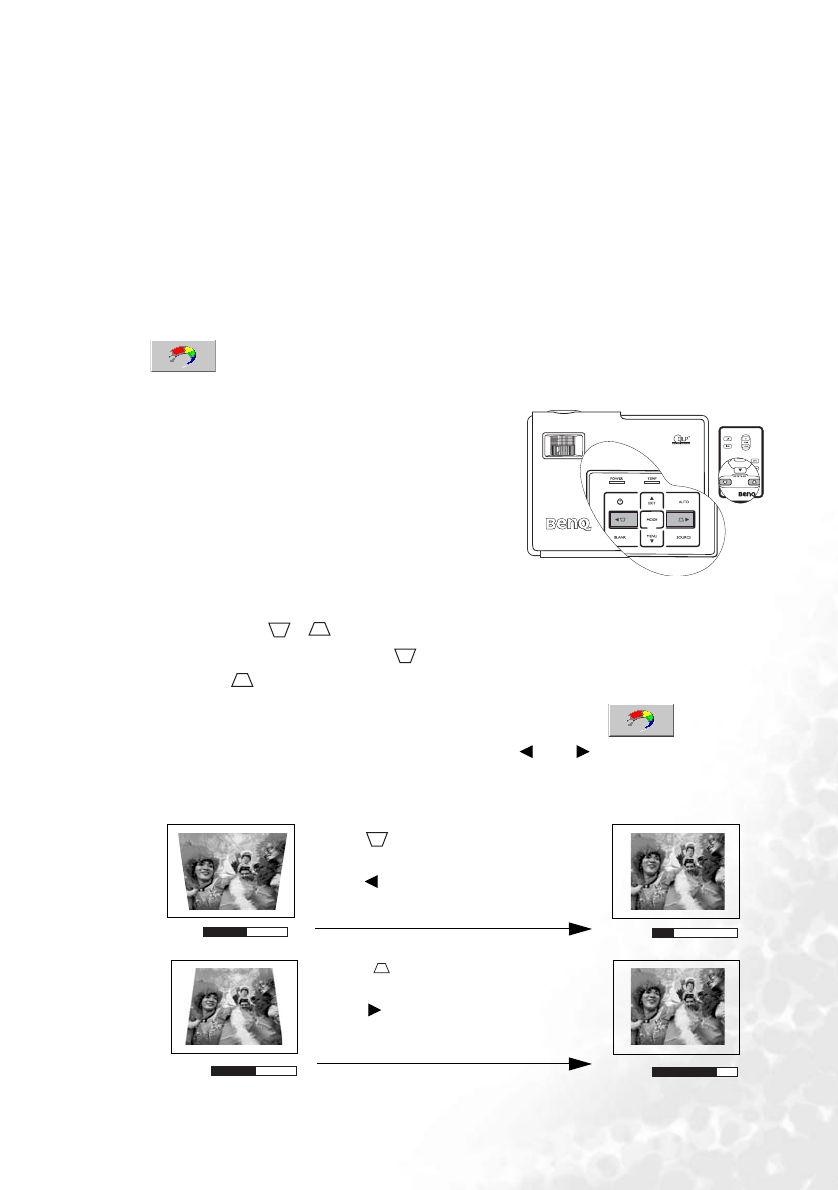
Correcting keystone
Keystoning refers to the situation where the projected image is noticeably wider at either the
top or bottom. It occurs when the projector is not perpendicular to the screen.
The projector can automatically detect and adjust the keystoning if the Auto Keystone
function is On, which is the default for this projector. You can check the function out in the
Picture menu. It takes about 3 seconds after the projection starts for the image to
be corrected.
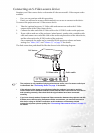
If you need to manually correct the keystoning,
perform the following steps. The Auto Keystone
function becomes inactive once you make keystone
adjustments through the hot keys or on-screen menus
by yourself.
1. Adjust the projection angle of the projector.
2. Press the AUTO button on the projector or
remote control.
3. If the image is still distorted, you can correct it
by following ONE of these steps.
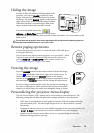
•Press / on the projector or remote control to display the status bar
labelled Keystone. Press to correct keystoning at the top of the image. Press
to correct keystoning at the bottom of the image.
•Press MENU on the projector or remote control. Go to
Picture -->
Keystone and adjust the values by pressing Left/ Right on the projector or
remote control.
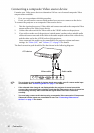
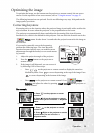
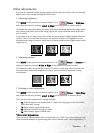
For example,
0
Keystone
-6
Keystone
0
Keystone
+6
Keystone
1. Press on the projector or remote
control or
2. Press Left
on the projector or remote
control when you are in Picture --> Keystone
menu.
1. Press on the projector or remote
control or
2. Press Right on the projector or remote
control when you are in Picture -->
Keystone menu.