28
Using the projector
English
Setting the User 1/User 2 mode
There are two user-definable modes if the current available picture modes are not suitable for your need.
You can use one of the picture modes (except the selected User mode) as a starting point and customize the
settings.
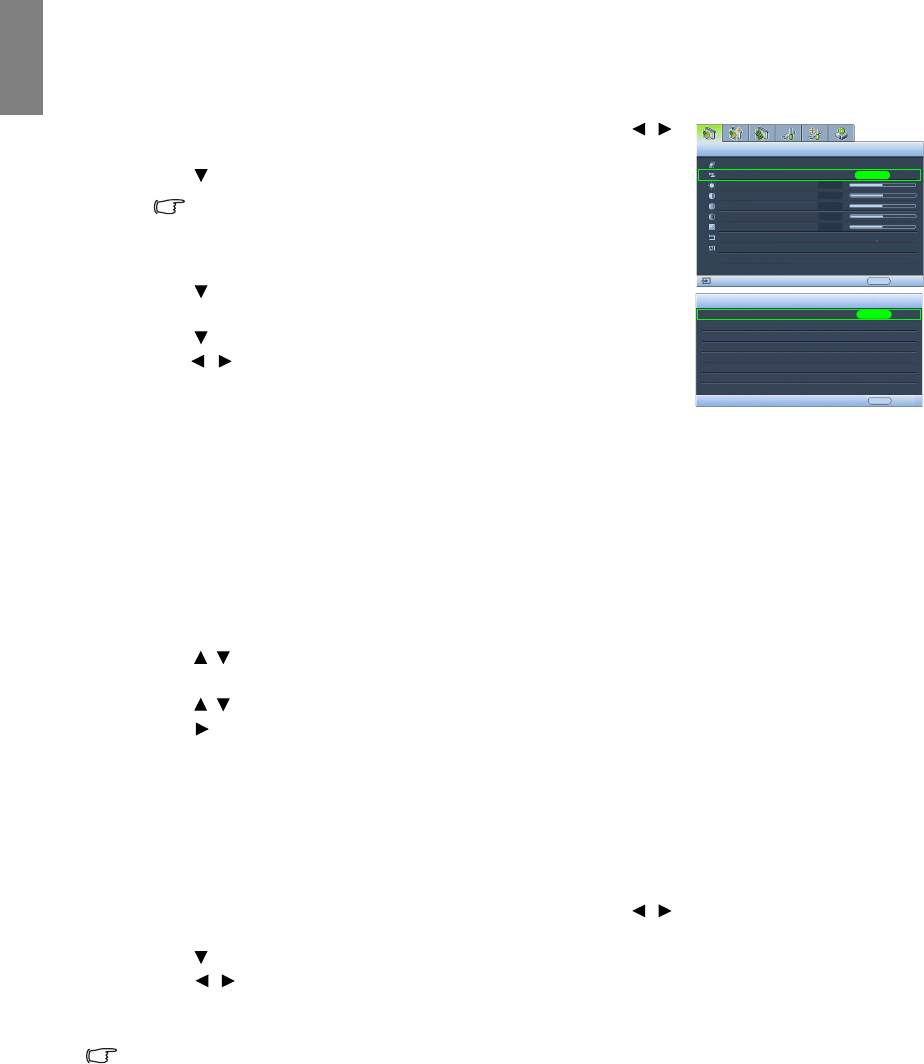
1. In the Picture -- Basic menu, highlight Picture Mode and press /
to select User 1 or User 2 mode.
2. Press to highlight Load Settings From.
This function is only available when User 1 or User 2 mode is
selected up in the Picture Mode sub-menu item.
3. Press ENTER to display the Load Settings From page.
4. Press to highlight a picture mode that is closest to your need and
press ENTER and EXIT.
5. Press to select a sub-menu item to be changed and adjust the value
with / . See "Fine-tuning the picture quality" on page 29 and
"Advanced picture quality controls" on page 30 for details.
6. When all settings have been done, press MENU on the projector or
MENU/EXIT on the remote control to save and leave the settings.
Renaming user modes
You can change User 1 and User 2 to the names easy to be identified or understood by the users of this
projector. The new name can be up to 12 characters including English letters (A-Z, a-z), digits (0-9), and
space (_).
To rename user modes:
1. In the Picture -- Basic menu, highlight Rename User Mode and press ENTER to display the Rename
User Mode page.
2. Press / to highlight the item you want to rename and press ENTER. The first letter will be
highlighted by a white box.
3. Press / to select the first character.
4. Press to move along until the new name is set and press ENTER to confirm.
5. Repeat steps 2-4 if you want to change the other names.
Resetting the picture mode
All of the adjustments you’ve done in the Picture -- Basic and Picture -- Advanced menus can be returned
to the factory preset values with a key press on the highlight of Reset.
To reset the picture mode to the preset factory values:
1. In the Picture -- Basic menu, highlight Picture Mode and press / to select the picture mode
(including User 1 or User 2) you want to reset.
2. Press to highlight Reset Picture Settings and press ENTER. The confirmation message is displayed.
3. Press / to highlight Reset and press ENTER. The picture mode will return to the factory preset
settings.
4. Repeat steps 1-3 if you want to reset other picture modes.
Do not to be confused with the Reset Picture Settings function here with the Reset All Settings in the
Advanced Setup menu. The Reset All Settings function returns most of the settings to the factory preset
values system wide. See "Reset All Settings" on page 48 for details.
Picture Mode
Load Settings From
Brightness
Contrast
Tint
Sharpness
Reset Picture Settings
Rename User Mode
Picture -- Basic
S-Video
User 1
EXIT Back
ENTER
ENTER
EXIT Back
Load Settings From
Cinema Mode
Dynamic Mode
Presentation Mode
User 1
User 2
sRGB
+50
0
Color
+50
+50
+ 3


