


30
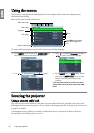
Using the projector
English
Advanced picture quality controls
There are more advanced functions in the Picture -- Advanced menu to be adjusted to your preference. To
save the settings, just press MENU on the projector or MENU/EXIT on the remote control to leave the
OSD menu.
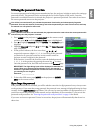
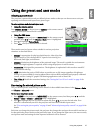
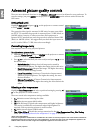
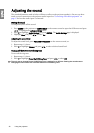
Setting Black Level
Highlight Black Level and press / on the projector or remote control
to select 0 IRE or 7.5 IRE.
The grayscale video signal is measured in IRE units. In some areas which
use NTSC TV standard, the grayscale is measured from 7.5 IRE (black) to
100 IRE (white); however, in other areas where PAL equipment or
Japanese NTSC standards are used, the grayscale is measured from 0 IRE
(black) to 100 IRE (white). We suggest that you check the input source to
see if it is with 0 IRE or 7.5 IRE, then select accordingly.
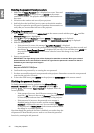
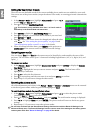
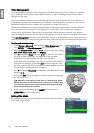
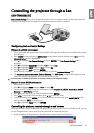
Controlling image clarity
You may have static or noisy projected pictures.
To achieve better picture clarity:
1. Highlight Clarity Control and press ENTER on the projector or remote
control to display the Clarity Control page.
2. Press / to select the item you want to adjust and press / to set
the desired value.
• Noise Reduction: Reduces electrical image noise caused by
different media players. The higher the setting, the less the noise.
• Detail Enhancement: Sharpens the image. The higher the setting,
the more details the image reveals.
• Luma Transmission (Luminance Transmission Improvement):
Enhances picture brightness. The higher the setting, the more
distinct the effect.
• Chroma Transmission (Chroma Transmission Improvement):
Reduces color smear. The higher the setting, the more distinct the
effect.
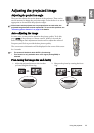
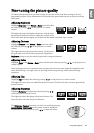
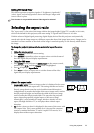
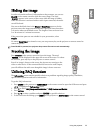
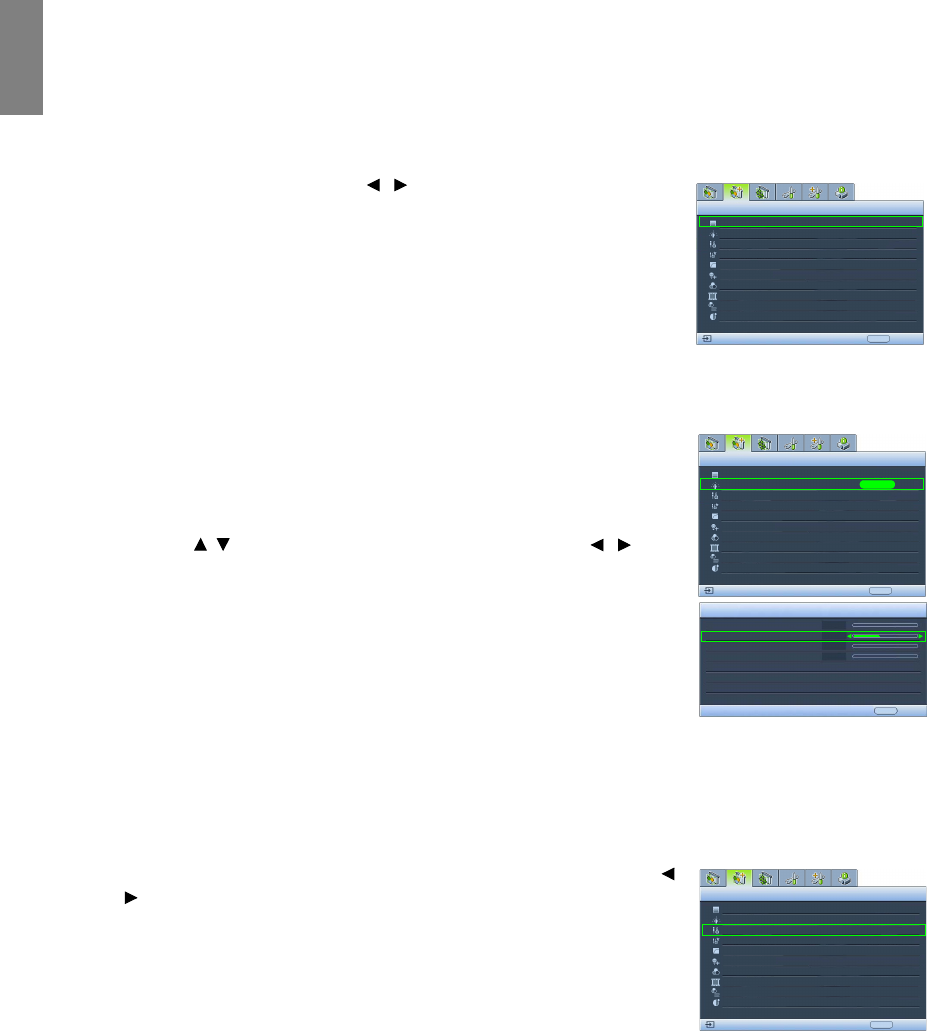
Selecting a color temperature*
Highlight Color Temperature and select a preferred setting by pressing /
on the projector or remote control.
There are several color temperature settings available.
1. T1: Maintains normal colorings for white.
2. T2: Makes pictures appear bluish white.
3. T3: With the lamp’s original color temperature and higher brightness.
This setting is suitable for environments where high brightness is
required, such as projecting pictures in well lit rooms.
4. T4: Makes pictures appear reddish white.
5. User 1/User 2/User 3: Recalls the settings customized in the Color Temperature User_ Fine Tuning
menu. See "Setting a preferred color temperature" on page 31 for details.
*About color temperatures:
There are many different shades that are considered to be "white" for various purposes. One of the common methods of
representing white color is known as the “color temperature”. A white color with a low color temperature appears to be
reddish white. A white color with a high color temperature appears to have more blue in it.
Black Level
Clarity Control
Color Temperature
Picture -- Advanced
S-Video
0 IRE
EXIT Back
T1
Color Temperature User_ Fine Tuning
Gamma Selection
Color Management
Brilliant Color
2
Dynamic Black
3D Comb Filter
Film Mode
On
On
On
Black Level
Clarity Control
Color Temperature
Picture -- Advanced
S-Video
0 IRE
EXIT Back
T1
Gamma Selection
Color Management
Brilliant Color
ENTER
Clarity Control
Noise Reduction
Detail Enhancement
Luma Transmission
Chroma Transmission
0
+3
0
0
2
EXIT Back
On
Dynamic Black
On
Film Mode
On
On
Color Temperature User_ Fine Tuning
3D Comb Filter
Black Level
Clarity Control
Color Temperature
Picture -- Advanced
S-Video
0 IRE
EXIT Back
T1
Color Temperature User_ Fine Tuning
Gamma Selection
Color Management
2
Brilliant Color
On
Dynamic Black
On
3D Comb Filter
Film Mode
On
On