


724-746-5500 | blackbox.com
724-746-5500 | blackbox.com
Page 29
Chapter 4: Service Setup
Navigating the OSD Utility
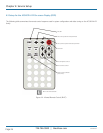
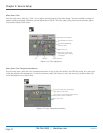
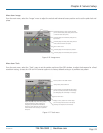
1. Use the left and right arrow, shown in Figures 4-3 and 4-7 to highlight the icon you want. The OSD displays additional icons
relating to commands in the selected menu category.
2. Press the Enter key. The OSD highlights the first command icon.
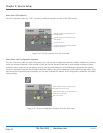
3. Use the Left and Right arrow keys to highlight the command or submenu you want. In the case of the latter, your selection will
cause the OSD to display additional command icons (Color Temperature commands, for example).
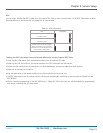
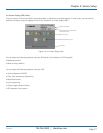
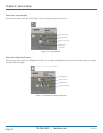
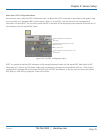
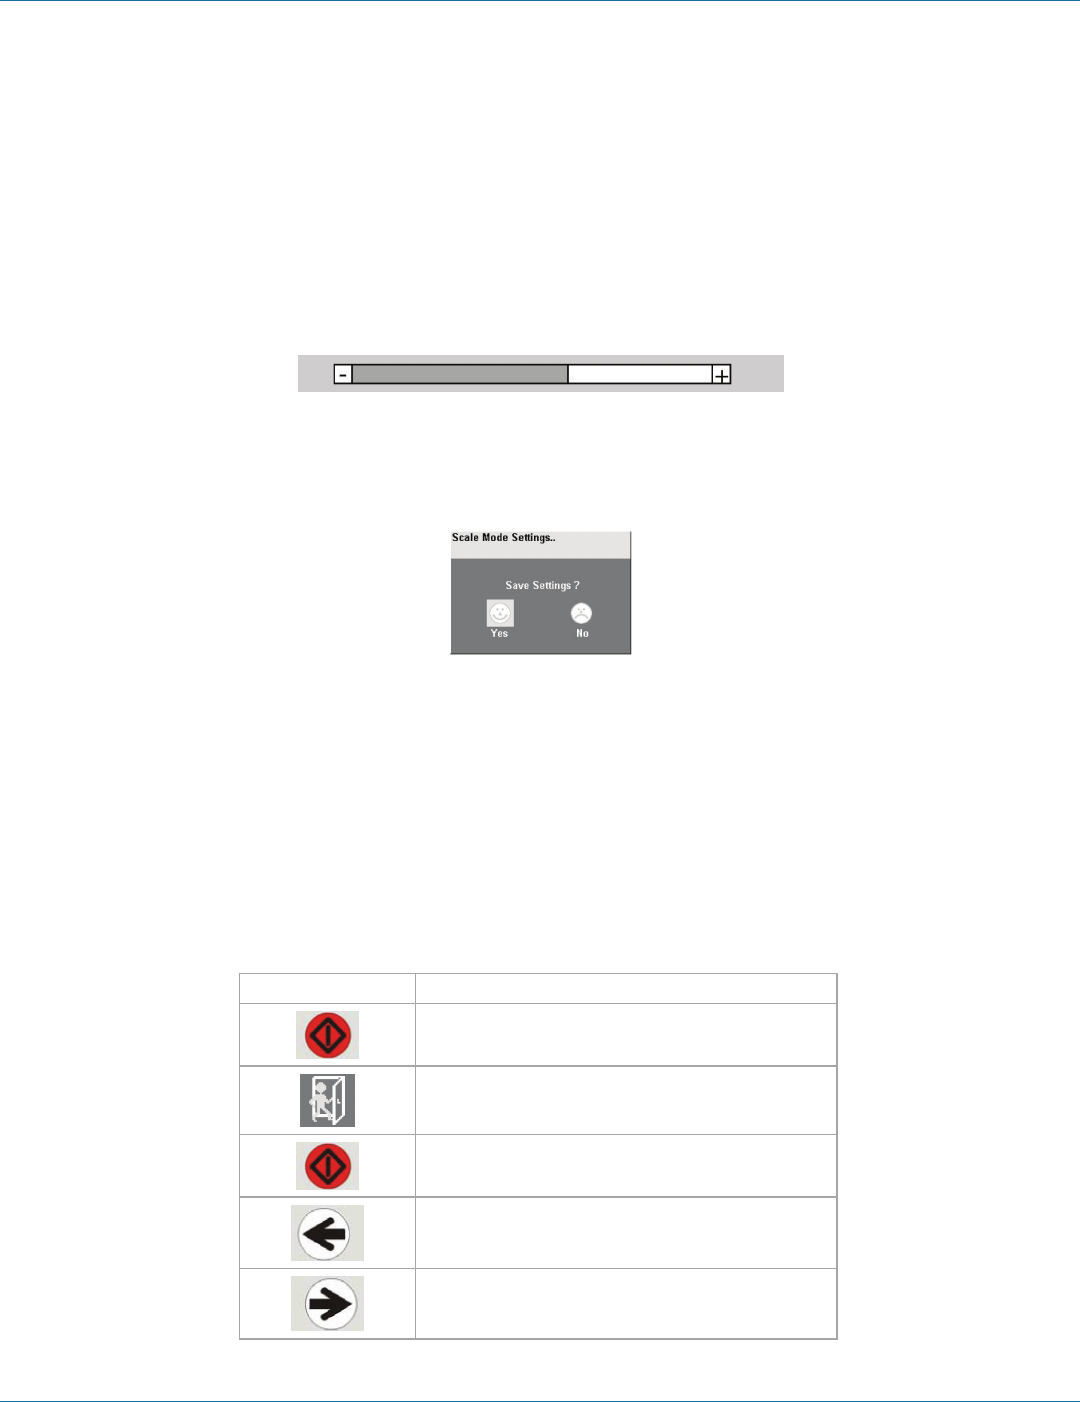
4. Press the Enter key to accept a highlighted command. If this requires the increase or decrease of a value (Contrast, for
example), the OSD displays a value bar:
Figure 4-9. OCD Value Bar.
5. Use the left and right arrow keys to change the value.
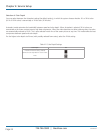
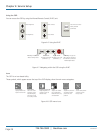
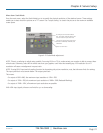
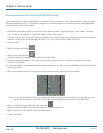
6. In many cases, after you have chosen a new setting, the OSD displays the following confirmation message:
Figure 4-10. Confirmation Dialog
7. Highlight the “Yes“ button and press the Enter key to confirm your choice. Or, highlight the “No“ button and press the Enter
key to discard the new setting and restore the previous value.
8. Select the Exit icon to close a submenu.
9. Press the Esc key to close the OSD, saving all settings, and restore normal mouse and keyboard functions.
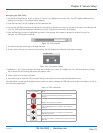
The table below summarizes the keyboard actions and icons used to navigate the OSD utility, and to select and adjust the VGA to
DVI Converter’s parameters:
Key or Icon, IR-RC Action
Close the OSD, and restore normal keyboard and mouse
functions.
Return to the previous menu selection.
Open the highlighted menu or submenu; also, accept the
command.
Select the previous menu or command icon; decrease the
highlighted parameter.
Select the next menu or command icon; increase the selected
parameter.
Table 4-4. DDC Information
ACS4002A-R2