12
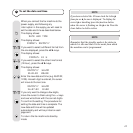
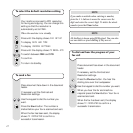
When you connect the fax machine to the
power supply, and following any
interruption in the supply you will need to
set the date and time as described below.
The display shows:
DATE AND TIME
The display shows:
FORMAT: DD/MM/YY
If you want to select a different format from
the one displayed, press the ᭣/᭤ keys.
The display shows:
FORMAT: 24 H
If you want to select the other time format
(12-hour), press the ᭣/᭤ keys.
The display shows:
DD/MM/YY HH:MM
01-01-02 00:00
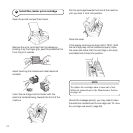
Enter the new date and time (e.g. 26-07-02;
12:00). As each digit is entered, the cursor
will move to the next one.
DD/MM/YY HH:MM
26-07-02 12:00
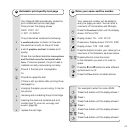
If you only want to change a few digits,
move the cursor to them using the < > keys
and overwrite them with the correct digits.
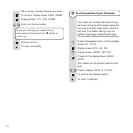
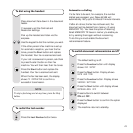
To confirm the setting. The procedure for
setting the date and time is complete. The
new date and time will be updated
automatically and will be printed on each
page sent.
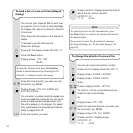
To return the fax machine to stand-by
mode.
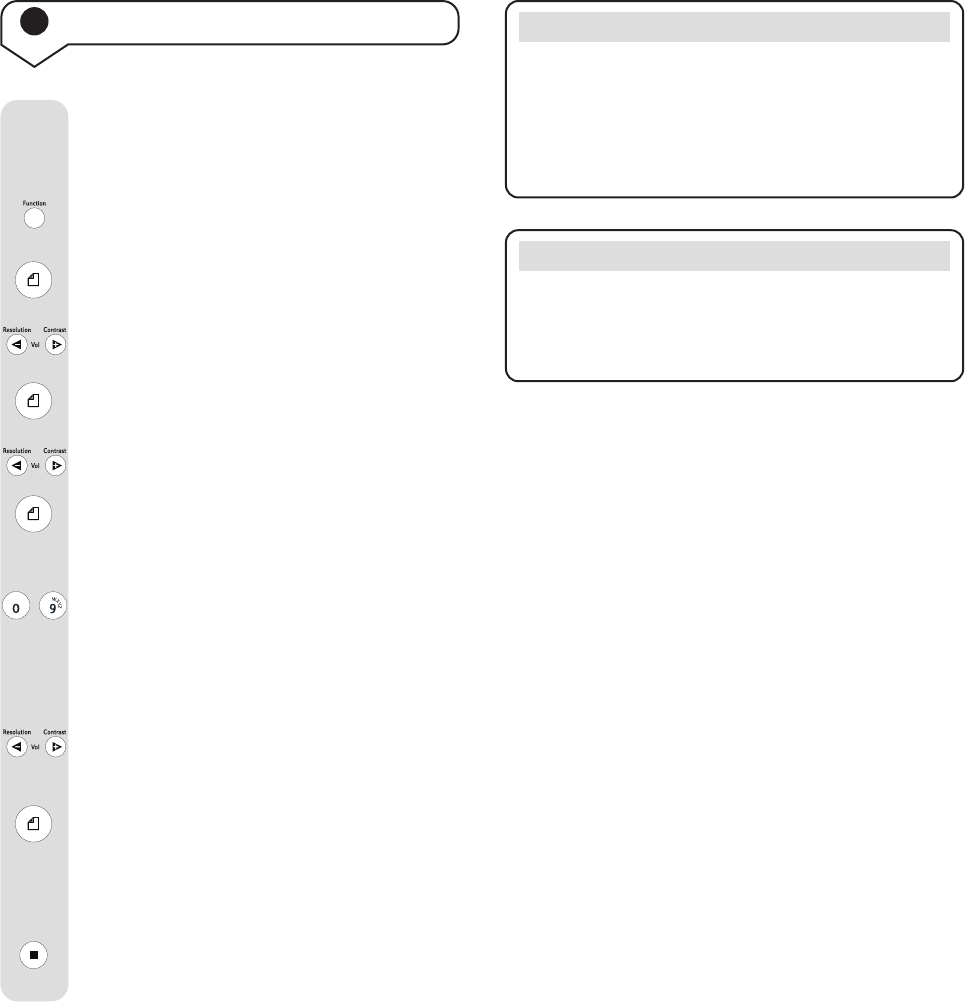
7 To set the date and time
NOTE
If you have selected the 12 hour clock the letter p
from pm or a for am is displayed. To display the
correct p or a setting press the function button
when the cursor is flashing on the p or a. Press the
clear button to delete entries.
NOTE
Remember that the stand-by mode is the status in
which it is idle and that it is the mode from which
the machine can be programmed.
/


