Installing the Printer Driver
26
STEP 2
Windows
®
Windows
®
Wireless
Network
Configuration using the automatic wireless (one-push) method
If your wireless access point supports either
SecureEasySetup™, Wi-Fi Protected Setup™
(PBC
1
) or AOSS™, you can configure the machine
easily without a computer. By pushing a button on the
wireless LAN router / access point and the machine,
you can setup the wireless network and security
settings. See the user’s guide for your wireless LAN
router / access point for instructions on how to access
one-push mode.
1
Push Button Configuration
Note
Routers or access points that support
SecureEasySetup™, Wi-Fi Protected Setup™ or
AOSS™ have the symbols shown below.
Configure the wireless settings
1 Make sure the printer power switch is on.
2 Turn on your computer. (You must be logged
on with Administrator rights.)
3 Put the supplied CD-ROM into your CD-ROM
drive. The opening screen will appear
automatically.
Choose your printer model and the language.
Note
If the opening screen does not appear, use
Windows
®
Explorer to run the start.exe program
from the root folder of the Brother CD-ROM.
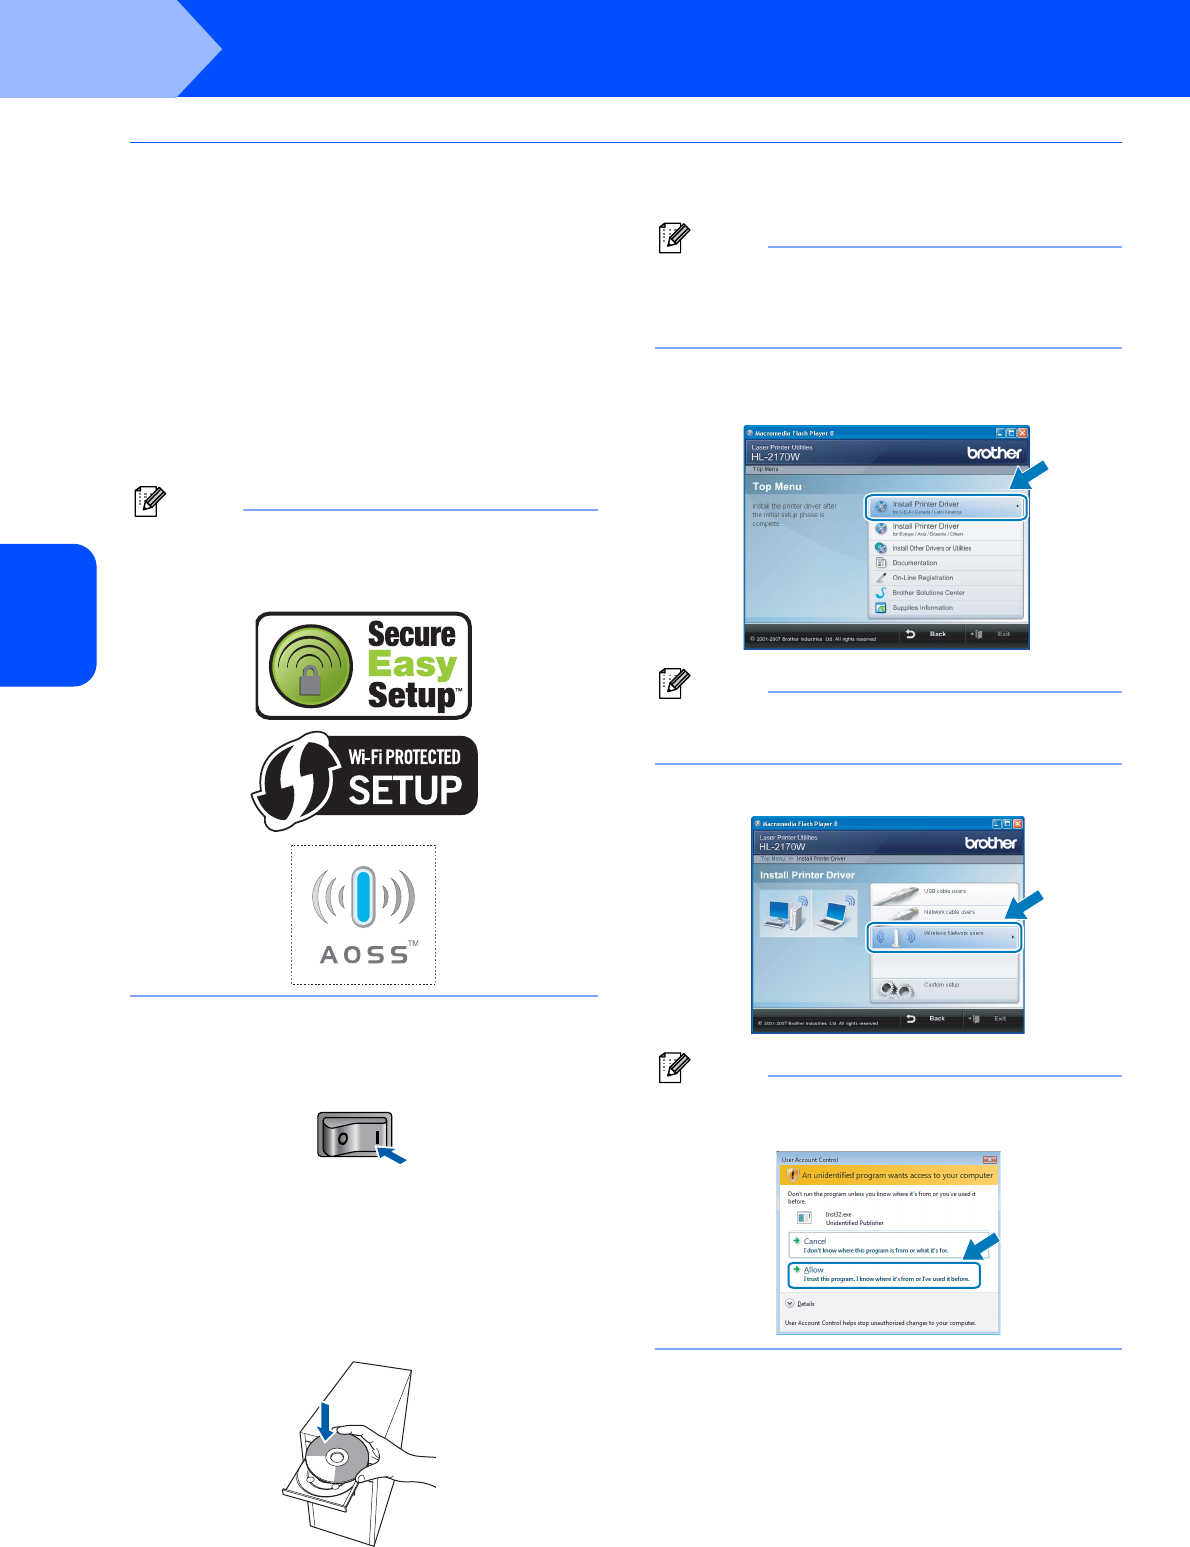
4 Click Install Printer Driver on the menu
screen.
Note
Choose the Install Printer Driver icon for your
region.
5 Click Wireless Network users.
Note
For Windows Vista™, when the User Account
Control screen appears, click Allow.


