100
g For 1200 dpi, press the number of the
test print that most closely matches the
number 0 sample (1-8).
1200dpi Adjust
Select Best #5
h Press Stop/Exit.
Checking the ink volume B
You can check the ink that is left in the
cartridge.
a Press Ink.
b Press a or b to choose Ink Volume.
Press OK.
The LCD shows the ink volume.
c Press a or b to choose the color you
want to check.
d Press Stop/Exit.
Note
You can check the ink volume from your
computer. (See Printing for Windows
®
or
Printing and Faxing for Macintosh
®
in the
Software User's Guide on the CD-ROM.)
Machine Information B
Checking the serial number B
You can see the machine’s serial number on
the LCD.
a Press Menu, 6, 1.
1.Serial No.
XXXXXXX
b Press Stop/Exit.
Packing and shipping
the machine B
When you transport the machine, use the
packing materials that came with your
machine. If you do not pack the machine
properly, you could void your warranty.
CAUTION
It is important to allow the machine to ‘park’
the print head after a print job. Listen
carefully to the machine before unplugging
it to make sure that all mechanical noise
has stopped. Not allowing the machine to
finish this parking process may lead to print
problems and possible damage to the print
head.
a Open the ink cartridge cover.
b Pull the lock release levers down and
take out all the ink cartridges. (See
Replacing the ink cartridges on page
93.)
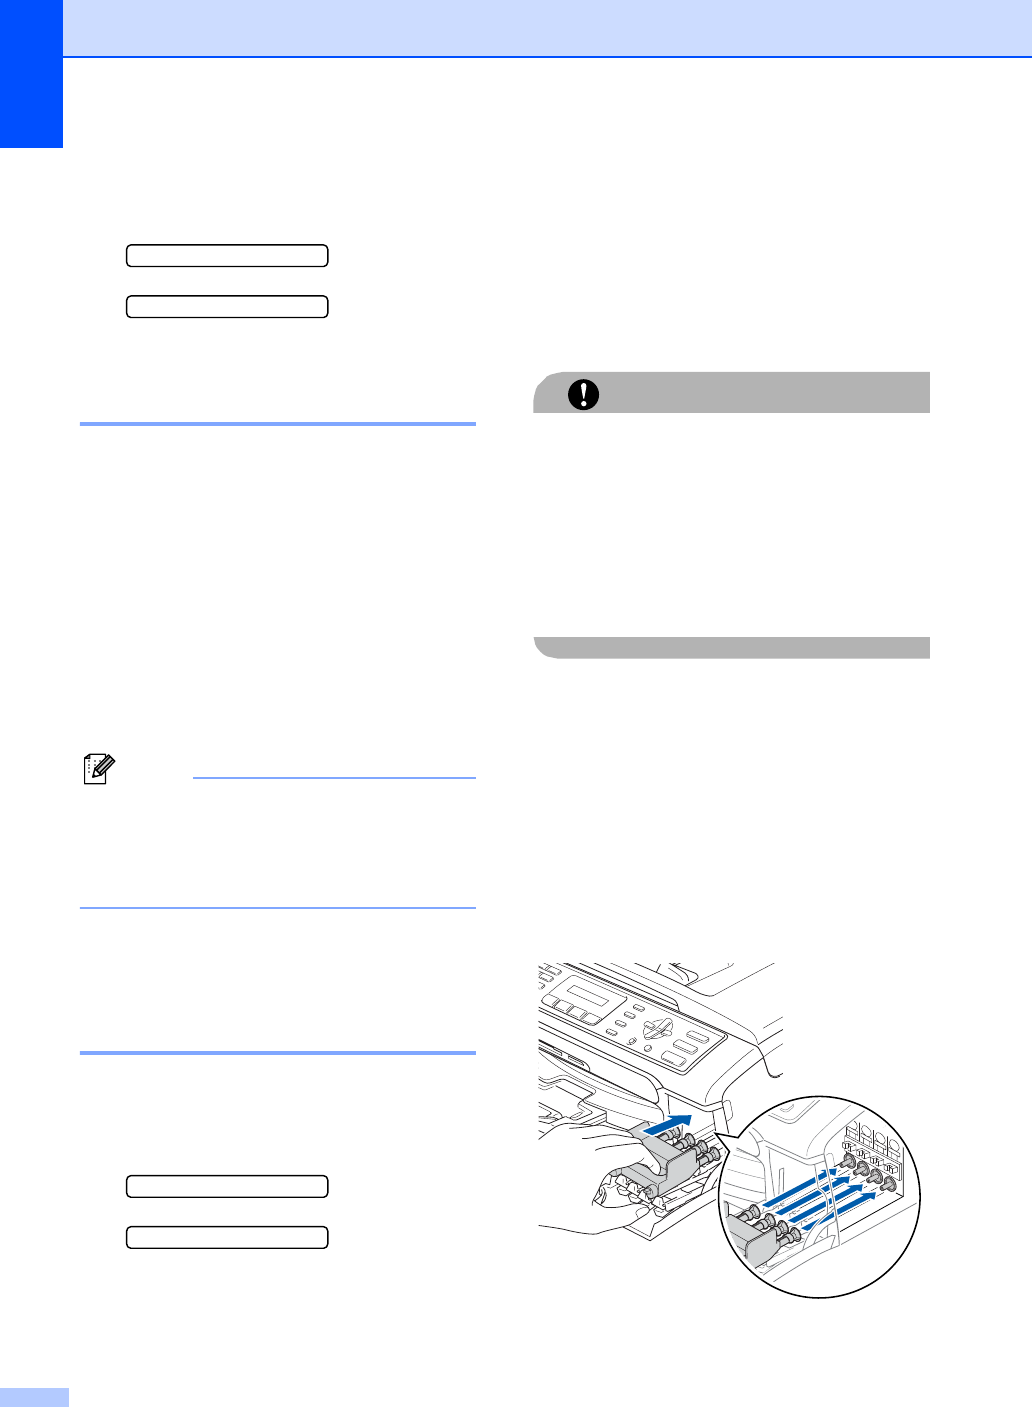
c Install the yellow protective part, lift each
lock release lever and push it until it
clicks, and then close the ink cartridge
cover.


