


1
2
3
4
5
6
7
8
9
51
z LABEL PRINTING
Adjusting the Label Length
You can adjust the length of the printed label in levels of -5 to +5.
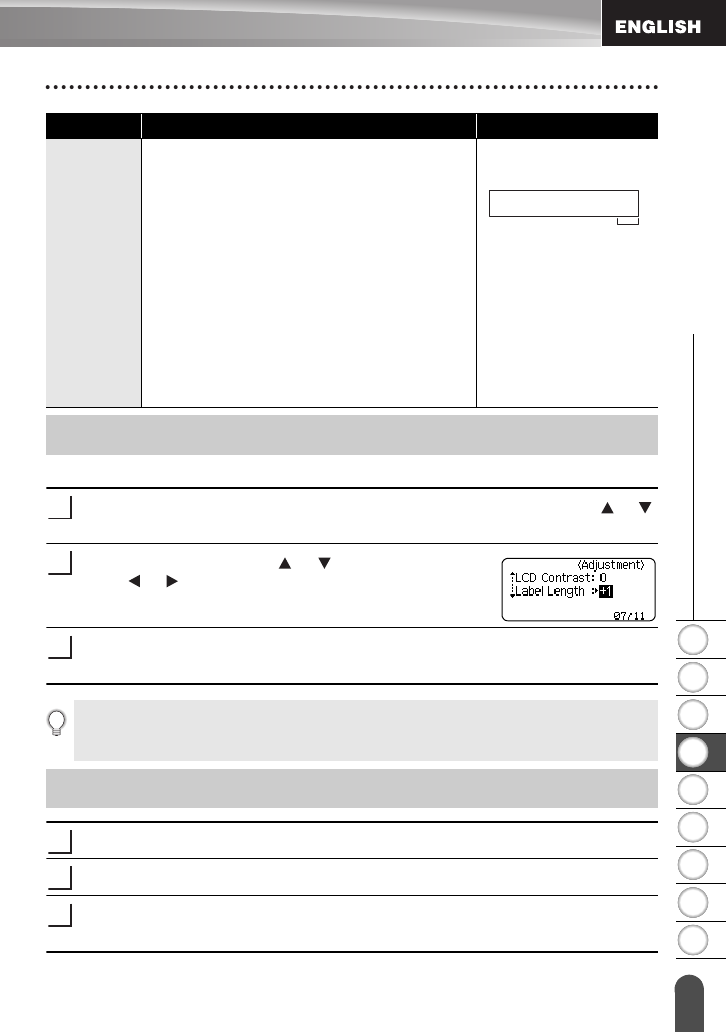
Press the
Menu
key to display the setup menu, select "Adjustment" using the or
key, and then press the
OK
or
Enter
key.
Select "Label Length" using or key and set the value
using or key.
Press the
OK
or
Enter
key to apply the setting.
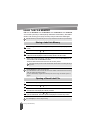
If necessary, trim the printed label to the desired shape and length using scissors, etc.
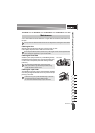
Peel the backing from the label.
Position the label and then press firmly from top to bottom with your finger to attach
the label.
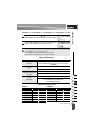
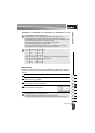
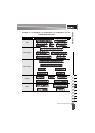
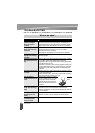
Chain
• Use this setting when printing several labels
with minimum margins.
• Feed the tape before using the cutter.
Otherwise a part of the text may be cut off. Do
not try to pull the tape since this may damage
the tape cassette.
• After pressing Print, “OK to Feed?” appears.
Press the
Escape
key to enter more texts or
press the
OK
or
Enter
key to feed.
• The final label is printed with an 0.37" (9.5
mm) margin to the right of the characters. Use
scissors to cut off any part of this margin that
is not required.
Setting Description Example
ABC
ABC
*Feed the tape before
using the cutter.
0.37"
(9.5 mm)
Adjusting the Label Length
1
2
3
• Press the
Escape
key to return to the previous step.
• Press the
Space
key to set the value to default setting.
• Approximately 1% of the total label length will be adjusted by 1 level.
Attaching Labels
1
2
3