


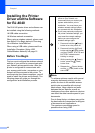

Setting Up the Printer
17
1
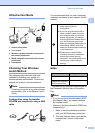
b Place your printer within range of your
WPS access point/router. The range
may differ depending on your
environment. Refer to the instructions
provided with your access point/router.
c Turn on your printer and press and hold
the Wi-Fi button until the
(Wi-Fi) indicator starts blinking in blue.
d Press the WPS button on your WLAN
access point/router.
When the configuration is completed,
the (Wi-Fi) indicator on your
printer lights in blue.
Wireless setup is now complete.
Go on to e to install the printer driver
and the software.
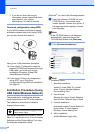
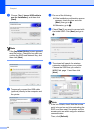
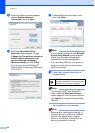
e Insert the installer CD-ROM into your
CD-ROM drive. If the model name
screen appears, choose your printer. If
the language screen appears, choose
your language
Note
If the CD-ROM menu is not displayed
automatically, open the files on the
CD-ROM and double click [Start.exe].
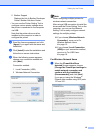
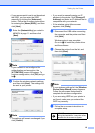
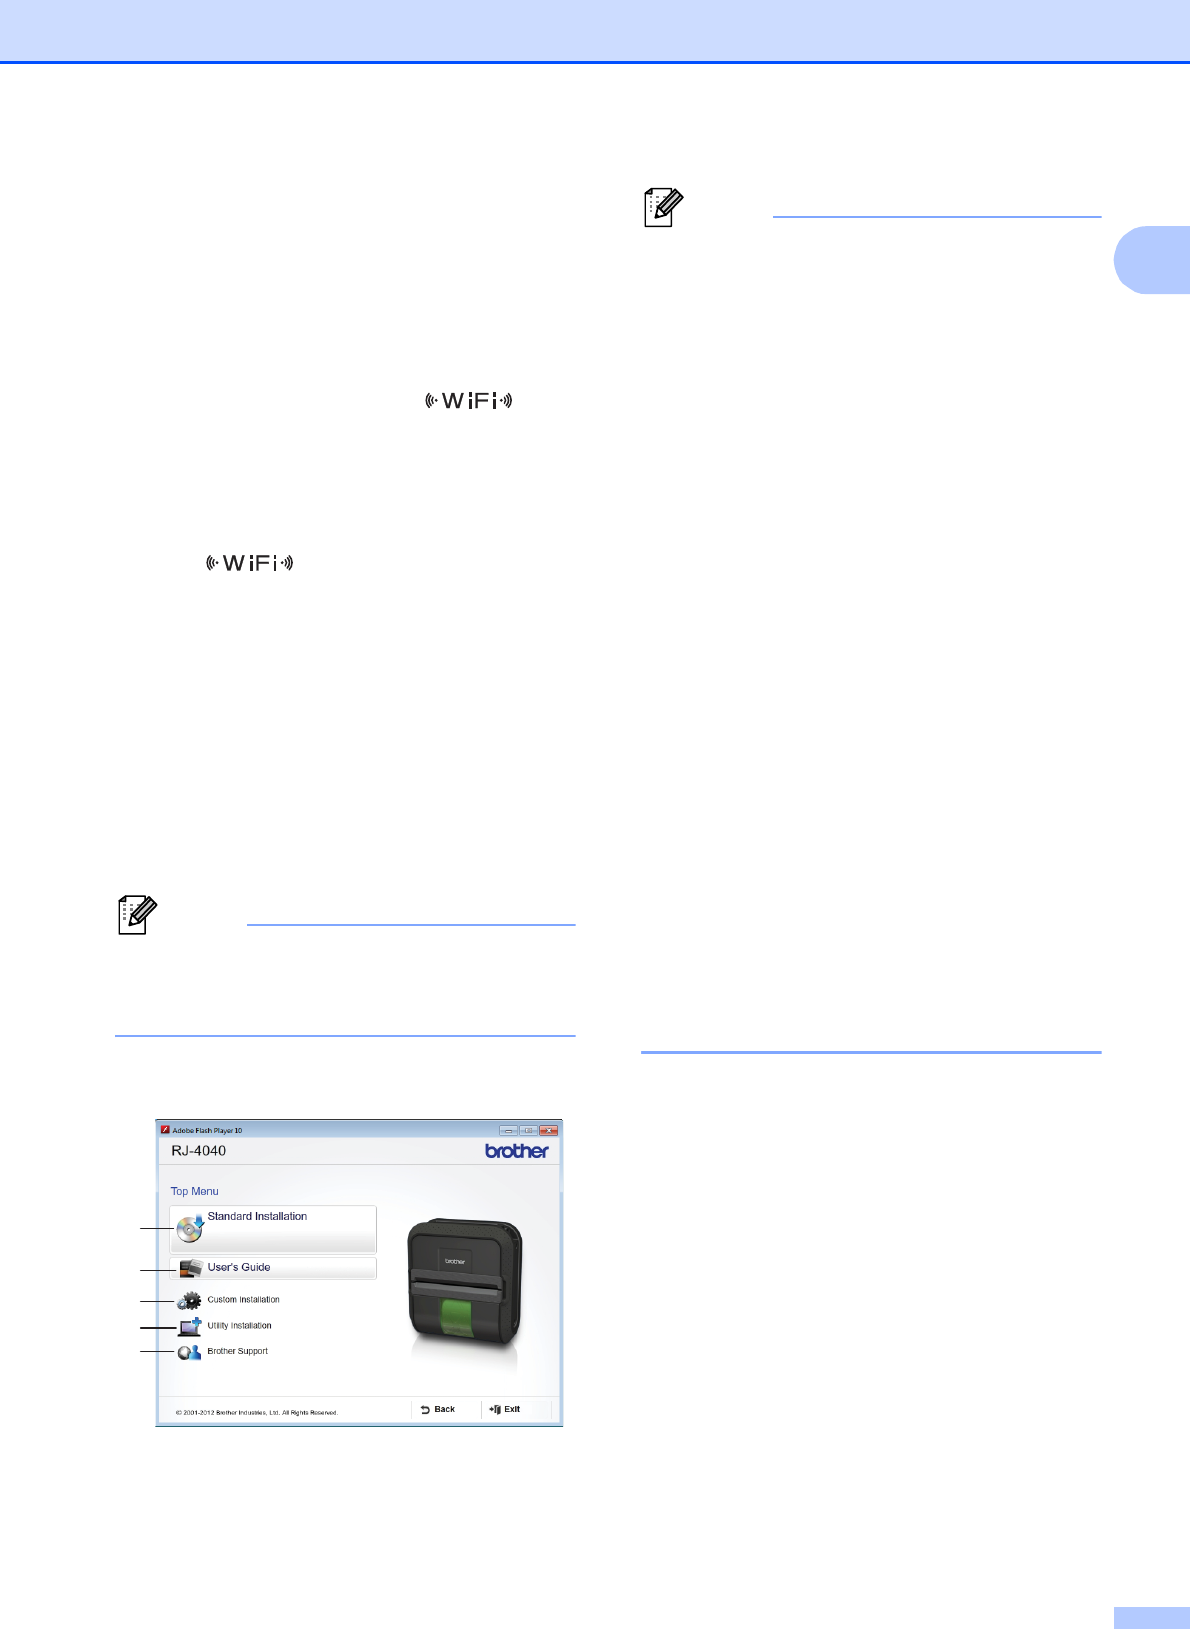
f Click [Standard Installation].
Note
• Installation items:
1 Standard Installation
Installs P-touch Editor 5.0, printer
driver, P-touch Update Software,
Printer Setting Tool.
2 User’s Guide
Displays the User’s Guide, Software
User’s Guide, Network User’s Guide.
3 Custom Installation
Individually installs P-touch Editor 5.0,
printer driver, P-touch Update
Software, Printer Setting Tool.
4 Utility Installation
Installs BRAdmin Light utility.
5 Brother Support
Displays the link to Brother Developer
Center, Brother Solutions Center.
• You can use the Printer Setting Tool to
configure various printer settings when
the printer is connected to the computer
via USB.
Note that the printer driver must be
installed on the computer in order to
configure the printer.
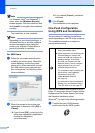
g Read the license agreement and click
[Agree] if you agree with the terms and
conditions.
h Click [Install] to start the installation and
follow the on-screen instructions.
1
2
3
4
5