


12
Chapter 3 - Options Installation
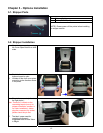
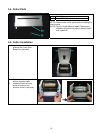
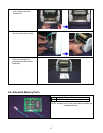
3-1. Stripper Parts
27 Stripper Module
28 Screw (TAP 3*8) x 2pcs
[NOTE]: Please power off the printer before installing
the stripper module.
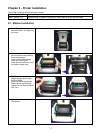
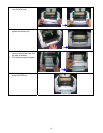
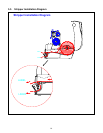
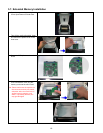
3-2. Stripper Installation
1. Open the top cover by pressing
the Cover Open Buttons on both
sides.
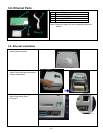
2. Push the front cover piece
buttons inward to open.
3. Lift/take off the front cover piece
according to the direction shown
in the photo.
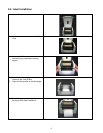
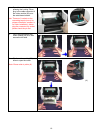
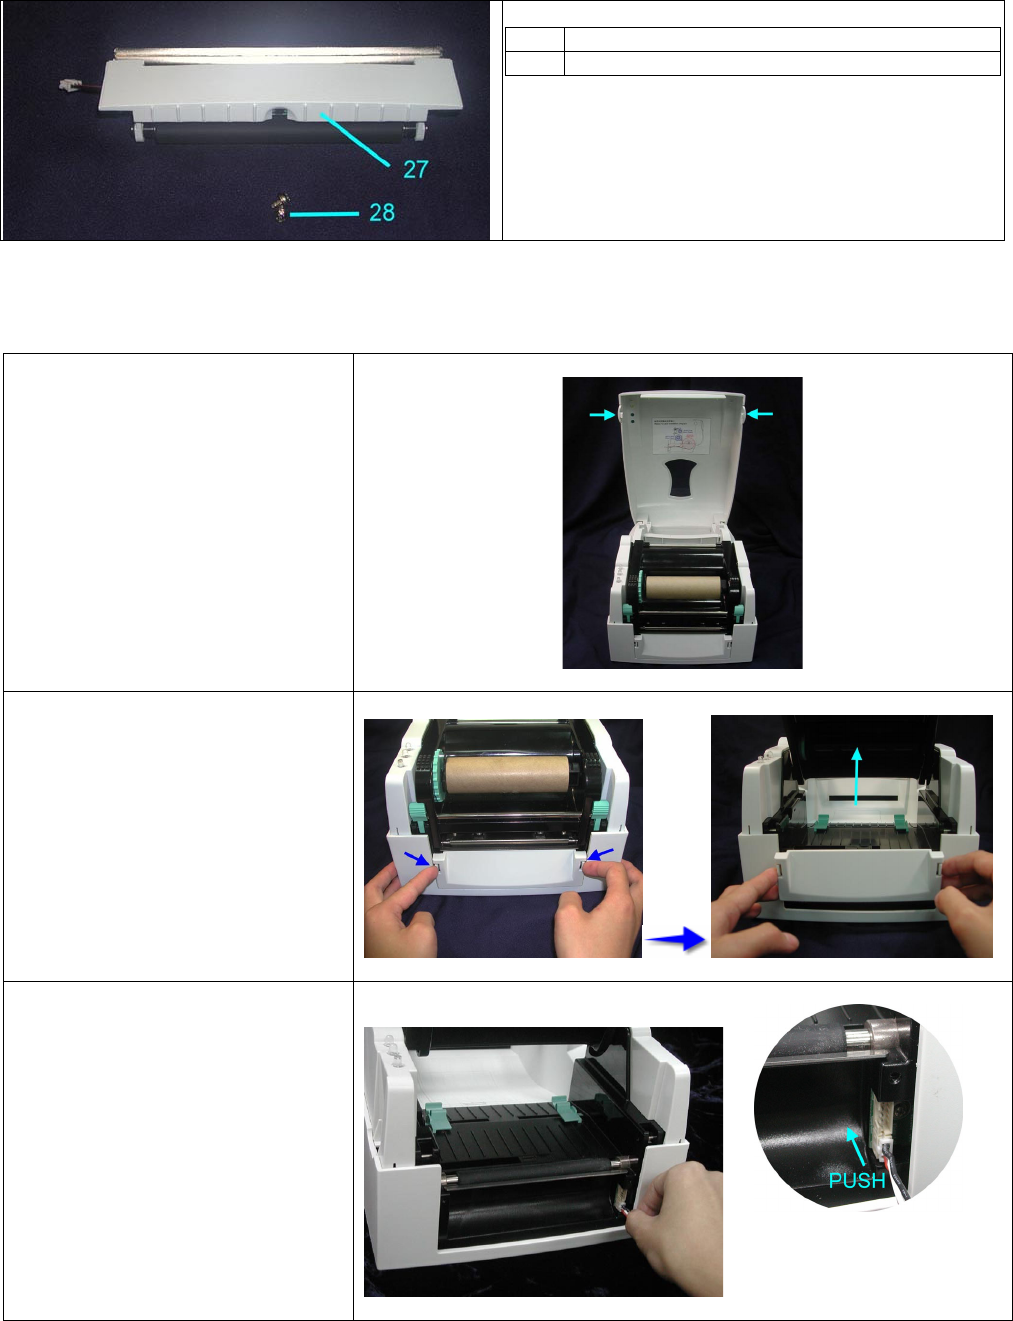
4. Plug in the connector (refer to
the right photo)。
Note: There are 2 sockets on the
converting boards (one is for
stripper installation, another is
for cutter installation), before
plug the connector into socket,
please check the pin first.
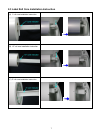
5. The label / paper used for
rewinding purposes is
suggested to be at least 30mm
in height.