43
Scanning with CaptureOnTouch (Windows)
What is CaptureOnTouch?
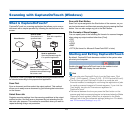
CaptureOnTouch is a scanning application that allows you to scan a
document with a simple operation by following the instructions on the
screen.
CaptureOnTouch is provided with multiple scanning methods that can
be selected according to the purpose and application.
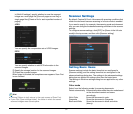
Scan First
Scan a document and then select the output method. This method
allows you to easily scan a document by just following the instructions
on the screen.
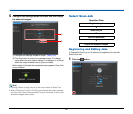
Select Scan Job
Register scanning settings from the scanning conditions to the output
method as jobs, and then scan a document by just selecting the job
that suits your purpose. This method is convenient when you want to
repeat scanning using a set procedure.
Scan with Start Button
Scan First is pre-assigned to the Start button of the scanner, so you
can load a document and then start scanning by just pressing the Start
button. You can also assign any job to the Start button.
File Formats of Saved Images
You can specify one of the following file formats for scanned images
when using any output method other than [Print].
•PDF
•TIFF
•JPEG
•BMP
• PPTX (file format for Microsoft PowerPoint 2007 or later)
Starting and Exiting CaptureOnTouch
By default, CaptureOnTouch becomes resident in the system when
you start your computer.
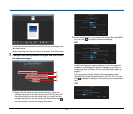
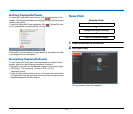
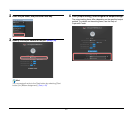
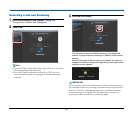
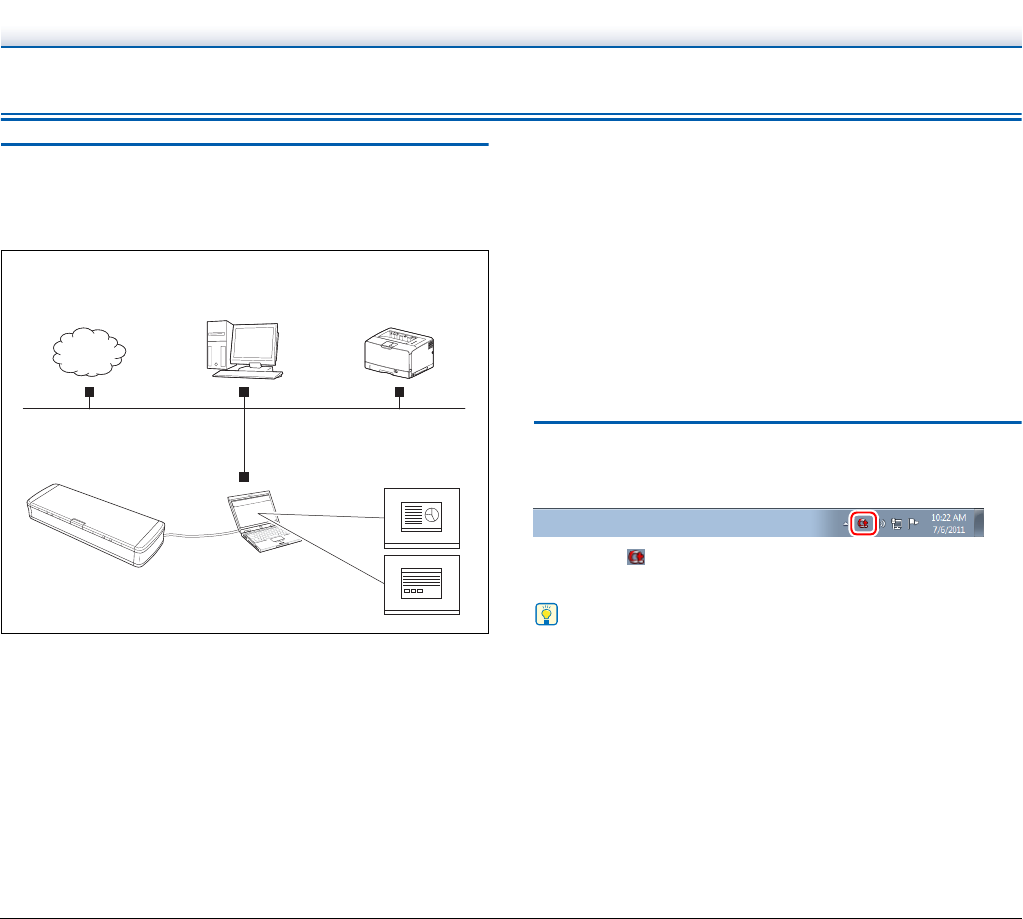
Double-click (CaptureOnTouch icon) in the taskbar to start
CaptureOnTouch and display the main window.
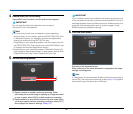
Hint
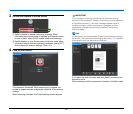
• You can also start CaptureOnTouch from the Start menu. Click
[Start] – [All Programs] – [Canon P-215] – [P-215 CaptureOnTouch].
• The first time you start CaptureOnTouch on a computer with
Evernote installed, a message for confirming the registration of jobs
for sending scanned images to Evernote appears. If you click the
[Yes] button, two jobs for Evernote are registered to
CaptureOnTouch.
• The interval between the time you press the Start button on the
scanner and the time scanning begins is shortened when the [Make
CaptureOnTouch resident] check box is selected in the [Basic
settings] tab of the [Environmental settings] dialog box. For details,
see “Environmental Settings” on p. 53.
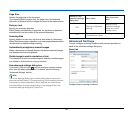
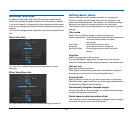
Save to folder
Save the file to a
specified folder.
Print
Print with a specified
printer.
(Network)
Send to application
Open the scanned image file
in a specified application.
Attach to E-mail
Start the e-mail application
and attach the scanned image
file to new e-mail
Scanner
Cloud Service


