


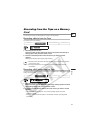


125
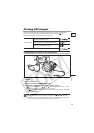
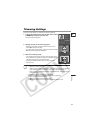
Printing
E
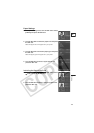
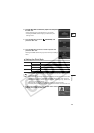
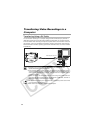
3. Turn the SET dial to select the paper size and press
the SET dial.
• Select the paper size of the paper set in your printer.
• Pressing the MENU button brings you back to the print
settings menu.
4. Turn the SET dial to select (BORDERS) and
press the SET dial.
5. Turn the SET dial to select a borders option and
press the SET dial.
Pressing the MENU button brings you back to the print settings
menu.
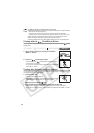
Setting the Print Style
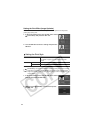
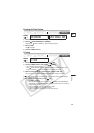
The [BORDERS] and [DATE] settings cannot be selected when [IMAGE] is set
to [MULTIPLE].
[BORDERED]: The image area remains relatively unchanged from the recorded
image when it is printed. [BORDERLESS]/[MULTIPLE]: The center portion of
the recorded image is printed at an enlarged size. The image’s top, bottom and
sides may be cropped slightly.
[MULTIPLE] can only be selected when printing on card size paper.
The date print function is not supported by the CP Printers CP-10 and CP-100.
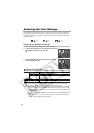
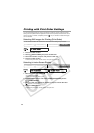
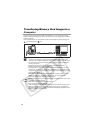
1. In the print setting menu, turn the SET dial to select
[STYLE] and press the SET dial.
IMAGE STANDARD Prints 1 still image per page.
MULTIPLE Prints 8 copies of the same still image on one page.
BORDERS BORDERLESS Prints right to the edges of the page.
BORDERED Prints with a border.
DATE ON Prints with date.
OFF Prints without date.