


11
This section describes how to set up your projector and how to connect video and audio sources.
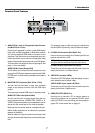
2. Installation and Connections
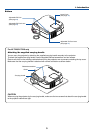
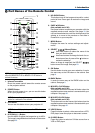
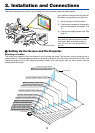
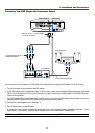
ᕡ Setting Up the Screen and the Projector
Selecting a Location
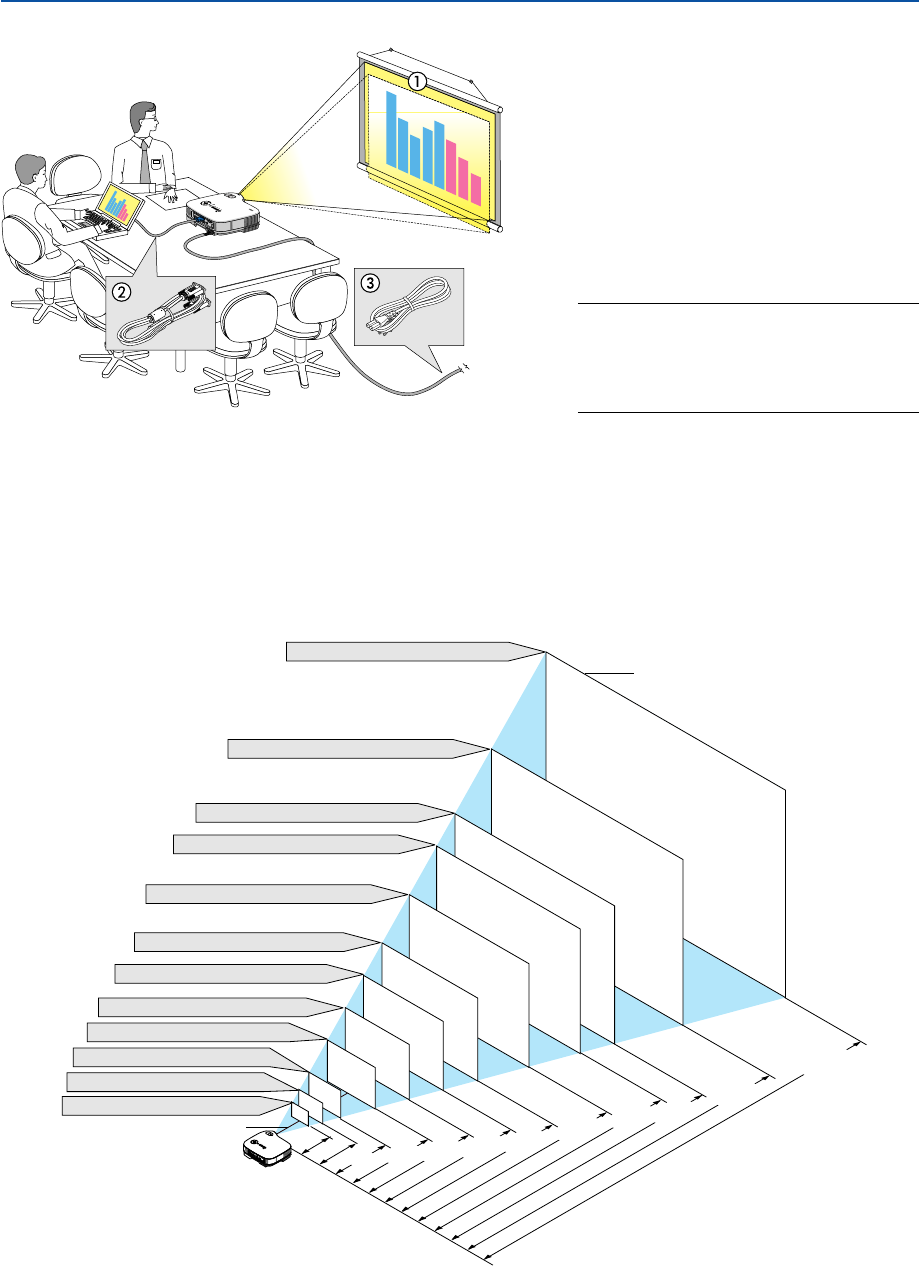
The further your projector is from the screen or wall, the larger the image. The minimum size the image can be is
approximately 21" measured diagonally when the projector is roughly 0.73 m (29 inches) from the wall or screen. The
largest the image can be is 300" when the projector is about 10 m (393 inches) from the wall or screen. Use the
drawing below as a guide.
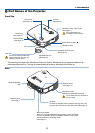
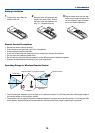
Your projector is simple to set up and use.
But before you get started, you must first:
z Set up a screen and the projector.
x Connect your computer or video equip-
ment to the projector. See pages 14 to
18.
c Connect the supplied power cord. See
page 19.
NOTE: Ensure that the power cord and any
other cables are disconnected before moving
the projector. When moving the projector or
when it is not in use, cover the lens with the
lens cap.
To the wall outlet.
300"
240
"
200
"
180"
150"
120"
100"
60"
40"
30"
21"
80"
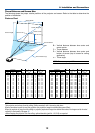
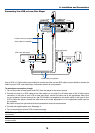
Distance (Unit: m/inch)
Screen Size (Unit: cm/inch)
Screen Size
Lens center
609.6(W)ן457.2(H) / 240(W)ן180(H)
487.7(W)ן365.8(H) / 192(W)ן144(H)
406.4(W)ן304.8(H) / 160(W)ן120(H)
365.8(W)ן274.3(H) / 144(W)ן108(H)
304.8(W)ן228.6(H) / 120(W)ן90(H)
243.8(W)ן182.9(H) / 96(W)ן72(H)
203.2(W)ן152.4(H) / 80(W)ן60(H)
162.6(W)ן121.9(H) / 64(W)ן48(H)
121.9(W)ן91.4(H) / 48(W)ן36(H)
81.3(W)ן61.0(H) / 32(W)ן24(H)
61.0(W)ן45.7(H) / 24(W)ן18(H)
42.7(W)ן32(H) / 17(W)ן13(H)
1.0/38
0.73/
29
2.0/78
2.6/104
3.3/130
4.0/157
5.0/196
6.0/236
6.6/262
8.0/314
10.0/393
1.3/
51
A
C
I
N