


53
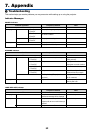
7. Appendix
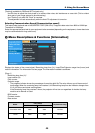
Common Problems & Solutions (See also "POWER/WARNING/LAMP REPLACE Indicator" on page 52.)
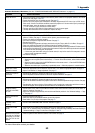
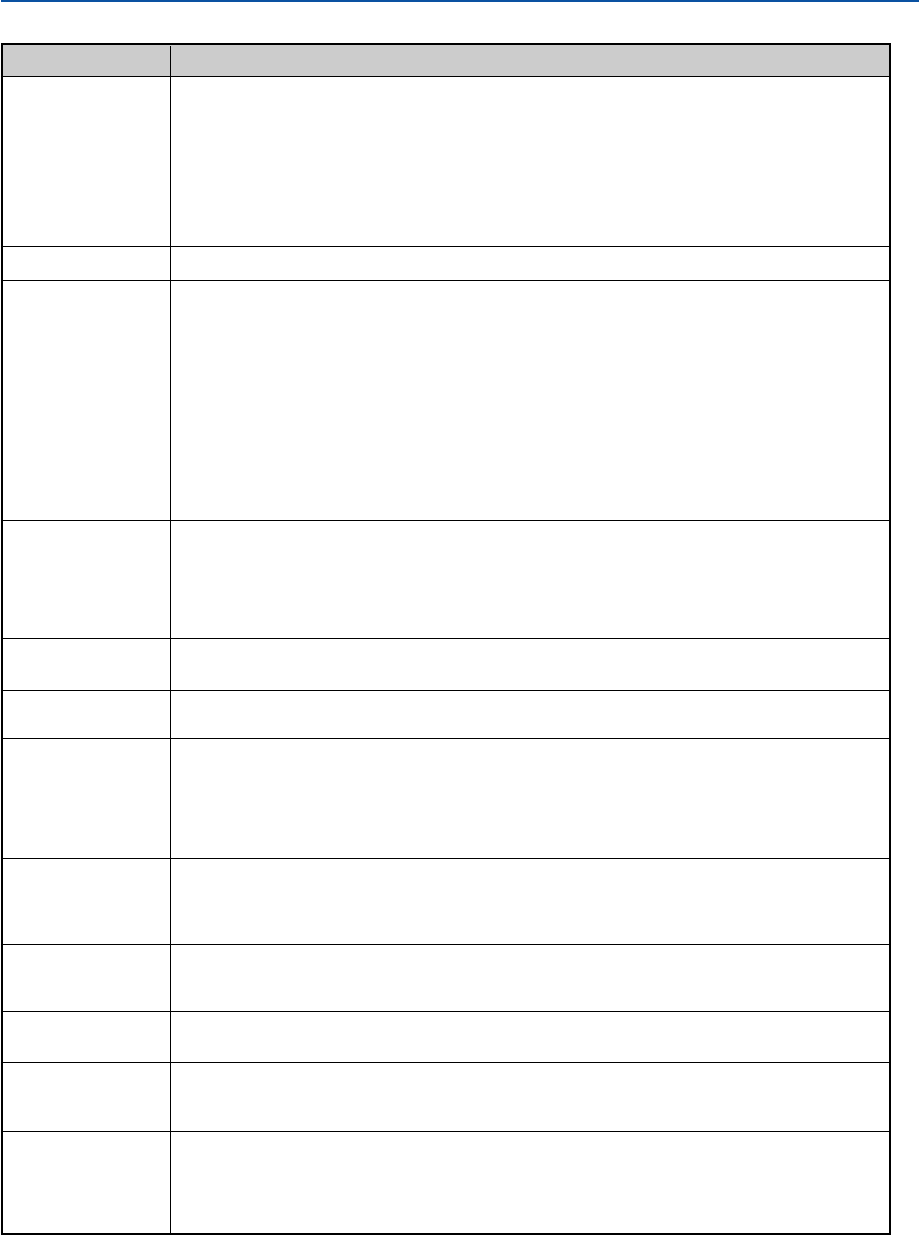
Does not turn on
Will turn off
No picture
Picture suddenly
becomes dark
Color tone or Color
balance is unusual
Image isn’t square to
the screen
Picture is blurred
Image is scrolling
vertically, horizontally
or both
Remote control does
not work
Indicator is lit or
blinking
Cross color in RGB
mode
Whenever the projector
is turned on, a message
prompting you to clean
the filter will be dis-
played
• Check that the power cord is plugged in and that the power button on the projector cabinet or the remote
control is on. See pages 19 and 20.
• Ensure that the lamp cover is installed correctly. See page 50.
• Check to see if the projector has overheated or the lamp usage exceeds 2100* hours (up to 3100* hours :
Quiet mode). If there is insufficient ventilation around the projector or if the room where you’re presenting is
particularly warm, move the projector to a cooler location.
*LV-X5: 3100 hours (up to 4100 hours in Quiet mode).
• The lamp may fail to light. Wait a full minute and then turn on the power again.
• The lamp has reached the end of its usable life. Replace the lamp.
• Ensure that the Power Management is off. See page 44.
• Use the VIDEO, the S-VIDEO or the COMPUTER button on the remote control to select your source (Computer,
Video or S-Video). See page 22. If there is still no picture, press the button again.
• Ensure your cables are connected properly.
• Use menus to adjust the brightness and contrast. See page 37.
• Remove the lens cap.
•
Reset the settings or adjustments to factory preset levels using the “Factory default” in the Menu. See page 46.
• Enter your registered Password if the Password function is enabled. See page 41.
• When using with a notebook PC, be sure to connect between the projector and the notebook PC before turning
on the power to the notebook PC. In most cases signal cannot be output from RGB output unless the notebook
PC is turned on after connecting with the projector.
* If the screen goes blank while using your remote control, it may be the result of the computer's screen-
saver or power management software.
• See also the next page.
• When one of the following happens, the Lamp mode automatically changes from Normal to Quiet.
* When there are no signals (blue or black screen) → To return to the Normal mode, select another available
source.
* When the image is muted using the NO SHOW button on the remote control → Press the NO SHOW button
again to return to the Normal mode.
* When the room where you' re presenting is particularly warm → Move the projector to a cooler location.
• Check if an appropriate color is selected in "Screen color". If so, select an appropriate option. See page 36.
• Adjust "Color balance" in "Image adjustment". See page 37.
• Reposition the projector to improve its angle to the screen. See page 23.
• Use the Keystone correction function to correct the trapezoid distortion. See page 25.
• Adjust the focus. See page 24.
• Reposition the projector to improve its angle to the screen. See page 23.
• Ensure that the distance between the projector and screen is within the adjustment range of the lens. See page
11.
• Condensation may form on the lens if the projector is cold, brought into a warm place and is then turned on.
Should this happen, let the projector stand until there is no condensation on the lens.
• Use the VIDEO, the S-VIDEO or the COMPUTER button on the remote control to select your source (Video, S-
Video or Computer). See page 22.
• Adjust the computer image manually with the Horizontal/Vertical position in the “Advanced settings → Page
2”. See page 44.
• Install new batteries.See page 10.
• Make sure there are no obstacles between you and the projector.
• Stand within 7 m (22 feet) of the projector. See page 10.
• See the POWER/WARNING/LAMP REPLACE Indicator on page 52.
• Press the AUTO PC button on the projector cabinet or the remote control. See page 27.
• When “Off” is selected in Auto PC adjustment, adjust the computer image manually with Clock/Tracking in
“Advanced settings → Page 2” in the menu. See pages 44 and 45.
• Clean or replace the filter and then reset the Filter counter. See page 46.
Problem Check These Items
For more information contact your dealer.