


10-9
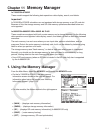
2. Press (STRP).
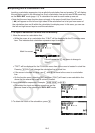
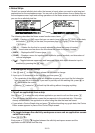
• This will display a dialog box with a list if insertable
strips. For information about the display names and
data types that appear on this dialog box, see the “Strip
Data Type Table” (page 10-8).
3. Use A and D to select the strip that corresponds to the type of data you want to insert.
• In this example we will select “Graph” (GRAPH mode graph screen data).
4. Press U.
• This will insert the type of strip you selected (Graph strip in this example) one line above
the line where you located the cursor in step 1 of this procedure.
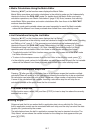
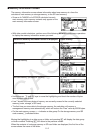
5. Input up to 16 characters for the strip title, and then press
U.
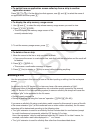
6. Press U again to start creating strip data.
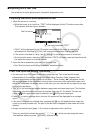
• This will start up the built in application for the selected
strip type (GRAPH mode in this example), and display
the graph screen. At this point, a blank graph screen
appears because there is no data yet.
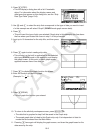
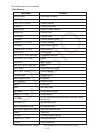
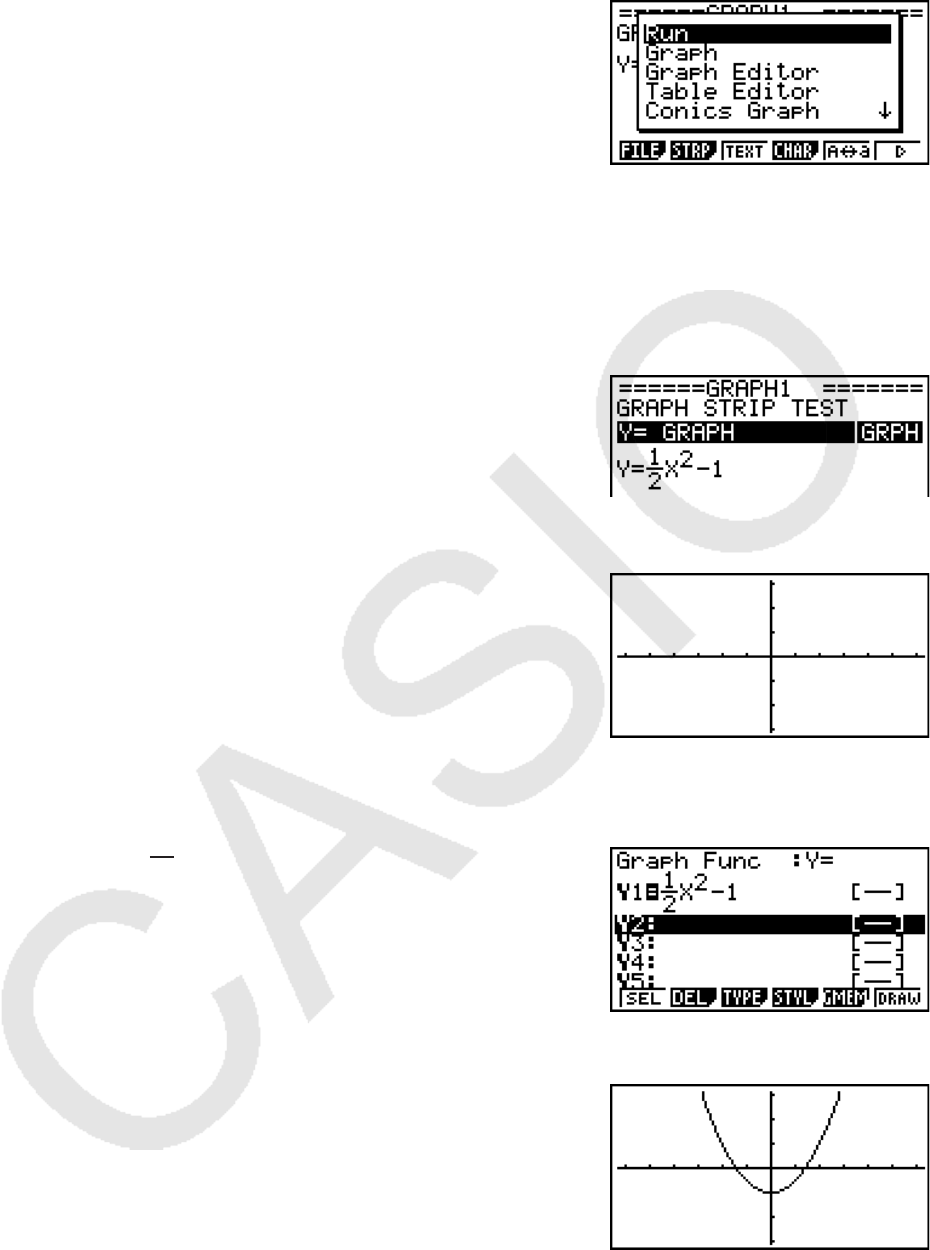
7. Press ) to display the graph function list screen.
8. Enter the function you want to graph.
(Example: Y =
2
1
X
2
– 1)
9. Press (DRAW).
• This will graph the function you entered.
10. To return to the eActivity workspace screen, press ?().
• The data that is graphed in step 8 will be saved in the Graph strip.
• The saved graph data is linked to this Graph strip only. It is independent of data for
modes that are entered from the Main Menu.
11. Pressing U here again will display the graph screen, and draw the graph based on the
data saved by the strip.