


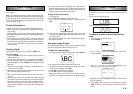


E-27
• The optional FA-900 makes it possible for you to use the
label printer to print data created on your personal com-
puter.
Importing Data from an SF Unit
Use the following procedure to send data to the label printer
from a SF Unit.
To connect the SF Unit to the label printer
1. Turn off the power of the label printer and the SF Unit.
2. Use the optionally available SB-62 Connecting Cable to
connect the SF Unit to the label printer.
3. Turn on the power of the label printer and the SF Unit.
To send data from the SF Unit to the label
printer
1. On the SF Unit, use its pen printer function to recall the
data you want to send.
• See the Owner’s Manual that comes with the SF Unit for
details on how to recall data.
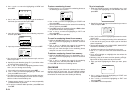
2. On the label printer, press FUNC and then DEL (COMM).
This causes the message “RECEIVE? SET/ESC” to ap-
pear on the label printer screen.
3. Press SET, and the message changes to “RECEIVE OK!”
4. On the SF Unit, press SET to start sending data to the
label printer.
• A communication error occurs on the label printer if it does
not start to receive data within about 20 seconds after the
“RECEIVE OK!” message appears on its screen.
• “NOW SENDING” is on the screen of the SF Unit and
“NOW SENDING” is on the screen of the label printer while
data is being transferred.
• If a communication error occurs on the label printer, press
any key besides OFF, FUNC, SHIFT, CODE or ON to clear
the error, and then try again.
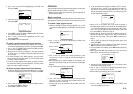
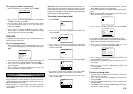
• The label printer screen shown appear as shown below
after data communication is complete.
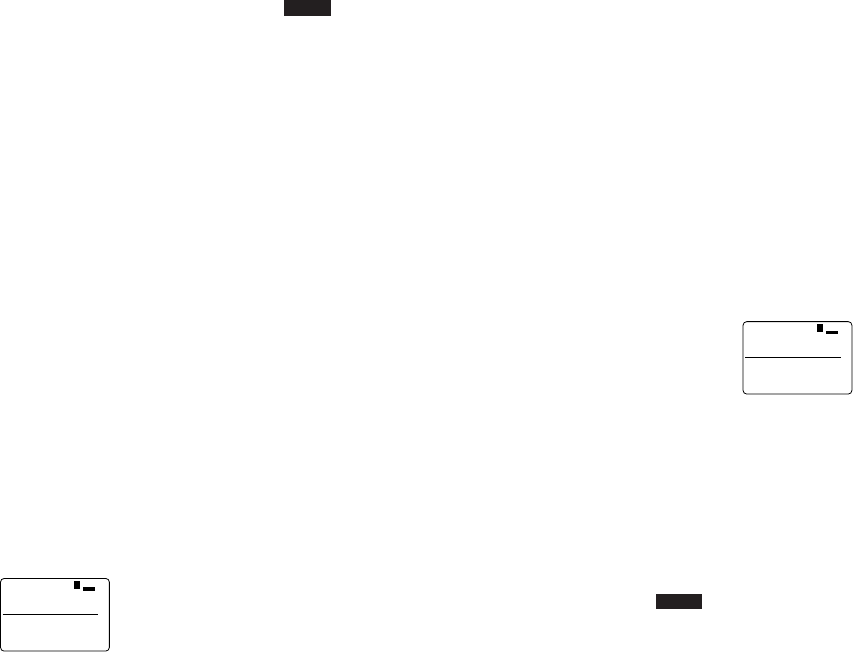
• The received data is indicated on the display as “DATA 1”,
“DATA 2”, and so on. Up to 16 data items can be received,
as long as the total length of the tape to print the data
items does not exceed 250mm.
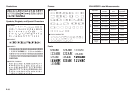
1ATAD
1
MM
O
C
m
c8.11×1
5. On the label printer, press CAPS to specify the receive
mode of additional data items.
Each press of CAPS toggles label printer between the
following two modes.
• COMM
Received data is appended to the end of previously
received data.
• COMM
Received data replaces previously received data.
• If you do not want to receive and append any more data
items, skip steps 5 and 6.
6. Press SET and repeat steps 3 and 4 to receive more
data.
• The “!” indicator means that data items will be printed
one at a time. If you want to print all of the received data
items at once, press B to change “!” to “A”. Press B
again to change back to “!”.
7. Press PRINT to print the data.
• If “!” is on the display, pressing PRINT prints the single
data item where the cursor is currently located. Use u
and i to move the cursor to the data item you want to
print.
• If “A” is on the display, pressing PRINT prints all of the
received data items.
• Use a tape that is at least 9mm wide when printing re-
ceived data items.
• You can enlarge received data item character size verti-
cally by a factor of two and horizontally up to a factor of 4.
• Use a tape width of at least 18mm when received data
item character size is increased vertically by a factor of two.
• None of the following functions can be used with received
data: frames, preset formats, auto sizing, preset layouts,
block operations, proportional character spacing, smooth-
ing, character input settings, character deletion, text stor-
age into memory, text recall from memory.
• The printer returns to the screen in step 4 (the one that
appears after data communication is complete) after print-
ing is complete.
8. Press ESC SET to quit data communications.
• All received data is cleared from label printer memory when
you quit data communications.
9. Turn the label printer and SF Unit off and disconnect the
cable.
Importing Data from a Copy Pen
Use the following procedure to send data to the label printer
from a Copy Pen.
To connect the Copy Pen to the label printer
1. Turn off the power of the label printer and the Copy Pen.
2. Use the optionally available SB-62 Connecting Cable to
connect the Copy Pen to the label printer.
3. Turn on the power of the label printer and the Copy Pen.
To send data from the Copy Pen to the label
printer
1. On the Copy Pen, press READ and read the data you
want to send.
• If you are using the Copy Pen’s pause feature, note that
you will be able to send up to 15 data items (reads), as
long as the total length of the tape to print the data does
not exceed 250mm.
• See the Owner’s Manual that comes with the Copy Pen
for details on how to read data.
2. On the label printer, press FUNC and then DEL (COMM).
This causes the message “RECEIVE? SET/ESC” to ap-
pear on the label printer screen.
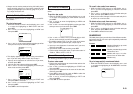
3. Press SET to receive the data.
1ATAD
1
MM
O
C
m
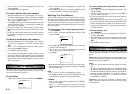
c8.11×1
• The label printer screen shown appear as shown above
after data communication is complete.
• The received data is indicated on the display as “DATA 1”,
“DATA 2”, and so on. Up to 15 data items can be received,
as long as the total length of the tape to print the data
items does not exceed 250mm.
• If a communication error occurs on the label printer, press
ESC to clear the error, and then try again.
4. On the label printer, press CAPS to specify the receive
mode of additional data items.
Each press of CAPS toggles label printer between the
following two modes.
• COMM
Received data is appended to the end of previously
received data.
• COMM
Received data replaces previously received data.