


61
4
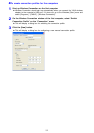
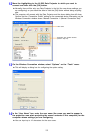
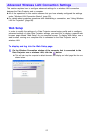
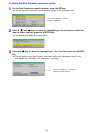
On the Wireless Connection window, select “Options” on the “Tools” menu.
z This will display a dialog box for configuring the option setting.
5
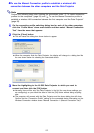
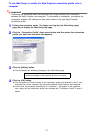
In the “User Name” box, enter the user name (the name you want to appear in
the projection area when projecting the screen contents of this computer) for the
computer whose settings you are configuring
z You can input up to 12 characters for the user name.
6
Click the [OK] button.
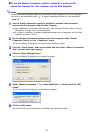
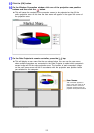
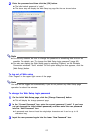
7
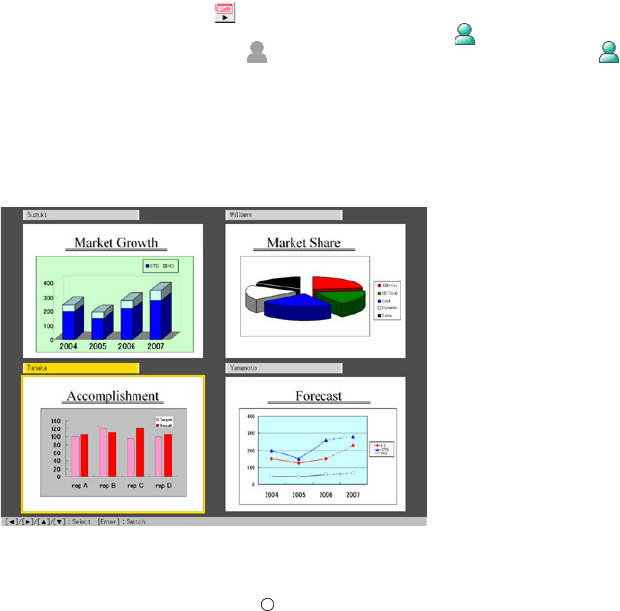
On the Wireless Connection window, click one of the projection area position
buttons and then click the button.
z A projection area that is available for selection is indicated by , while an area that is
already selected is indicated by . You can select any one of the areas that has
indicated.
z The screen contents of the second computer will appear in the area of the projection
area position button you select here.
8
Repeat steps 1 through 7 for the third and fourth computers.
z The screen contents of the third and fourth computer will appear in the area of the
projection area position buttons you select here.
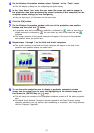
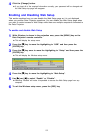
9
To use the entire projection area to display a particular computer’s screen
image, use the cursor keys to move the highlighting to the desired image and
then press the [ENTER] key (or [ ] key).
z This will cause the contents of the highlighted computer screen to fill the entire projection
area.
z For details about Wireless Connection window operations and Data Projector remote
controller operations you can perform after establishing a connection, see “Using Wireless
LAN for Projection” (page 88).