


42
LX505/LX605 User Manual
002-000232-01 Rev.1 (12-2009)
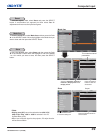
Select the desired screen size that conforms to the input
signal source.
SCREEN MENU
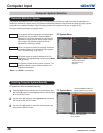
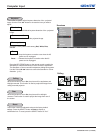
Provide the image at the normal computer aspect ratio of 4:3.
Provide the image in its original size. When the original image size
is larger than the screen size (1024 x 768), the projector enters to
the panning mode automatically. Use the Point ▲▼◄► buttons
to pan the image. When adjusted, the arrows will turn red. When
reached to the correction limits, the arrows will disappear.
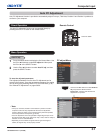
Provide the image to fit the wide video aspect ratio (16:9) by
expanding the image width uniformly. This function can be used to
provide the squeezed video signal at 16:9.
Note:
• The projector cannot display any resolution higher than
1920 x 1200. If your computer’s screen resolution is
higher than 1920 x 1200, lower the resolution before
connecting the projector.
• The image data other than XGA (1024 x 768) is
modified to fit the screen size in initial mode.
• True, Full and Digital zoom +/– cannot be selected
when no signal is detected in the PC System Menu.
(p.36)
1
2
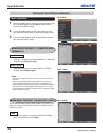
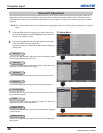
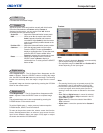
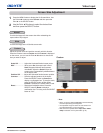
Press the MENU button to display the On-Screen Menu. Use
the Point ▲▼ buttons to select Screen and then press the
Point ► or the SELECT button.
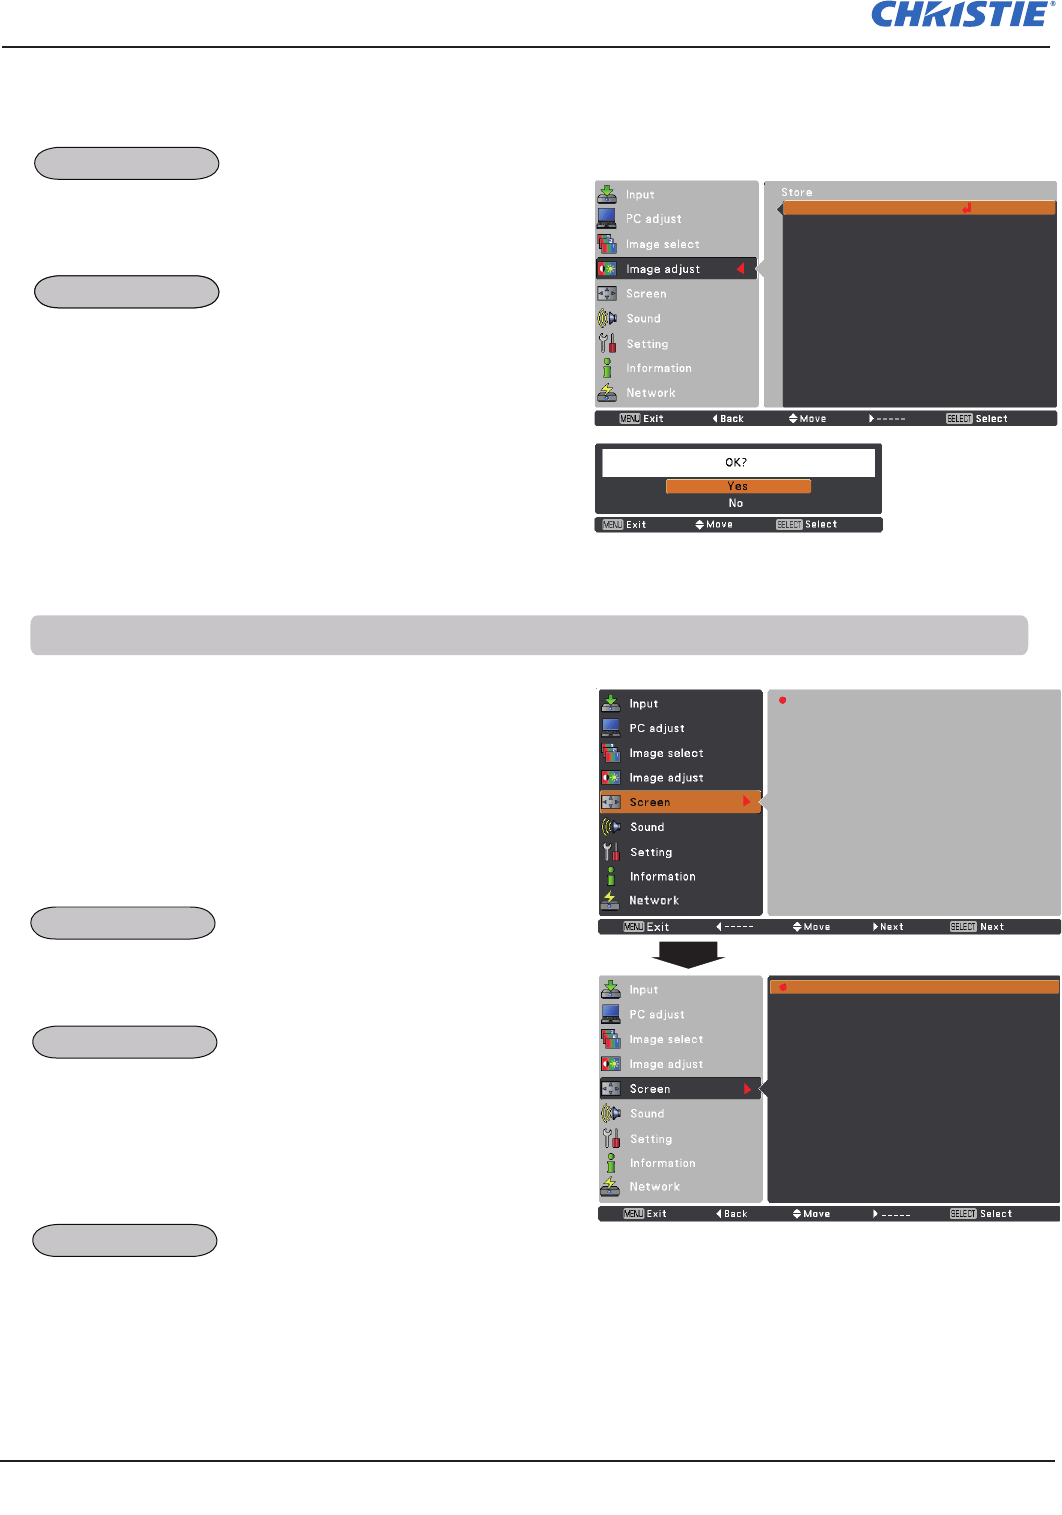
Use the Point ▲▼ buttons select the desired item and then
press the SELECT button.
Normal
True
Wide
Full
Custom
Digital zoom +
Digital zoom -
Keystone
Ceiling
Rear
Reset
Normal
True
Wide
Full
Custom
Digital zoom +
Digital zoom -
Keystone
Ceiling
Rear
Reset
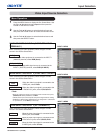
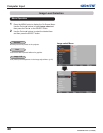
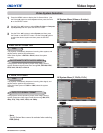
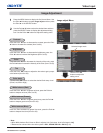
To reset the adjusted data, select Reset and press the SELECT
button. A confirmation box appears and then select Yes. All
adjustments will return to their previous figures.
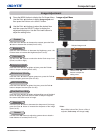
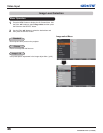
To store the adjusted data, select Store and press the Point ► or
the SELECT button. Use the Point ▲▼ buttons to select one from
Image 1 to 10 and press the SELECT button.
A confirmation box appears and then select Yes. Stored data can
be called up by selecting an Image (1–10) in the Image Mode
Selection on page 40.
A confirmation box appears and
then select Yes.
Image 1
Image 2
Image 3
Image 4
Image 5
Image 6
Image 7
Image 8
Image 9
Image 10
Where to store?
Store
Computer Input
Reset
Store
Screen Size Adjustment
Normal
True
Wide