


48
LX505/LX605 User Manual
002-000232-01 Rev.1 (12-2009)
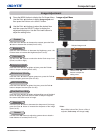
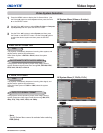
Use the Point ◄► buttons to adjust the gamma value to obtain a
better balance of contrast (from 0 to 15).
Press the Point ◄ button to decrease the sharpness of the image;
press the Point ► button to increase the sharpness of the image
(from 0 to 31).
An interlaced video signal can be displayed in progressive mode.
Press the Point ◄► buttons to change the progressive scan mode.
Off ........... Progressive scan mode is Off.
On ........... Progressive scan mode is On.
Film ......... For watching a film. With this function, the projector
reproduces pictures faithful to the original film quality.
Noise interference on the screen can be reduced. Press the Point
◄► buttons to change the noise reduction mode.
Off ........... Noise reduction mode is Off.
On ........... Noise reduction mode is On.
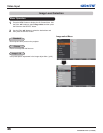
Note:
• Noise reduction and Progressive cannot be selected when
480p, 575p or 720p is selected (p.45).
• Noise reduction cannot be selected when 1080p is selected
(p.45).
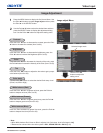
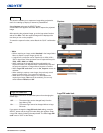
To reset the adjusted data, select Reset and press the SELECT
button. A confirmation box appears and then select Yes. All
adjustments will return to their previous figures.
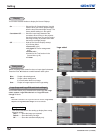
Image 1
Image 2
Image 3
Image 4
Image 5
Image 6
Image 7
Image 8
Image 9
Image 10
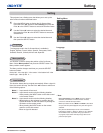
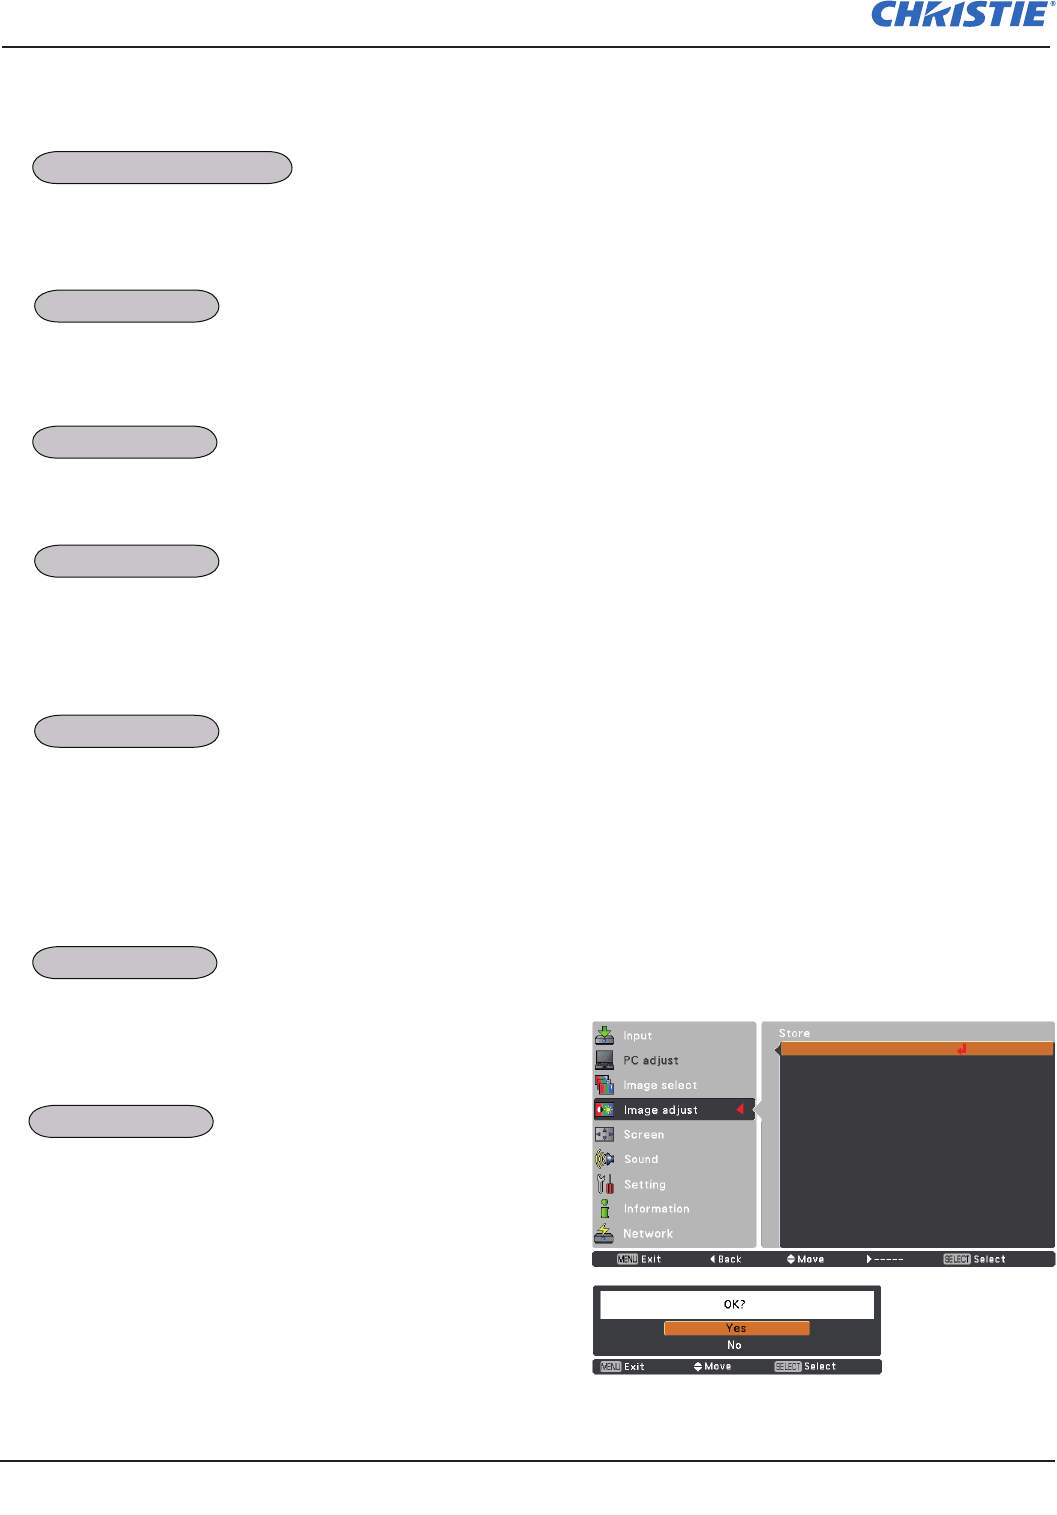
Where to store?
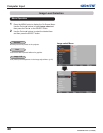
To store the adjusted data, select Store and press the Point ► or
the SELECT button. Use the Point ▲▼ buttons to select one from
Images 1 to 10 and press the SELECT button.
A confirmation box appears and then select Yes. Stored data can
be called up by selecting an Image (1-10) in the Image Mode
Selection on page 46.
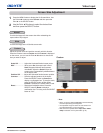
A confirmation box
appears and then
select Yes.
Store
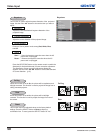
Video Input
Press the Point ◄ button to lighten red/green/blue tone of the
black level of an image; press the Point ► button to deepen red/
green/blue tone of the black level of an image (from 0 to 63).
Offset(Red/Green/Blue)
Sharpness
Gamma
Noise reduction
Progressive
Reset
Store