


18
Catalyst 6000 Family Network Analysis Module Installation and Configuration Note
78-10406-05
Configuring the NAM
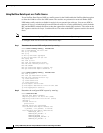
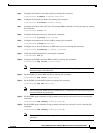
Step 10 Configure one or more IP addresses as DNS name servers by entering:
root@localhost# ip nameserver ip-address [ip-address]
Step 11 Verify the NAM configuration by entering:
root@localhost# show ip
Step 12 Configure the SNMP syslocation MIB variable by entering:
root@localhost# snmp location location-string
Note The MIB variables in Step 13 and Step 14 must be valid DisplayString texts, each with a
maximum length of 64 characters.
Step 13 Set the SNMP sysContact MIB variable by entering:
root@localhost# snmp contact contact-string
Step 14 Set the SNMP sysName MIB variable by entering:
root@localhost# snmp name name-string
Note You can delete the SNMP location, SNMP contact, or SNMP name by entering the respective
command without any parameters.
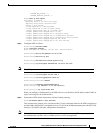
Step 15 Set the SNMP agent community string parameter password for read-write access by entering:
root@localhost# snmp community community-string rw
Step 16 Set the SNMP agent community string parameter password for read-only access by entering:
root@localhost# snmp community community-string ro
Note Clear the SNMP community string with the snmp delete community community-string
command.
Step 17 Verify the SNMP access controls and settings by entering:
root@localhost# show snmp
After completing this configuration, the NAM is ready to use with a network-monitoring application
such as TrafficDirector or any other IETF-compliant RMON application.
Note If you are using RTM, you need to input the community strings in RTM exactly as you enter them in
the NAM.
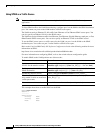
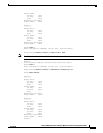
This example shows how to configure the NAM:
Router#session slot 8 processor 1
The default escape character is Ctrl-^, then x.
You can also type 'exit' at the remote prompt to end the session
Trying 127.0.0.81 ... Open