26
Remove the Power Supply
Install Field Replaceable Units (FRUs)
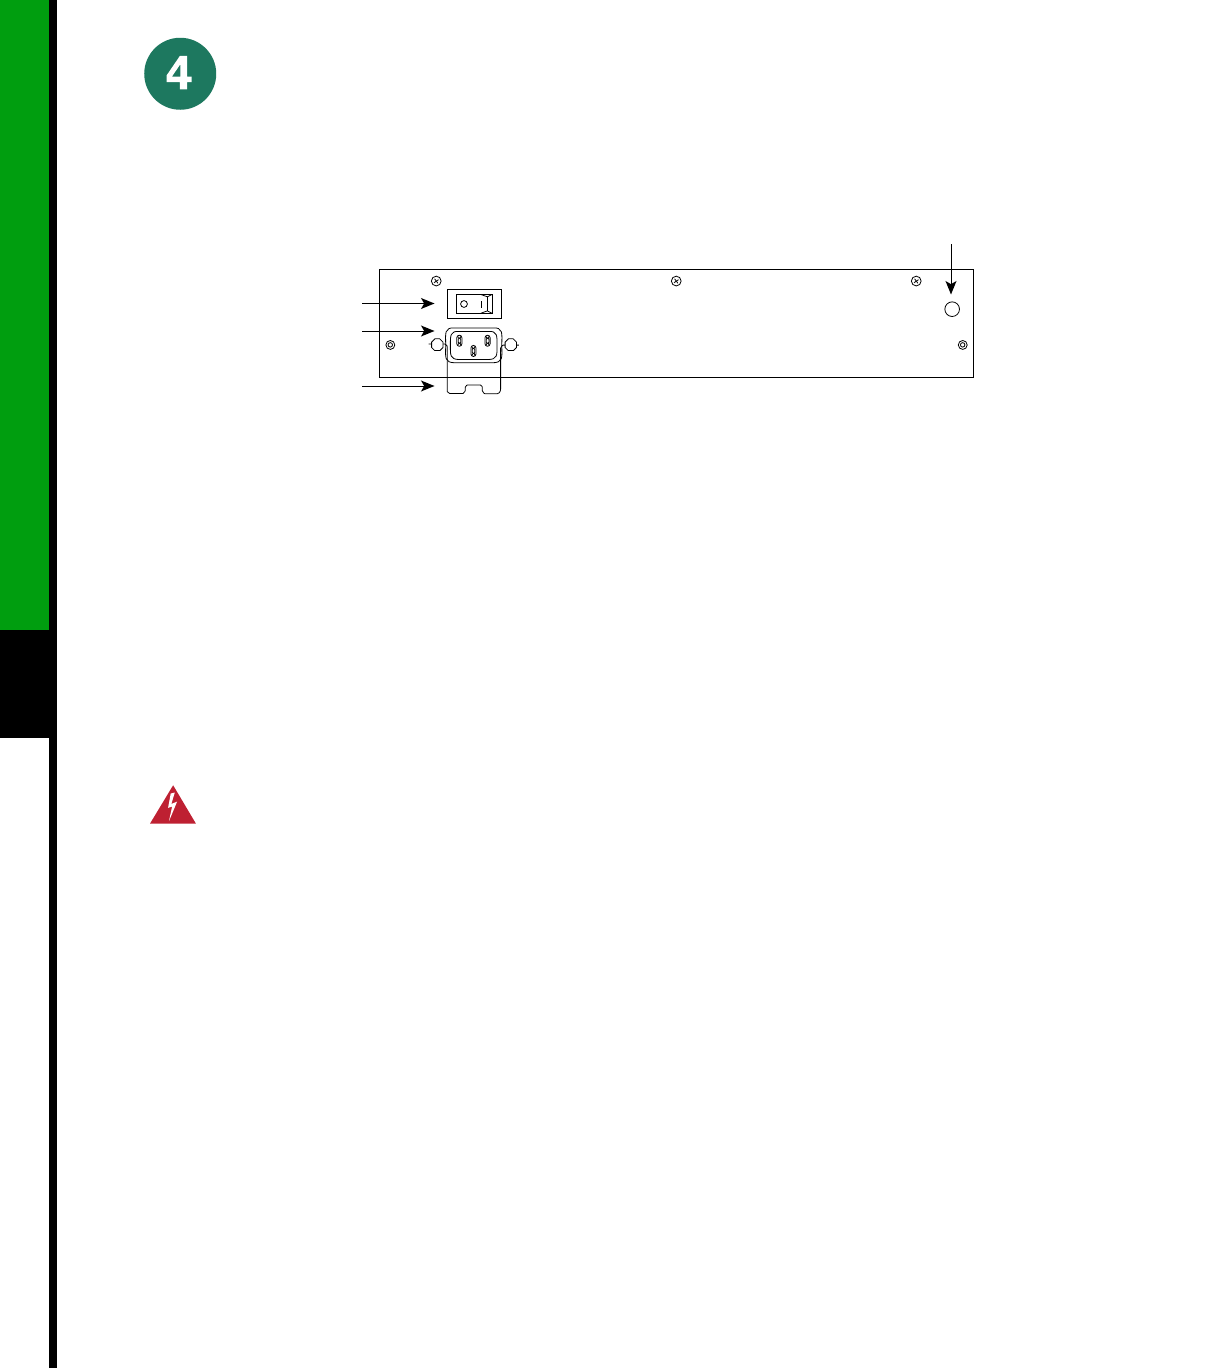
AC receptacle
On/off switch
Cable retention
clip
DC OK LED
H1998
Note The following procedure assumes you have
already removed the chassis cover panel, the fan tray,
the power harness cover, and the power harness. If
you have not, refer to the appropriate sections in the
Cisco 7500 Series Installation and Configuration
Guide for instructions.
Note AC-input power supply is shown above.
Step 1 Turn off the system power switch.
Warning Before working on the chassis or
near power supplies, disconnect the power
cable on AC units or disconnect the power
at the circuit breaker on DC units.
Step 2 Disconnect the power cable from the
power supply.
For the AC-input power supply: Move the
cable retention clip away from the power
cable and disconnect the power cable
from the AC receptacle.
For the DC-input power supply: Use a
wire cutter to cut the nylon cable tie that
provides strain relief for the DC power
cable. (You must replace this nylon cable
tie with a new one after the new power
supply is installed.) Remove the DC-input
cable from the terminal block.
Step 3 Attach an ESD-preventive strap between
you and any unpainted chassis surface.
Step 4 Disconnect the power harness plug from
the backplane receptacle by pulling the
polarized plug out of the receptacle; do
not pull on the wires.
Step 5 Use a Number 2 Phillips screwdriver to
remove the two M4 x 10-mm Phillips
panhead screws that secure the power
supply ears (one on each side of the power
supply) to the chassis frame.
Step 6 Using both hands, grasp both of the
power supply handles and pull the power
supply about halfway out of the bay. Then
grasp the sides of the power supply and
pull it out of the chassis.
