


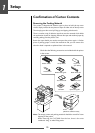


1
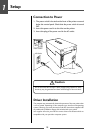
Setup
14
2
3
5
1
6
7
8
4
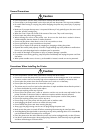
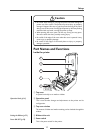
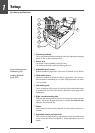
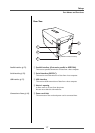
Part Names and Functions
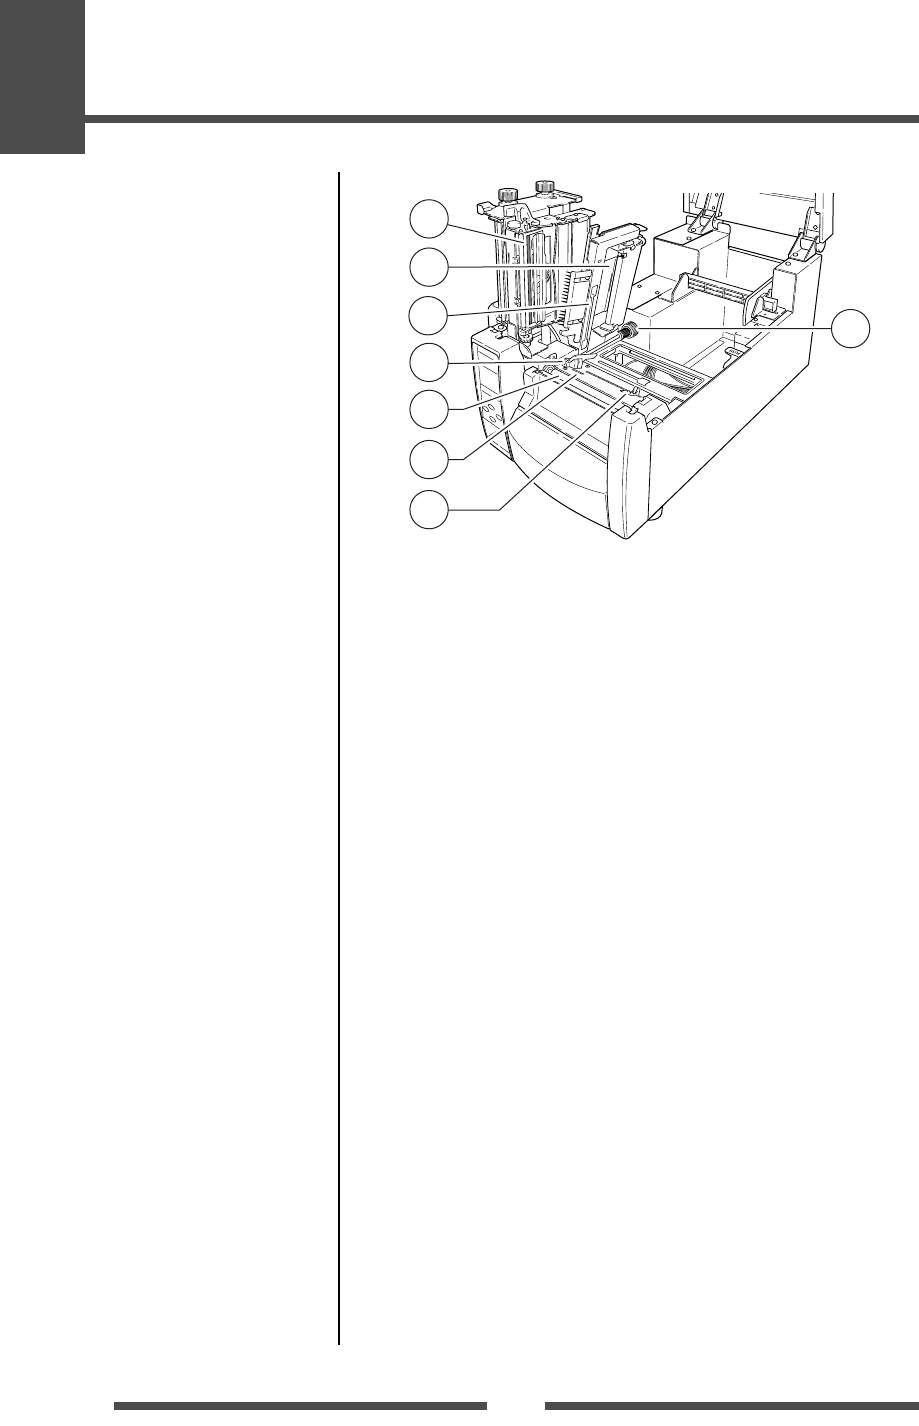
1 Thermal printhead
This is the printhead. Avoid touching this with your fingertips and leaving
grease or dirt on the printhead surface.
2 Sensor arm
The media can be installed by raising this arm.
The media can be held in place by lowering this arm.
3 Adjustable (rear) sensor
Detects the label or tag position. This sensor is switched “on” by default.
4 Fixed media sensor
Alternative method to detect the label or tag position. This sensor is
more accurate for small labels as it is closer to the print head. It is switch
“off” by default.
5 Left media guide
This is a fixed part of the printer. The left side of the media (labels, tags)
as viewed from the from of the printer should be placed against this
media guide.
6 Right, movable media guide
Slide the right media guide so that it just touches the media. It should
“guide” the media through the printer. It should not hold it firmly
otherwise the media will jam.
7 Platen
Interlocked with the thermal printhead, it feeds media backwards or
forwards.
8 Adjustable sensor position knob
This is used to change the left-to-right position of the adjustable media
sensor across the media. See Chapter 3, Printer Adjustments for more
details.
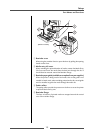
Sensor Adjustments and
Calibration (p.54)
Installing the Media
(p.26, p33)