


2
Printer Operation
26
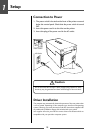
Setting the Media
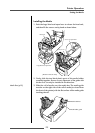
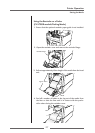
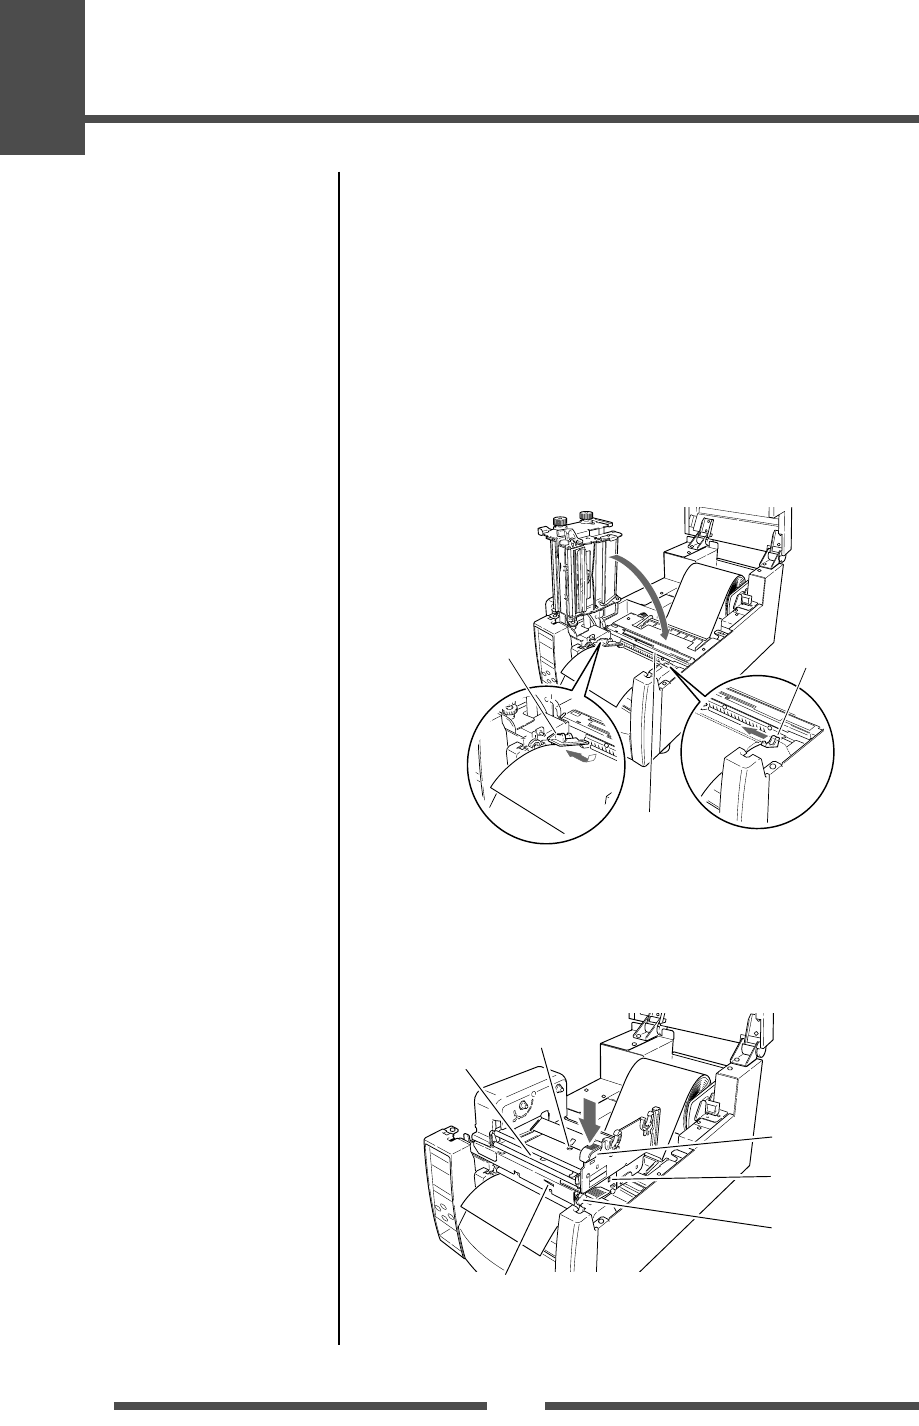
4. Set the media roll and media holder in to the printer as shown
above. It is advisable to pull a length of media forwards and
through the mechanism ready for later positioning.
5. Move the media roll so it is touching the left side of the housing.
Then slide the black movable media guide so it is touching the
media on the right side.
Note: Do not try to hold the media too tightly with these guides as it will
cause the printer to jam during printing.
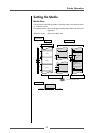
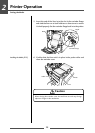
6. Align the media with the left fixed media guide (2 locations),
align the right movable media guide with the media width, and
lower the sensor arm which loosely holds the media in position.
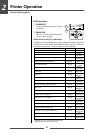
Fixed media guide
Sensor arm
Movable media
guide
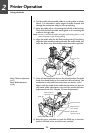
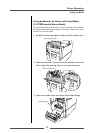
7. Lower the head unit back down to the closed position. Push the
head close knob firmly to close and lock the mechanism. The
mechanism is only locked correctly when you head a “click”.
Align it with the width of the media that has been set, then set
the media width adjustment screw and the media thickness
adjustment knob. See “Chapter 3 Printer Adjustments”.
Head close knob
Media width
adjustment knob
Media thickness
check window
Media thickness
adjustment screw
Media width check window
Head unit
Media Thickness Adjustment
(p.57)
Media Width Adjustment
(p.58)
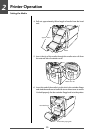
8. With the power switched on, push the FEED key to feed the
media. It will halt at the next print start position.