


Multimedia Presentation System 300 Crestron MPS-300
Select Input to Name
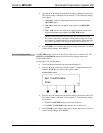
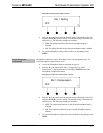
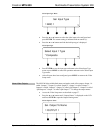
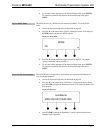
Sel. Input To Name
1:BNC 1
• Press the k or j buttons until the input to be named is displayed on the
LCD and press ENTER. The cursor is placed after the last character in the
input name.
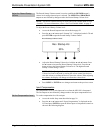
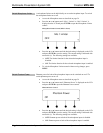
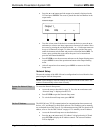
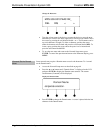
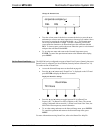
Name the Input
BNC 1_
DEL INS < >
• Turn the volume control clockwise or counterclockwise (or press the k or
j buttons) to select a new letter (uppercase or lowercase) or number. Move
the cursor by pressing the soft buttons labeled < or >. Each input name can
be up to 14 characters in length. To delete a character, position the cursor
under the character to be deleted and press the soft button labeled DEL. To
insert a space, position the cursor where the space is to be inserted and
press the soft button labeled INS.
• Press ENTER to save the new name and return to the Input Naming menu
or press MENU to cancel the operation and return to the Input Naming
menu.
• After all inputs have been named, press MENU to return to the Video Setup
menu.
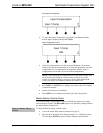
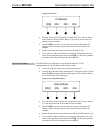
Select Input Type
The BNC video inputs of the MPS-300 can accept composite, S-video, or component
signals. The RGB inputs of the MPS-300 can accept component or RGBHV signals.
The QM inputs of the MPS-300 can accept composite, S-video, component, or
RGBHV signals. Specifying the input signal type determines which of the output
connectors receives the selected input signal. To specify the signal types expected by
each of the inputs:
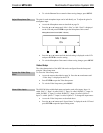
• Access the Video Setup menu as described on page 57.
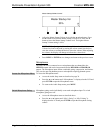
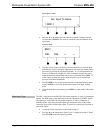
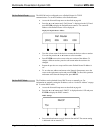
• Press the k or j buttons until “Input Types” is displayed on the LCD and
press ENTER to open the Input Type menu.
58 • Multimedia Presentation System 300: MPS-300 Operations Guide – DOC. 6529B