


138 Adding and Replacing Parts
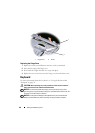
Optical Drive
CAUTION: Before you begin any of the procedures in this section, follow the
safety instructions in the Product Information Guide.
Removing the Optical Drive
1
Follow the procedures in "Before You Begin" on page 133.
2
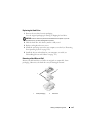
Turn the computer over.
3
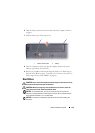
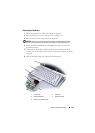
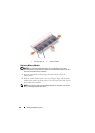
Remove the locking screw from the optical drive.
4
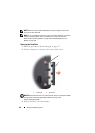
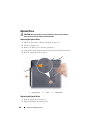
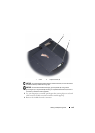
Using a plastic scribe, push the notch to release the optical drive from the bay.
5
Slide the optical drive out of the bay.
Replacing the Optical Drive
1
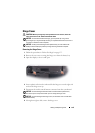
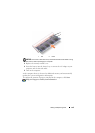
Slide the optical drive into the bay.
2
Replace and tighten the locking screw.
1 locking screw 2 notch 3 optical drive
2
3
1