80 Installing System Components
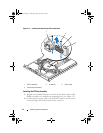
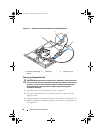
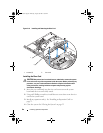
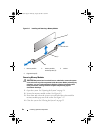
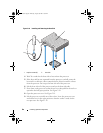
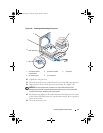
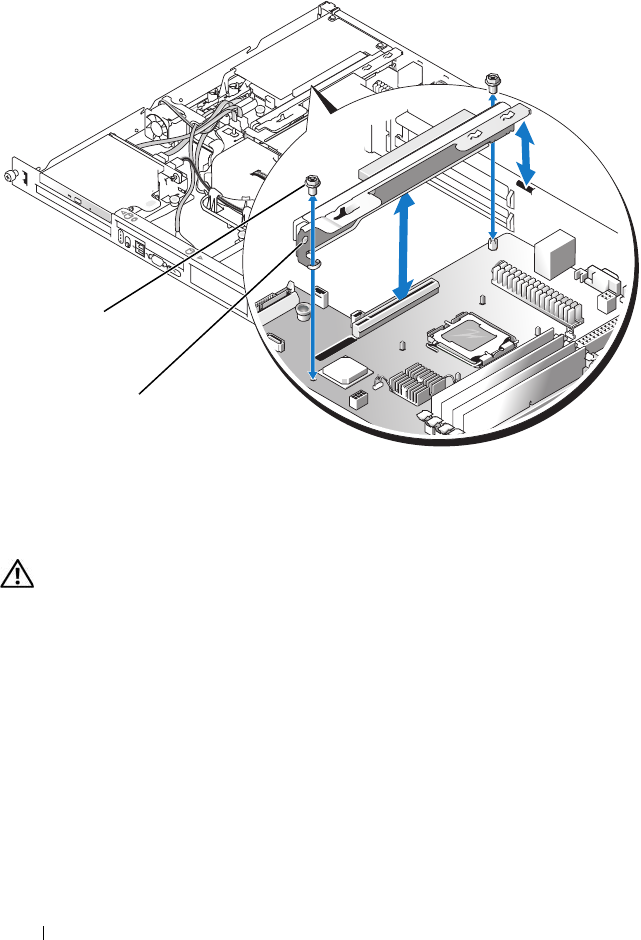
Figure 3-16. Installing and Removing the Riser Card
Installing the Riser Card
CAUTION: Only trained service technicians are authorized to remove the system
cover and access any of the components inside the system. Before performing any
procedure, see your Product Information Guide for complete information about
safety precautions, working inside the computer and protecting against
electrostatic discharge.
1
Insert the riser card firmly into the riser card connector on the system
board until the riser card is fully seated.
2
Using a #2 Phillips screwdriver, install the two screws that secure the riser
card to the system board.
3
Install any expansion card(s). See "Installing an Expansion Card" on
page 75.
4
Close the system. See "Closing the System" on page 55.
1 screws (2) 2 riser card
1
2
book.book Page 80 Thursday, August 30, 2007 3:30 PM


