


Advanced Features 45
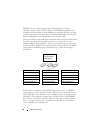
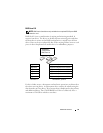
Exit Screen
It is important to exit the RAID Configuration Utility properly, because some
changes take effect only when you exit. From the Adapter List, press <Esc>
to exit. In addition, a similar exit screen appears when you exit most other
screens, and it can be used to save settings.
Performing Configuration Tasks
NOTICE: You will lose any data on your hard drives when you create a RAID
configuration using the following procedures. Back up data that you want to keep
before continuing.
NOTE: Your RAID array cannot exceed 2 Terabytes in size. Any space beyond the 2-
Terabyte limitation will not be usable.
The two options for creating a new RAID volume are Create IM Volume and
Create IS Volume. IM stands for integrated mirroring. IS stands for integrated
striping. Additional information is available on the configuration screen.
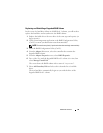
Creating a RAID Level 0 Configuration
NOTE: RAID 0 does not provide any data protection in the event of hard drive
failure. It is primarily used to increase performance.
NOTE: Once the number of hard drives in a RAID volume (virtual disk) is set, it
cannot be changed.
Follow these steps to create a RAID 0 volume on a SAS 6/iR controller that
does not currently have a RAID volume configured.
1
Select a controller from the
Adapter List
in the Configuration Utility.
2
Select the
RAID Properties
option.
3
Select
Create IS Volume
when you are prompted to create either an IS
(striped) RAID volume or an IM (mirrored) RAID volume.
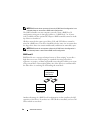
The next screen shows a list of hard drives that can be added to a RAID
volume.
4
Move the cursor to the
RAID Disk
column. To add a hard drive to the
RAID volume, change “No” to “Yes” by pressing the <+>, <->, or space
bar. As hard drives are added, the
Virtual Disk Size
field changes to reflect
the new size of the RAID volume.