Paper Handling
78
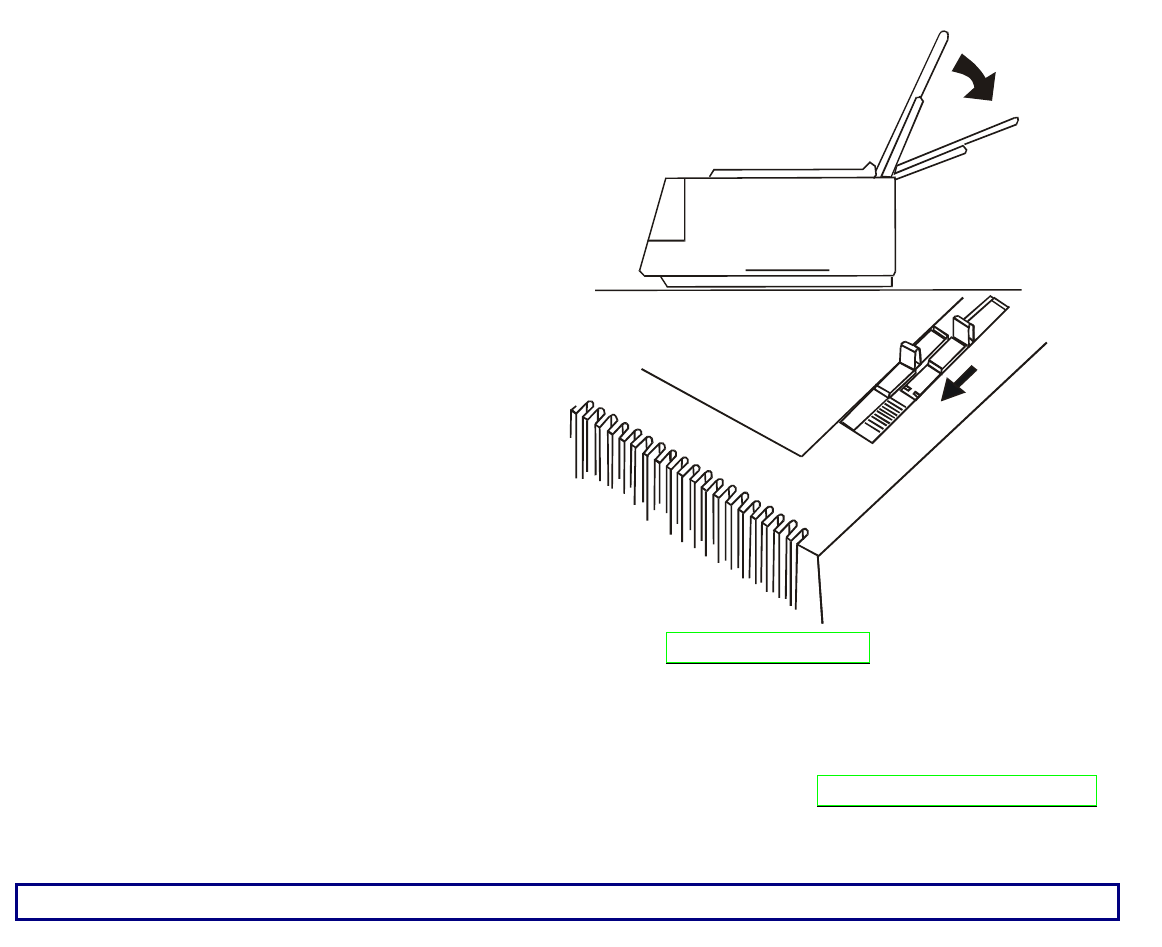
• If your printer is the 4051 plus or the
4056 plus model, put the paper chute
in the down position by lifting it
towards the back of the printer and
pushing gently down until it stops.
Space the paper guides evenly on the
paper chute
11. Place the drive selection lever in the
fanfold position (fanfold drawing) and
make sure that Fanfold is selected by
pressing
PATH
key (
SHIFT
function) on
the operator panel.
12. If the printer is turned off, turn the printer on (see "Power Connection” section before). The
display shows Load paper.
13. Press the
LOAD
or
FF
key and the paper will be positioned in front of the print head.
The paper is positioned at the first printable line at 1/6 inch from the top edge of the paper. If
you want to adjust the paper position, follow the instructions of the "Top of Form Adjustment"
section later. The last printable line of the last form is positioned at 0.31 inch (8 mm) from the
bottom edge of the paper
It is advisable not to print two lines before and two lines after the paper perforation.


