


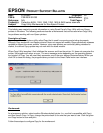
3
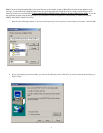
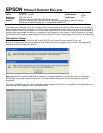
Note
: the full path to the destination folder may not be showing.
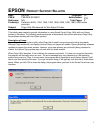
9. You will see a Setup Complete window, click Finish to complete the install.
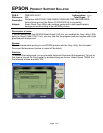
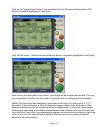
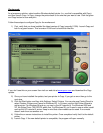
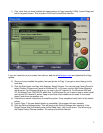
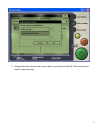
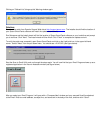
10. To verify you have properly installed the update open Epson Smart Panel and click on the Photo Print Button. You will see a
progress window that says "Setting up printer." Before you print, have your media type, print size, and Printer Driver set to
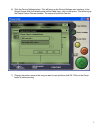
the correct settings. Put a photo on the document glass and Click the "Print" button. The "Select TWAIN source" window will
pop up, select "EPSON TWAIN 5" and click OK. Your photo will be scanned and printed.
Note
: You can launch EPSON Photo Print as a standalone application, without needing to launch Epson Smart Panel. The Photo Print
Utility update program will automatically put an Entry in the Start menu. To find this entry click on; Start>Programs>EPSON
Scanner>EPSON Photo Print. The update program will also put an “EPSON Photo Print” shortcut icon on your Desktop, you can
launch the Photo Print Utility from the shortcut. If you do not want this icon on the desktop, simply drag it to the Recycle Bin or
highlight the shortcut icon and hit the delete key on your keyboard.