


3
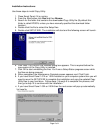
6. Follow the instructions used in the "Start Here" poster of your printer or follow the directions on the
screen, only connect the USB cable or power on the printer when told to do so by the driver
installation software.
7. Finish by verifying the updated driver versions as follows:
Stylus Photo 780 - Version 6.02/P
Stylus Photo 890/1280 - Version 6.01/P
Stylus Photo 785EPX – Version 6.00 – Note: The updated driver version number is the same
as the original but the currently posted driver is an updated one and it will resolve the issue.
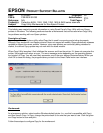
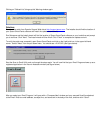
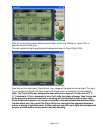
8. Once the printer driver has been installed, verify that is issue has been resolved by opening
Epson Smart Panel and clicking on the Photo Print Button. You will see a progress window that
says "Setting up printer."
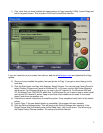
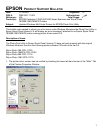
9. Before you print, have your media type, print size, and Printer Driver set to the correct settings.
Put a photo on the document glass and Click the "Print" button.
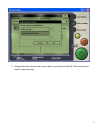
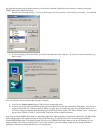
10. When the "Select TWAIN source" window pops up, select "EPSON TWAIN 5" and click OK. Your
photo will be scanned and printed.
Note: You can launch EPSON Photo Print as a standalone application, without needing to launch
Epson Smart Panel. The Photo Print Utility program automatically puts an Entry in the Start menu. To
find this entry click on: Start>Programs>EPSON Scanner>EPSON Photo Print. The program will also
put an “EPSON Photo Print” shortcut icon on your Desktop; you can launch the Photo Print Utility
from the shortcut. If you do not want this icon on the desktop, simply drag it to the Recycle Bin or
highlight the shortcut icon and hit the delete key on your keyboard