


4.
5.
6.
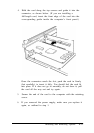
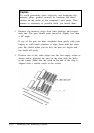
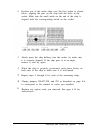
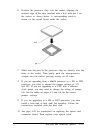
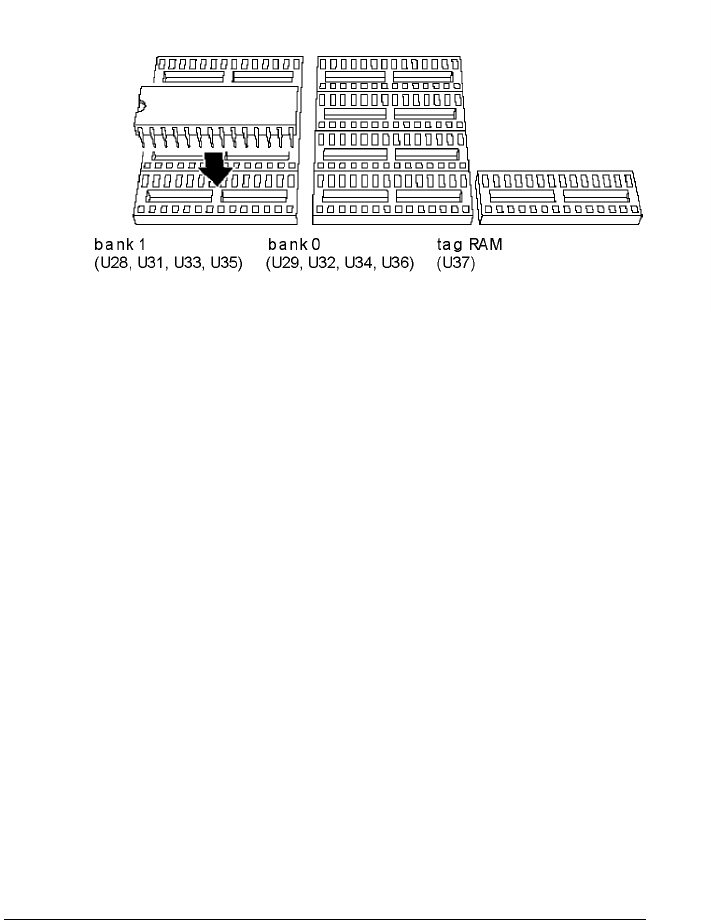
Position one of the cache chips over the first socket as shown
below, aligning the pins on the chip with the holes in the
socket. Make sure the small notch on the end of the chip is
aligned with the corresponding notch on the socket.
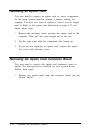
Gently press the chip halfway into the socket (to make sure
it is correctly aligned). If the chip goes in at an angle,
remove it and try again.
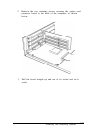
When the chip is properly positioned, push down firmly on
both ends of the chip to make sure it is well-seated.
7
8
9
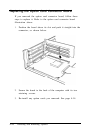
Repeat steps 4 through 6 for each of the remaining chips.
Change jumpers 526,527,528, and J29 as described on page 4-8,
to correspond to the amount of cache you installed.
Replace any option cards you removed. See page 4-14 for
instructions.
Installing and Removing Options
4-25