10
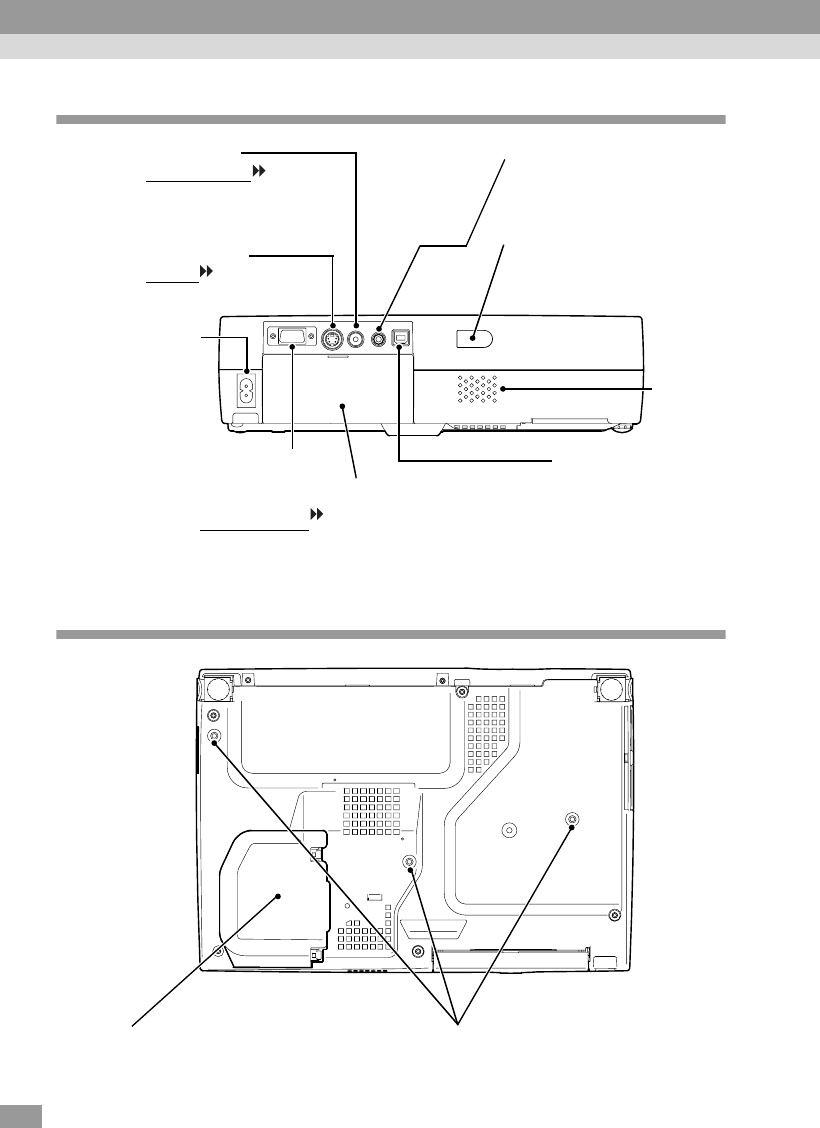
Rear
Base
•
••
•
Remote control light-
receiving area (p.12)
Receives signals from the
remote control.
•
••
•
Power inlet
(p.28)
Connects the
power cable.
•
••
•Speaker
•
••
•Computer/Component Video
port (p.17, 24, 25)
Inputs analogue video signals from
a computer and component video
signals from other video sources.
•
••
•
Video port (p.23)
Inputs composite video
signals to
the projector from other video sources.
Use the RCA video cable for this
connection.
•
••
•S-Video port (p.24)
Inputs S-Video
signals to the
projector from other video sources.
•
••
•Audio-In port (p.20, 26)
Inputs audio signals.
Connect using a stereo mini
jack.
•
••
•USB port (p.21)
Connects the projector
to a computer via the
USB cable.
•
••
•Remote control holder
(p.12)
Store the accessory remote
control in here when not
using it.
•
••
•
Suspension bracket fixing points (3 points)
(p.14, 82)
Install the optional ceiling mount here when
suspending the projector from the ceiling.
•
••
•
Lamp cover (p.76)
Open this cover when replacing the
lamp inside the projector.
Part Names and Functions


