


R4CG25P
BasicOperationGuideRev.C2
INK.FM A4 size
6/29/05
R
Proof Sign-off:
K. Yoda CRE kawakami
M.Otsuka
editor name
Replacing Ink Cartridges 13
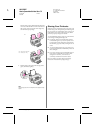
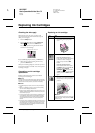
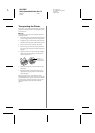
4. Remove the new ink cartridge
from the package.
c Caution:
❏ Be careful not to break the hooks on the
side of the ink cartridge when you
remove it from the package.
❏ Do not remove or tear the label on the
cartridge; otherwise, ink will leak.
❏ Do not touch the green IC chip on the
front of the cartridge. This can damage
the ink cartridge.
❏ Be sure to always install an ink cartridge
into the printer immediately following the
removal of the current ink cartridge. If the
ink cartridge is not installed promptly, the
print head may dry out, rendering it
unable to print.
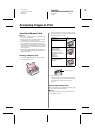
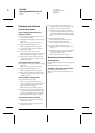
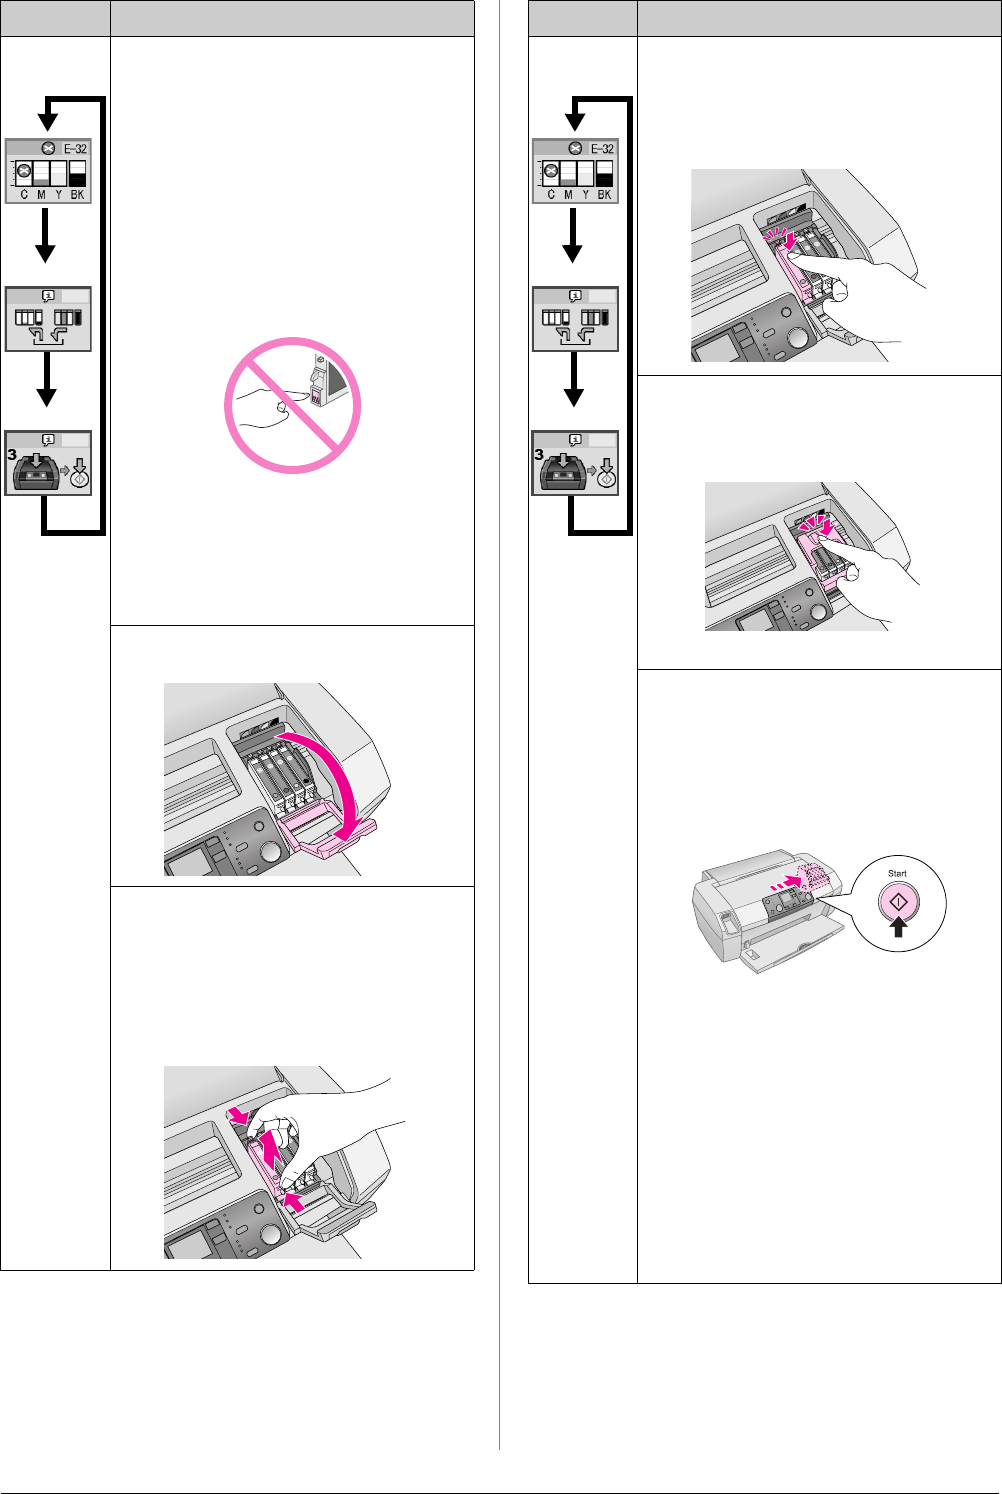
5. Open the cartridge cover.
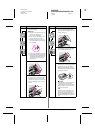
6. Pinch the sides of the ink cartridge
that you want to replace. Lift the
cartridge out of the printer and
dispose of it properly. Do not take
the used cartridge apart or try to
refill it.
LCD Steps
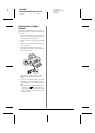
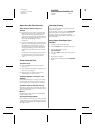
7. Place the ink cartridge vertically
into the cartridge holder. Then,
push the ink cartridge down until
it clicks into place.
8. When you have finished replacing
the cartridge, close the cartridge
cover and the printer cover.
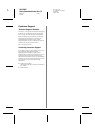
9. Press the x Start button. The print
head will move and charging of the
ink delivery system will begin.
When the ink charging process is
finished, the print head will return
to its home position.
c Caution:
The P On button continues to flash while
the printer performs the ink charging
operation. Never turn off the printer while
this light is flashing. Doing so can result in
incomplete charging of ink.
Note:
If the ink end error occurs after the print
head moves to its home position, the ink
cartridge may not be installed properly.
Press the y Stop/Clear button again, and
reinstall the ink cartridge until it clicks into
place.
LCD Steps