ï
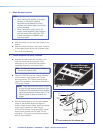
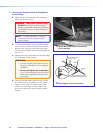
Screw the adjuster plate onto the base of
the pipe.
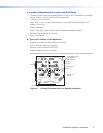
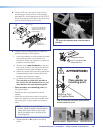
d. Using a 3/32 inch hex wrench, back out the
set screws on the top portion of the adjuster
plate (see a in the image below) of the UPB 25.
Screw the plate onto the base of the pipe. Align
it so the security flange is at the rear
Adjuster Plate
Locking Screws (4)
Projector
Bracket
Adjuster
Plate
Loosen the four Adjuster Plate
Locking Screws and slide the
Adjuster Plate away from the
Projector Bracket
a
b
Set Screws (2)
Security flange
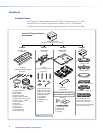
e. Carefully follow the steps below to install the
projector bracket on the projector.
i. Invert the projector on a flat surface to access
the mounting points. Use a blanket or a
similar item under the projector to protect the
projector and the surface.
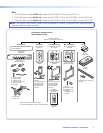
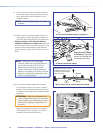
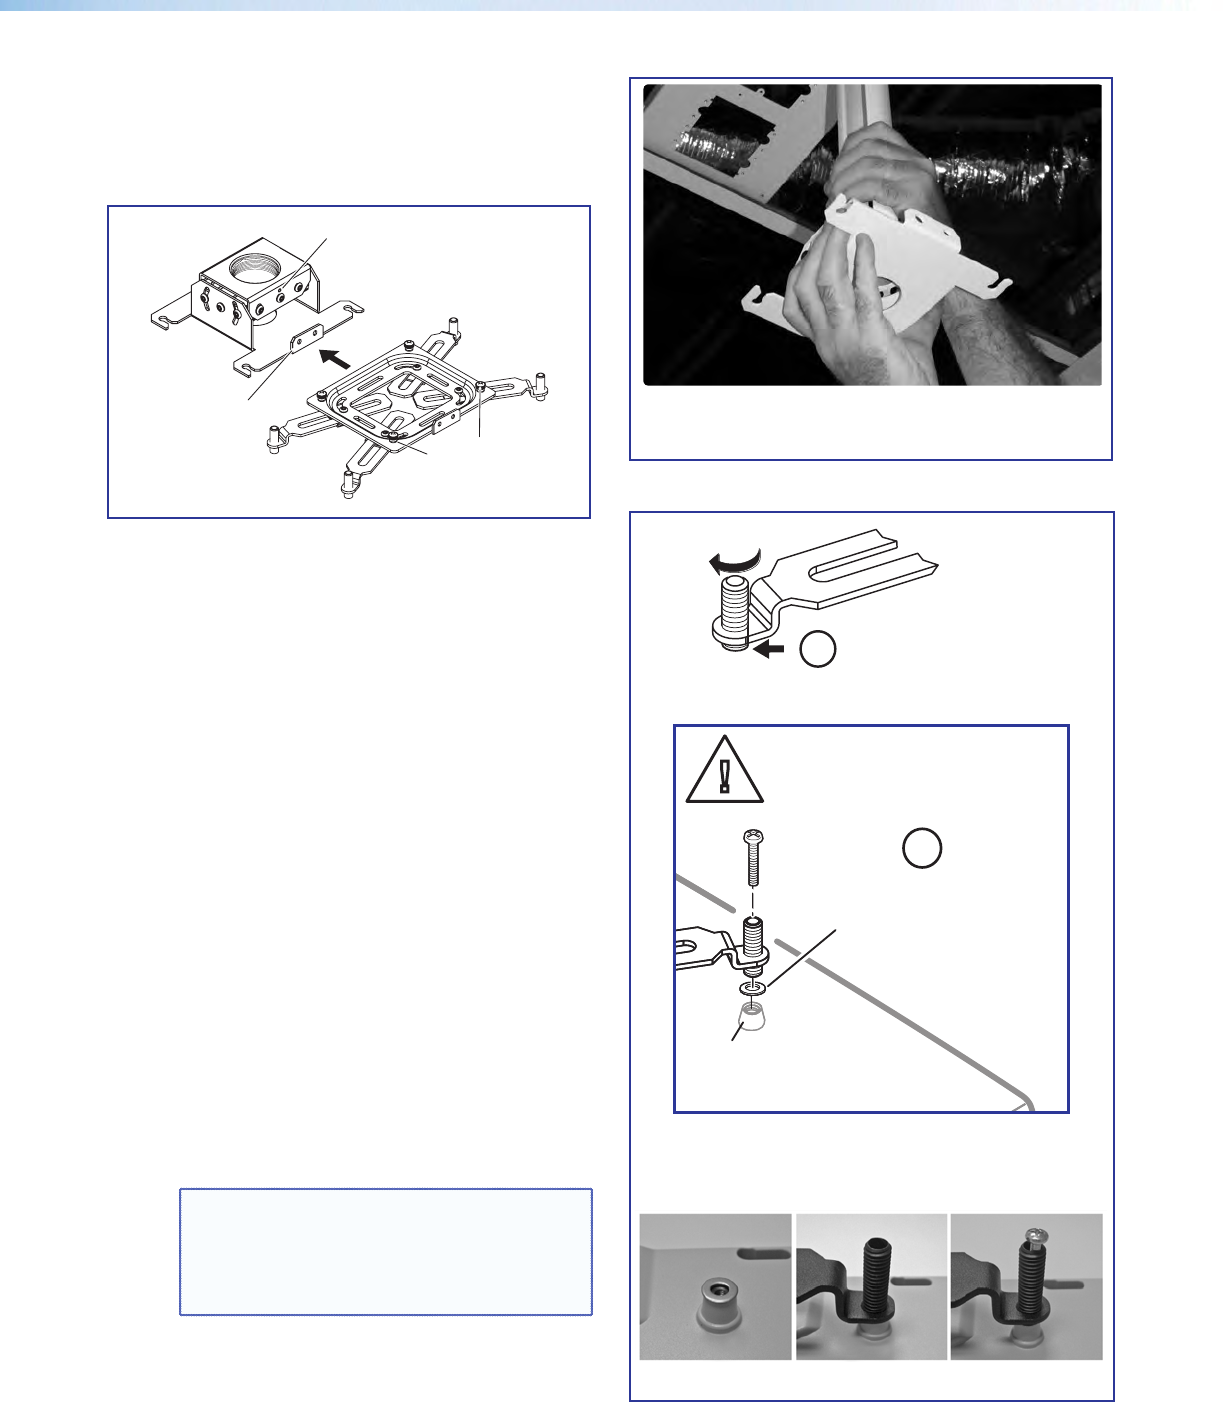
ii. On each arm, rotate the barrel (on the end
of the arm) so that it only just protrudes from
the base of the arm (see the figure at right).
iii. Select the correct sized mounting screws and
the appropriately sized washers that fit the
projector mounting point inserts.
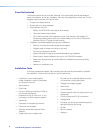
iv. To attach the arms to the projector:
The next step is critical as it provides a
flat surface for the bracket to sit on, and
must be done for each mounting point.
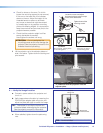
• Place a washer on a mounting point (see
the figure at right).
• Position the arm so the barrel is over the
washer.
• Insert the mounting screw down through the
barrel and washer, and into the threaded insert
(mounting point). Lightly tighten the screw by
hand.
NOTE: If using the 3- or 4-millimeter
screws, place an additional small washer
under each screw head, on top of the
barrel, as well as one on the top of the
mounting point.
v. Repeat step iv for all projector mounting
points.
Rotate the barrel
until it just protrudes
below the arm.
ii
Mounting Point
on Projector Base
Place washer on
mounting point.
ATTENTION:
Ü
iv
This is critical as it provides a flat surface
for the bracket to sit on.
Place the washer Align the barrel Insert the screw
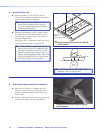
PoleVault IP Systems • Installation — Stage 1 (Screen and Projector) 13


