Page 6-2 © 2004 General Binding Corporation
Operations ManualPolaris II
(9) The cutter On/Off indicator is to be off during the
webbing process.
WARNING: Roller are HOT. Use extreme caution
when loading film. Direct contact with the rollers can
burn you!
(10) Lift the main roller safety shield for ease of webbing
the film.
(11) Pull the laminating film down under the rubber idler,
and over the heat roller and allow film to drape down
freely.
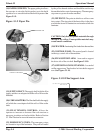
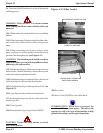
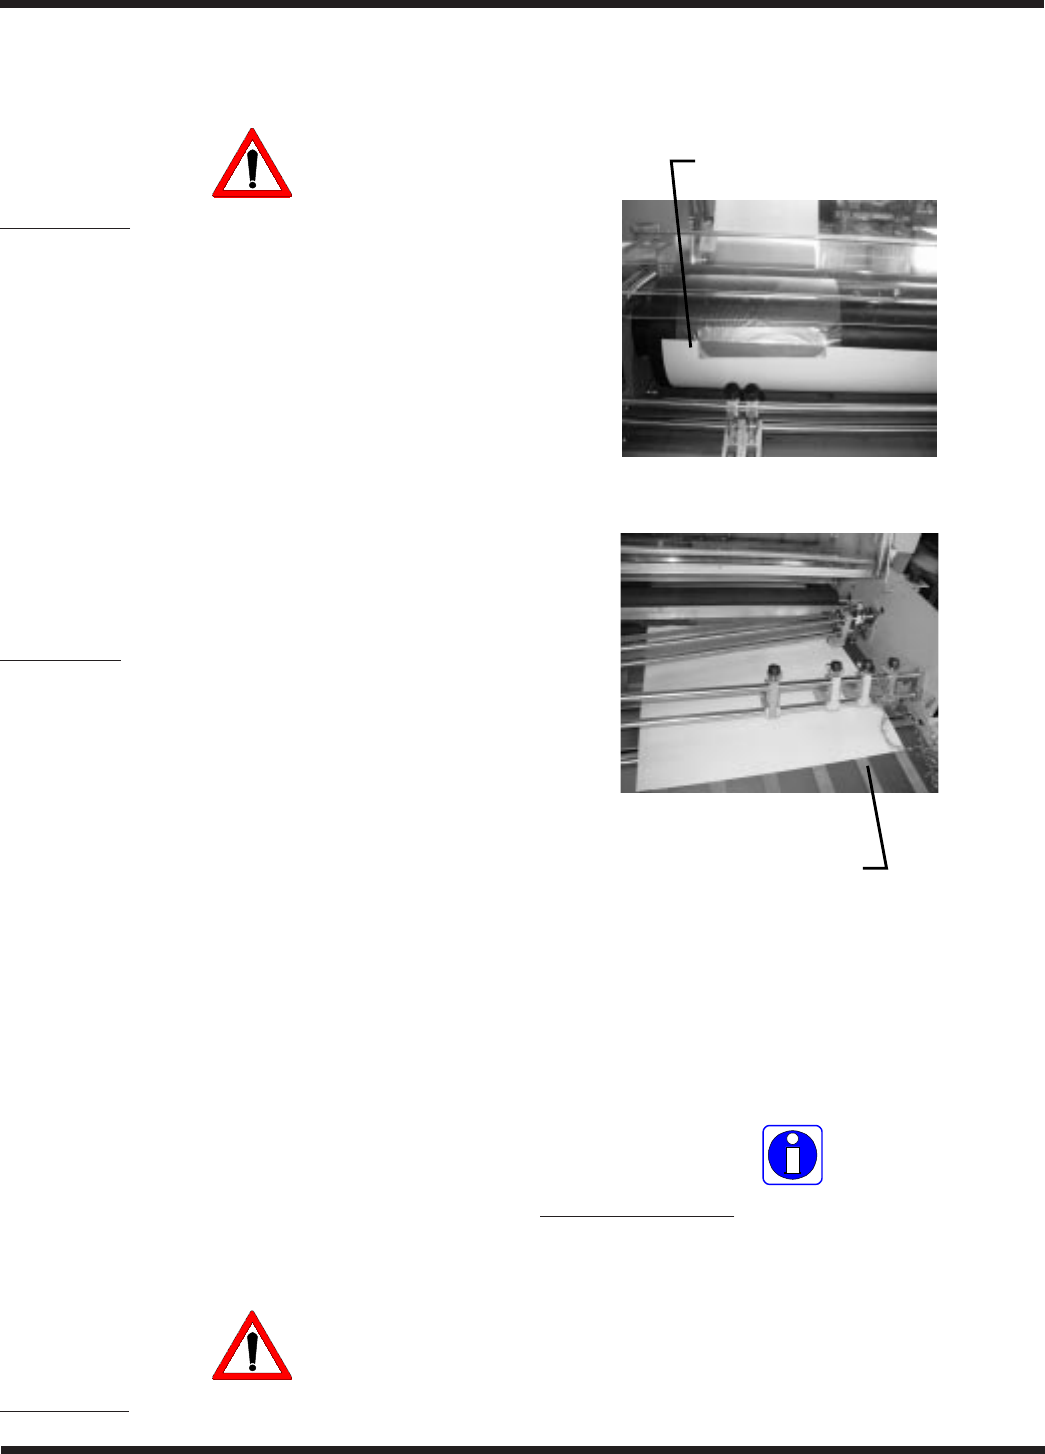
(12) Adhere a threading card (a piece of heavy stock
paper, card board, or similar product) to the film to help
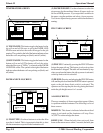
guide the film through the nip. See Figure 6.1.3.
CAUTION: The threading card should exceed the
width of the film to prevent activated adhesives from
adhering to the bottom roller.
(13) Slide the threading card between the nip roller and
the heat roller. Push the threading card into the nip of the
main rollers and through the main rollers.
(14) Guide the threading card under the idler roller in front
of the decurling bar, then over the decurling bar.
(15) Guide the threading card through the pull rolls. See
Figure 6.1.3.
(16) Lower the pull roller with the pull roller knob.
(17) Insert another sheet into the nip of the main roller
and the nip roller.
(18) Close all guards.
(19) Home the knife by pressing Cutter ON/OFF.
CAUTION: Ensure the safety shields are in the
fully closed position.
Figure 6.1.3 Film Leader
LEADER ATTACHED TO FILM
LEADER MUST EXTEND
PAST SKEW WHEELS
FRONT OF MACHINE
REAR OF MACHINE
(20) Press Start.
(21) Press Cutter ON/OFF to turn off the knife.
INFORMATION: When Start is pressed, the
machine will have a short pause. This allows the
operator to walk to the rear of the machine to help
guide the threading card through the machine.


